latest news
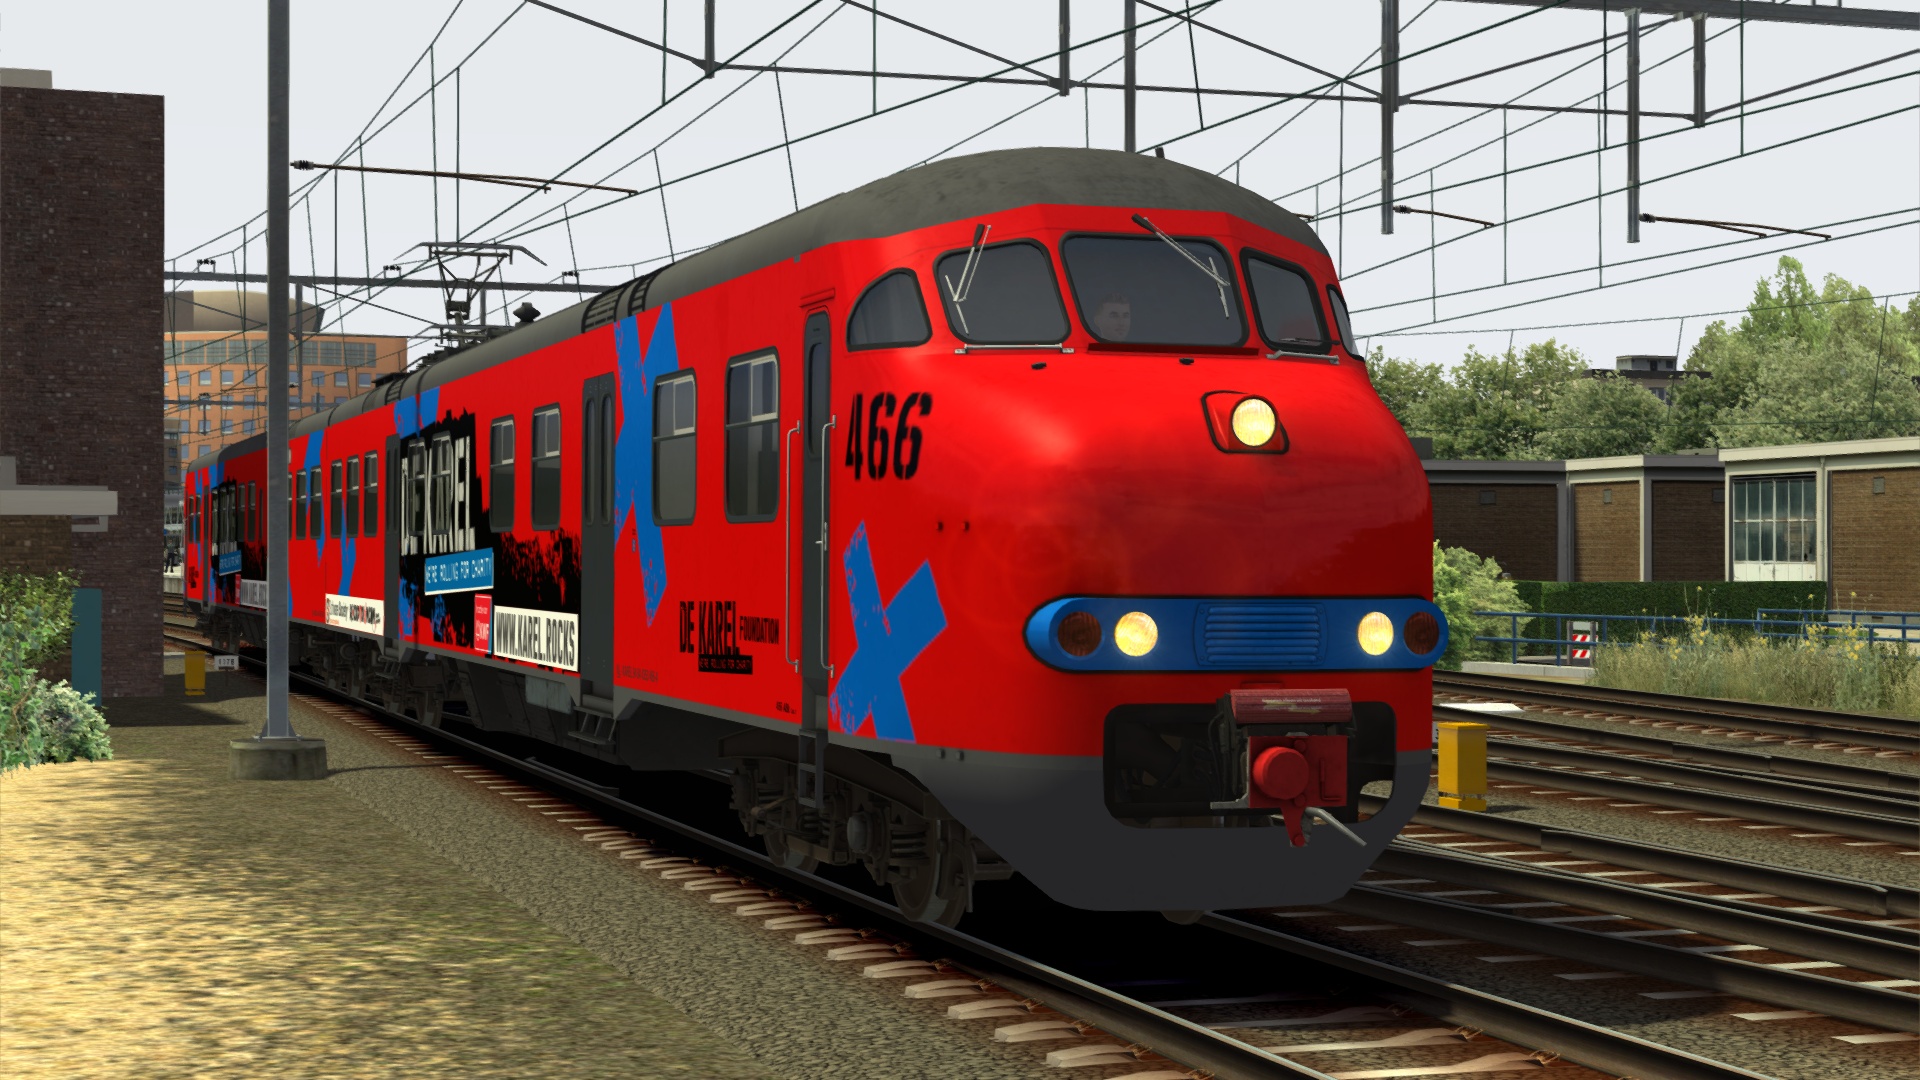
Mat'64 v4.0.0 update now available, and a new paint scheme to raise money for charity - the 466 'Karel'
![[menu logo]](../images/christrainslogodot.png)
Mat'64 v4.0.0 update now available, and a new paint scheme to raise money for charity - the 466 'Karel'
Want to start or grow your collection by more than one product? Use these coupon codes for bulk discounts:
GIMME2 = 10% off two products
GIMME3 = 15% off three products
GIMME4 = 20% off four or more products
Subscribe to the mailing list for occasional updates and important announcements.


The TrainGlassWeatherEffects.fx shader is the one that allows you to create cabview windows that gather raindrops when the weather is set to rainy. The raindrop effect is generated by the game but you need to set up a series of textures in the correct slots for it all to work correctly.
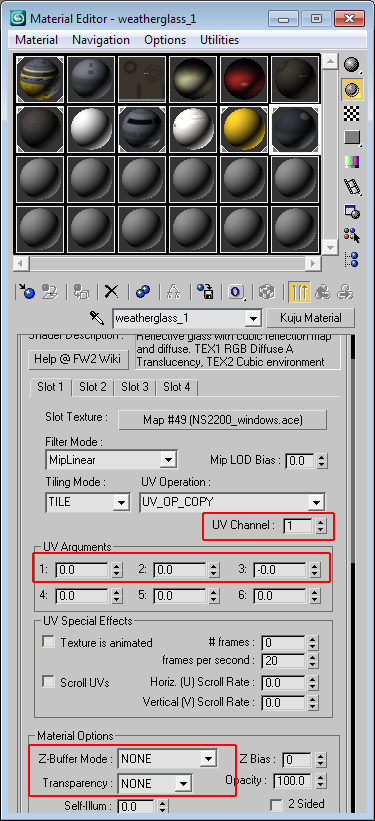
In 3DS Max, the material name must be weatherglass_x (where x is 1 to 8), the material type must be set to Kuju Material and the Shader Name is TrainGlassWeatherEffects.fx. This shader has four texture slots.
The UV Channel value for each slot must be set to 1.
All the UV Arguments values must be set to 0 (zero).
Importantly, even though this is an alpha texture, the Z-Buffer Mode and Transparency values must both be set to NONE.
Click on the image here to see the relevant values.
TrainGlassWeatherEffects.fx needs four textures to work properly. All these textures ultimately need to be .ACE images for the game, but can be pretty much anything in your source (before conversion):
In slot 1: a 4-channel texture for the window itself. This is the diffuse-alpha for the window. You can put a 'cleared' section of the glass in here both in the diffuse and alpha channels so make it look like the wiper has regularly cleared dirt from the window.
In slot 2: a dummy map for the game's reflection shader to attach to. This can be any texture. I have a 3-channel texture map called dummy.ace that I use. You could just replicate the map from slot 1 - it doesn't matter as long as something is in there. It gets replaced in the game anyway.
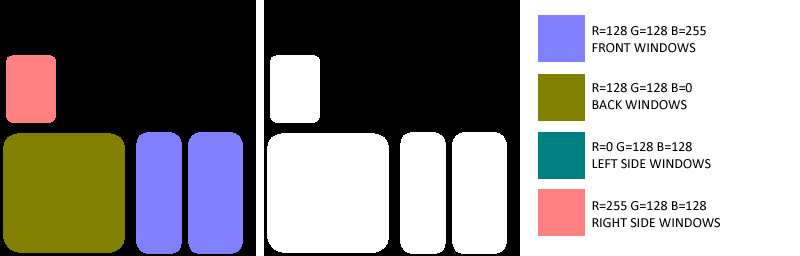
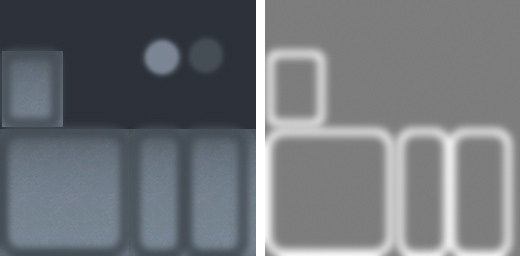
In slot 3: a 4-channel texture that determines which way the window faces on the train. This is what tells the game how to smear the rain drops when the train moves. It's important that you also include a black and white alpha channel in this map. The colours used in the diffuse channel are shown in the image here.
In slot 4: a 4-channel texture where the basic image is white, but the alpha channel contains the 'wipe' pattern for the wipers. The 'wipe' pattern must go from pure white (255,255,255) to pure black (0,0,0) in a smooth gradient. The white part of the gradient corresponds to the 'parked' position of the wiper blades.

The wiper effect on the glass is linked to the outside wipers of the engine in the blueprint. This animation should already be present if you have working wipers and the animation name should be Wipers (note capitalisation). Scroll down to Wiper Pairs and add an entry. Both the Slave to animation entries should be Wipers. The Texture ID should be a relative path to the texture .ACE file in slot 4 - the wiper 'motion' texture. The Normals Texture ID should be a relative path to the texture .ACE file in slot 3 - the texture that determines which way the windows face.
The end result on my NS2200 locomotive. Note that the size of the raindrops is dependent on the size of the UV mapping on the polygons used for the windows. The more texture space the polygon takes up in the texture map, the smaller the rain drops (the actual texture map size doesn't matter). Note the raindrops on the side window are smearing towards the back of the locomotive and those on the back window are just moving down the window slightly.
![[email]](../images/email-blue.png)


 is the property and trademark of Nederlandse Spoorwegen.