manuals
Station Objects Pack
IMPORTANT: ALL CHRISTRAINS SCENERY OBJECTS, APART FROM THE NS PLATFORMS, ARE PREFIXED WITH CT IN THE OBJECT BROWSER.
Platforms (lofts-platforms)
Platform names contain a platform type, width, and style. The style is either 'edge' or 'middle'.
For example: 'NS Platform Mid 7m' is a modern platform, 7m wide, designed to fit between two tracks. 'NS Plaform C Edge 2.1m' is a 'C' type platform, 2.1m wide, designed to fit a single track.
Empty Platforms
Platforms that do not spawn passengers have the phrase 'NoPx' at the end of their name – for example 'NS Platform Mid 8m NoPx'. These platforms do not create or support passengers and can be used for complex station areas where people are not needed.
Platform offets
The Track-to-platform offset and track-to-track offset for all platforms can be calculated using the calculator below:
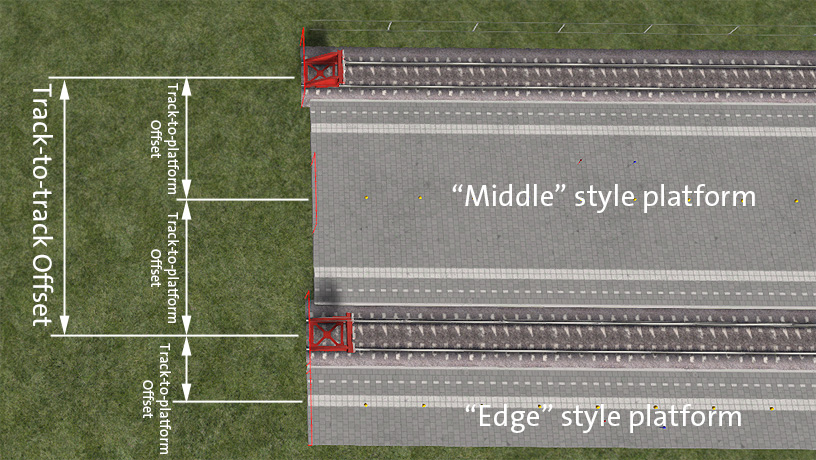
'Middle' style platforms will only work on perfectly parallel tracks as they have two platform edges.
'Edge' style platforms work with any sort of track.
Placing platforms using the offset tool
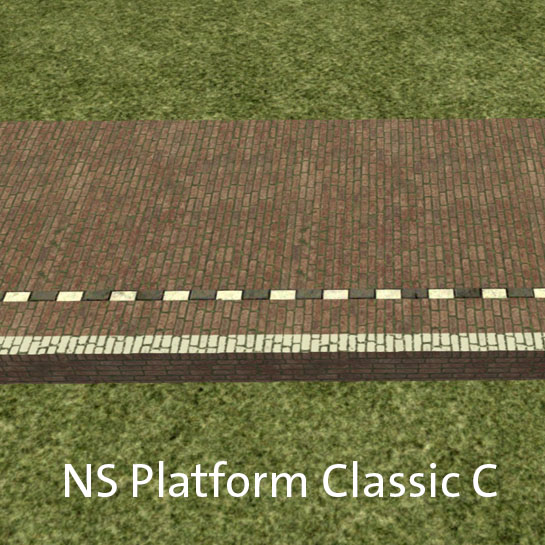
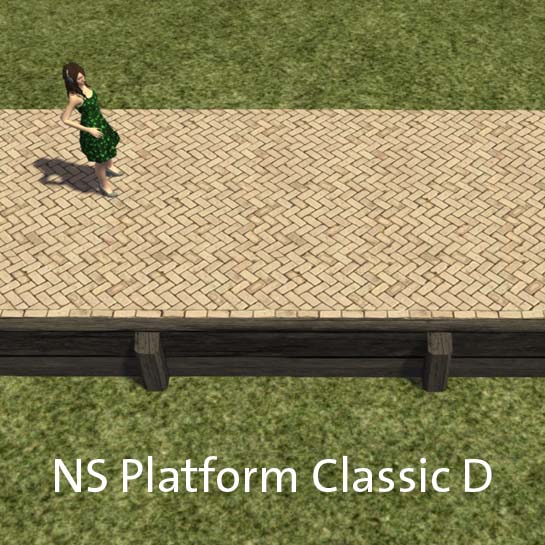
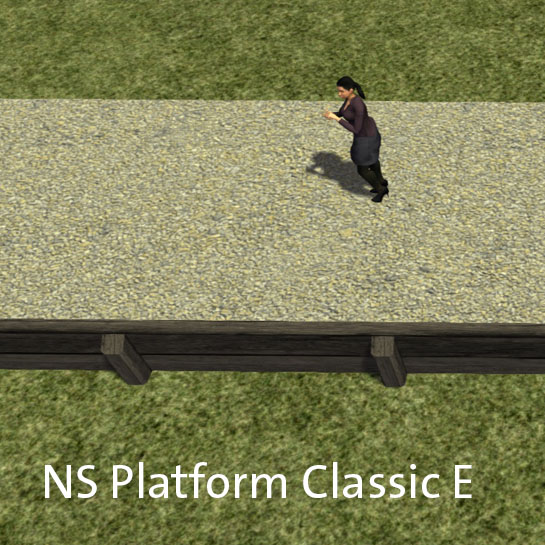
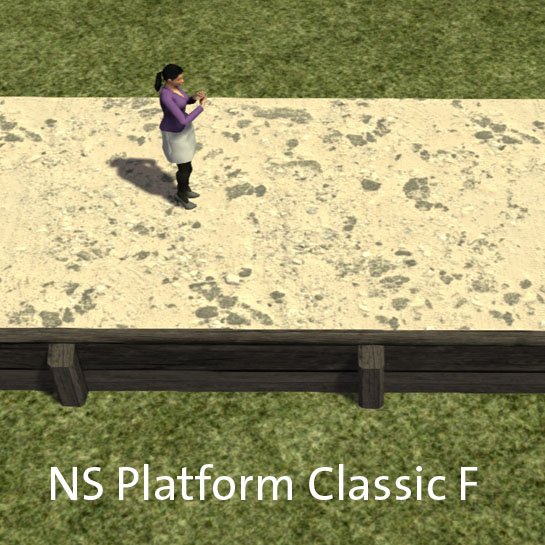
Platform Types
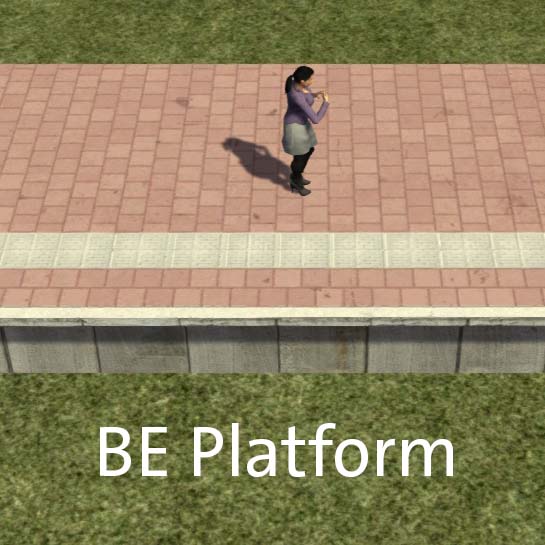
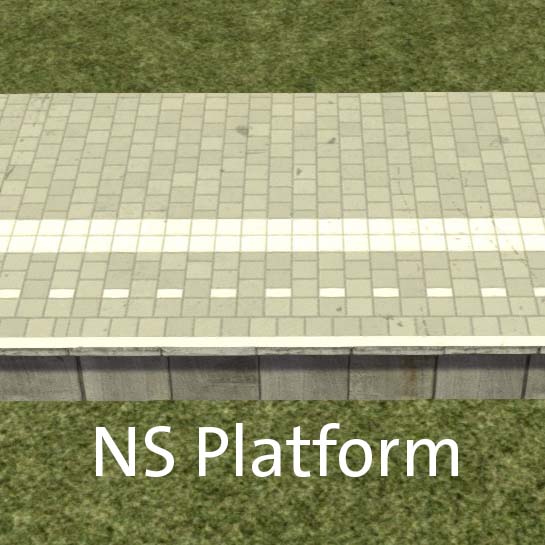
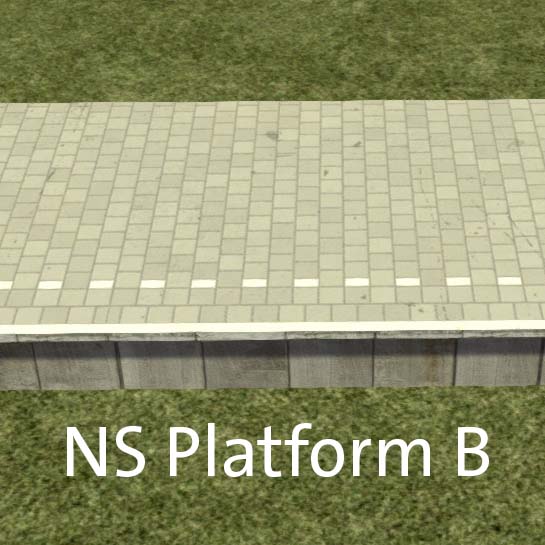
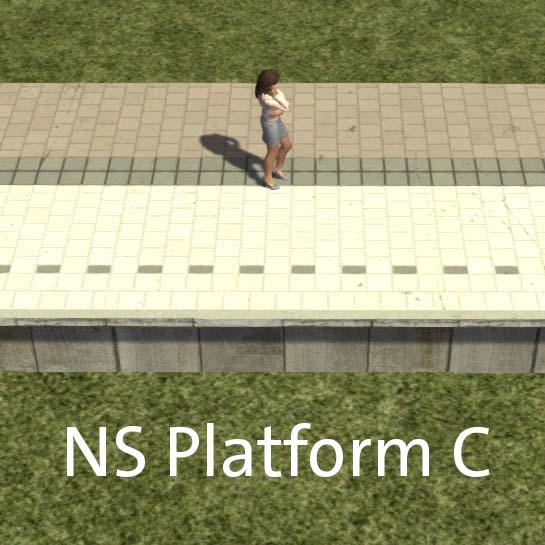
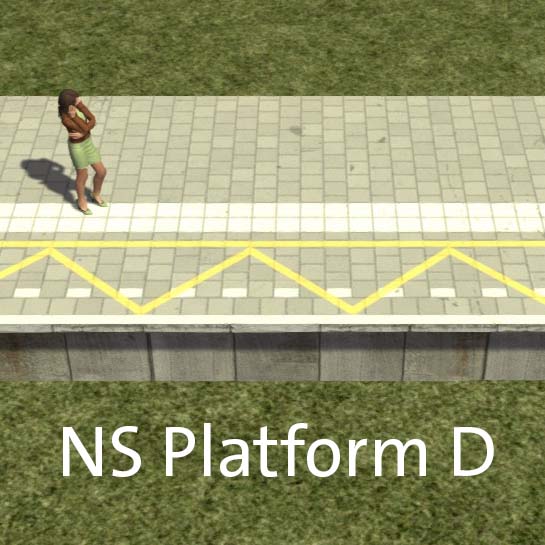
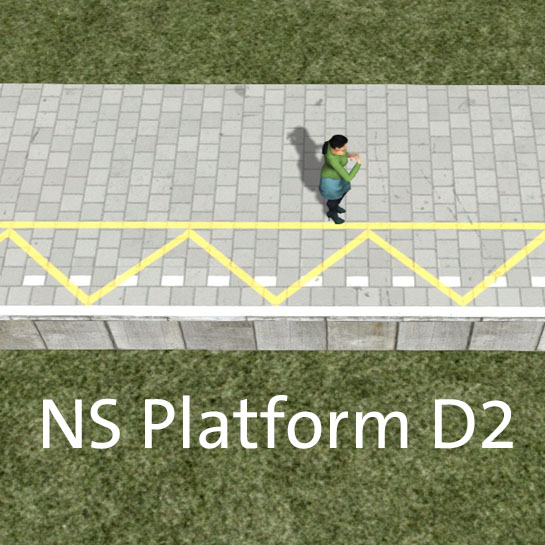
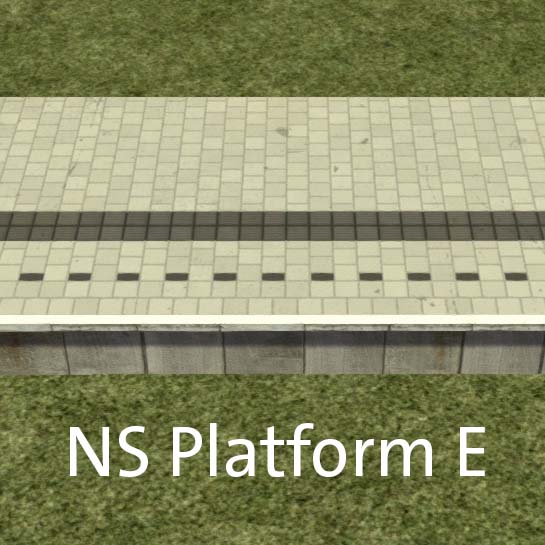
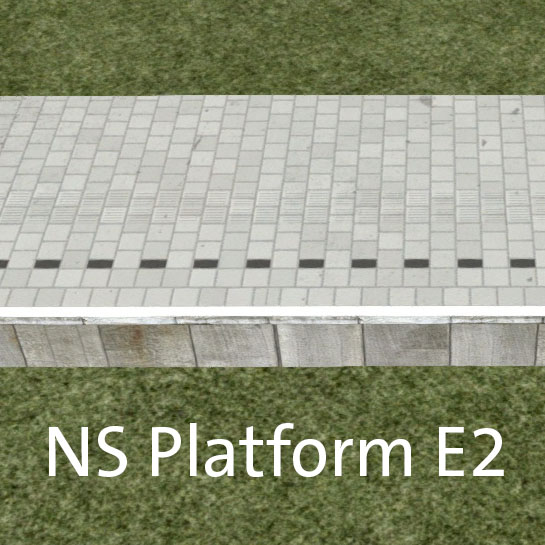
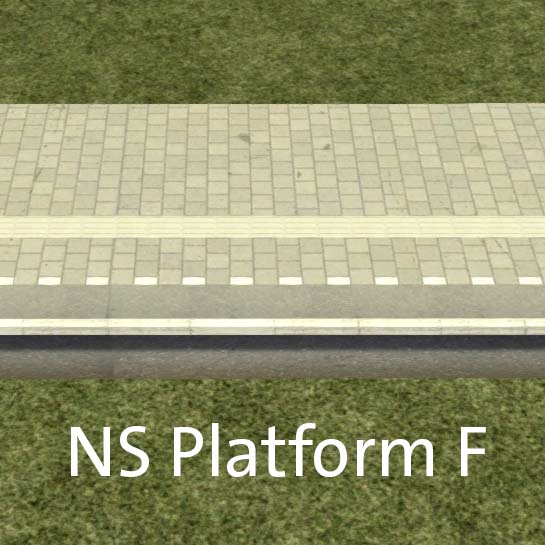
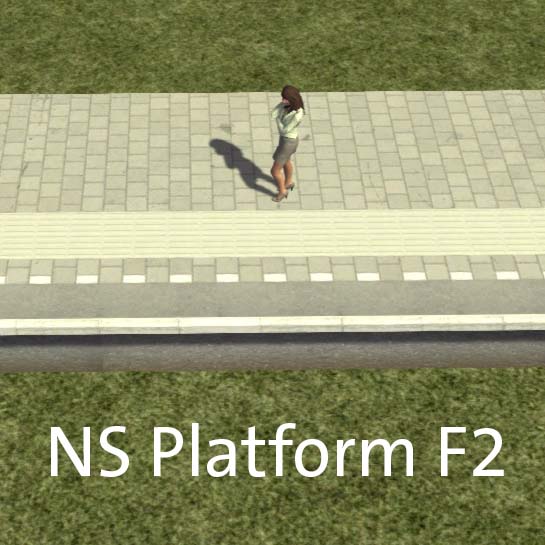
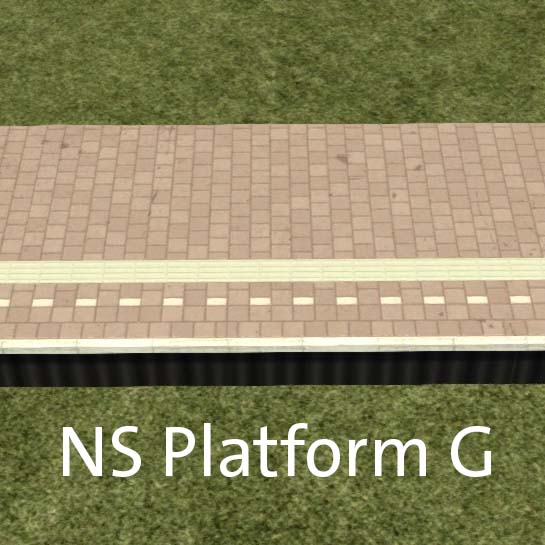
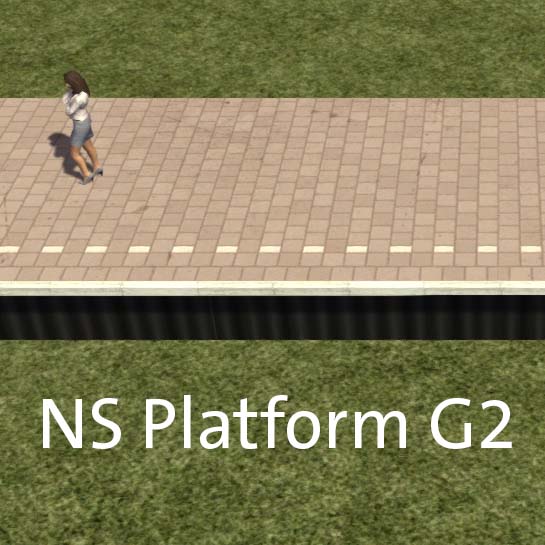
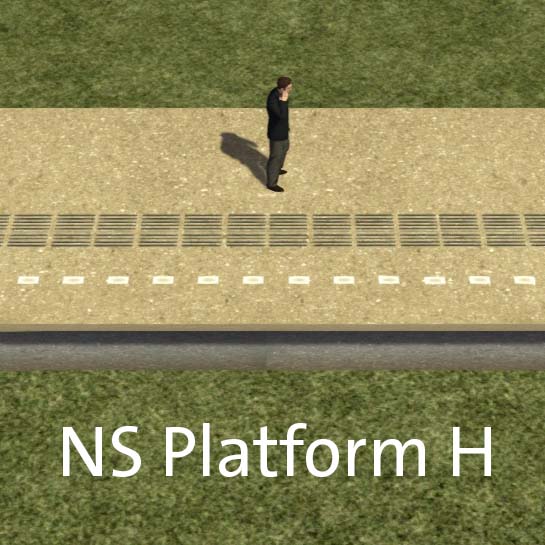
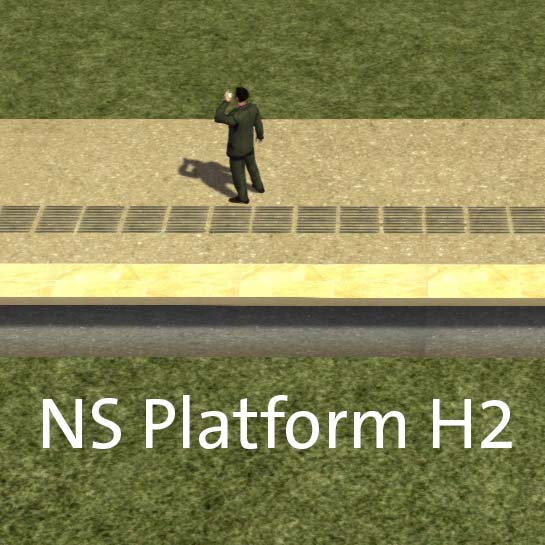
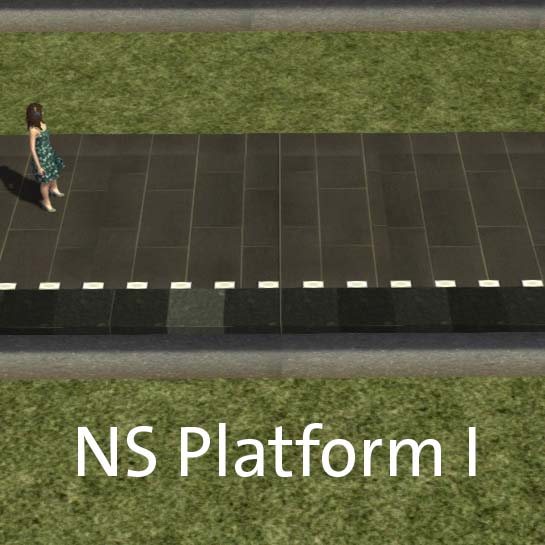
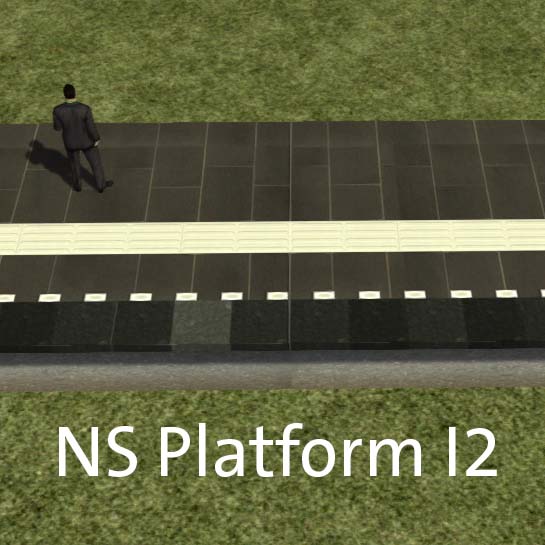
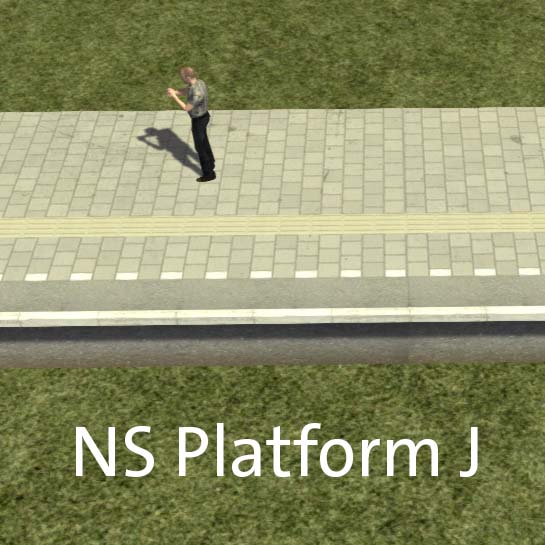
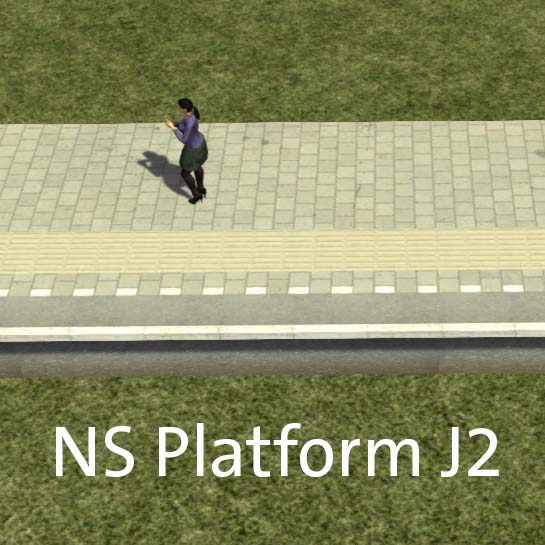
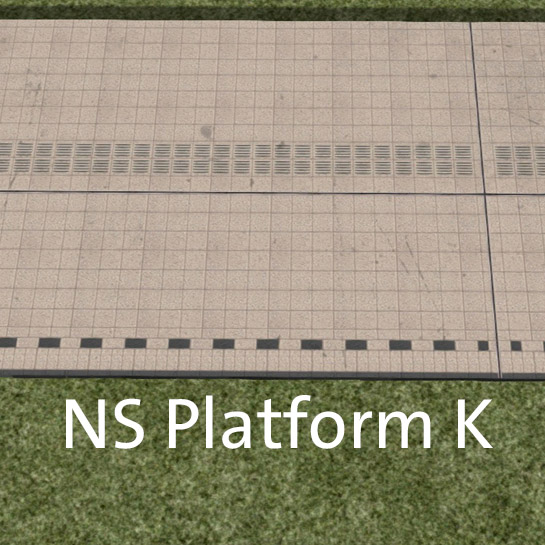
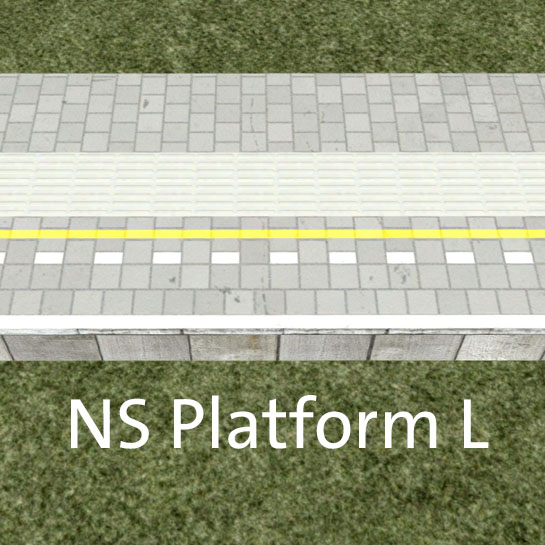
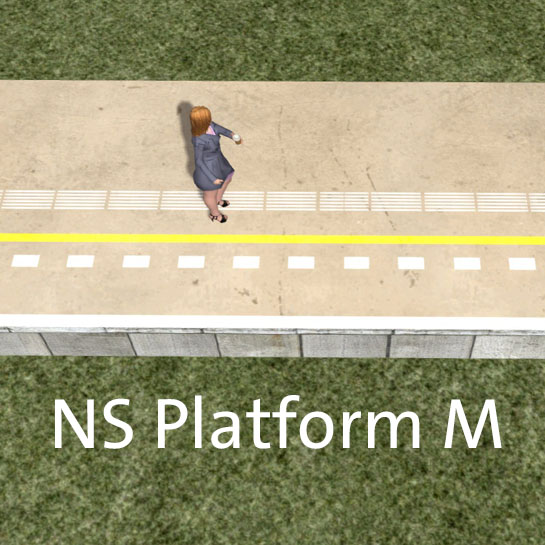
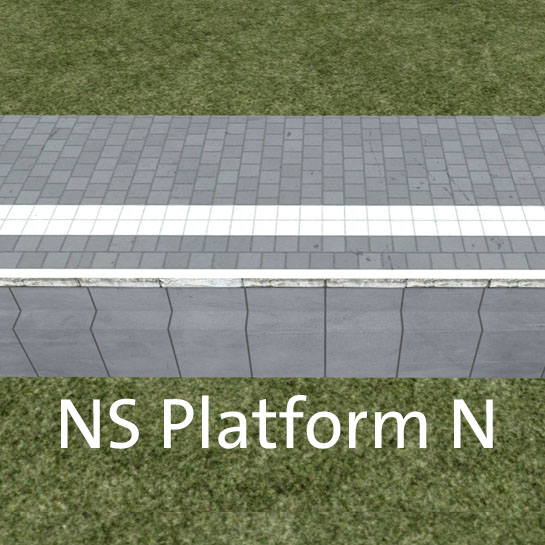
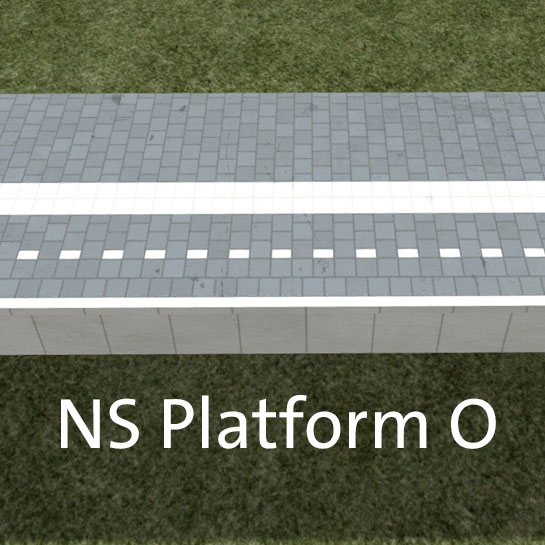
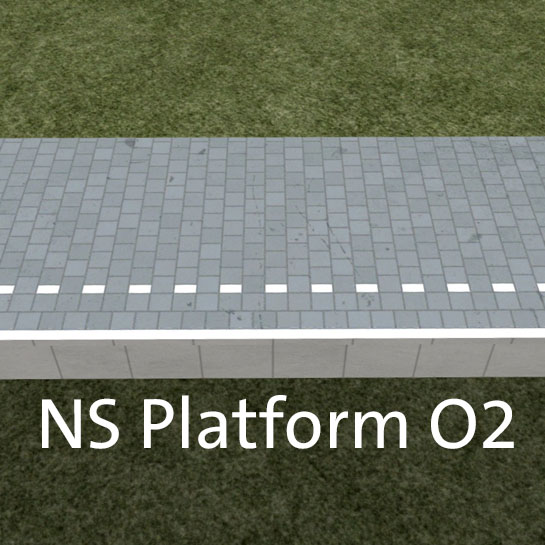
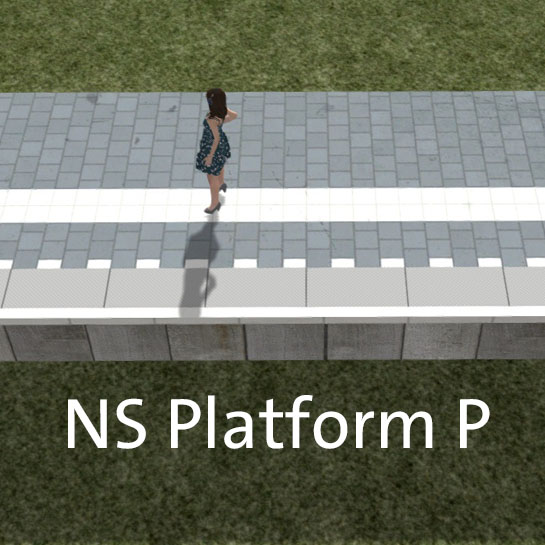
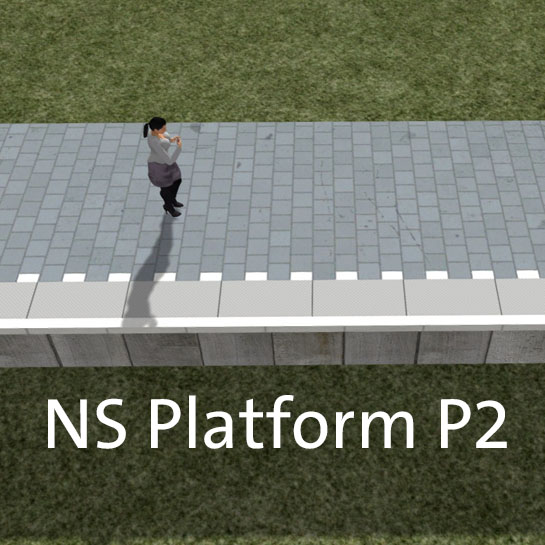
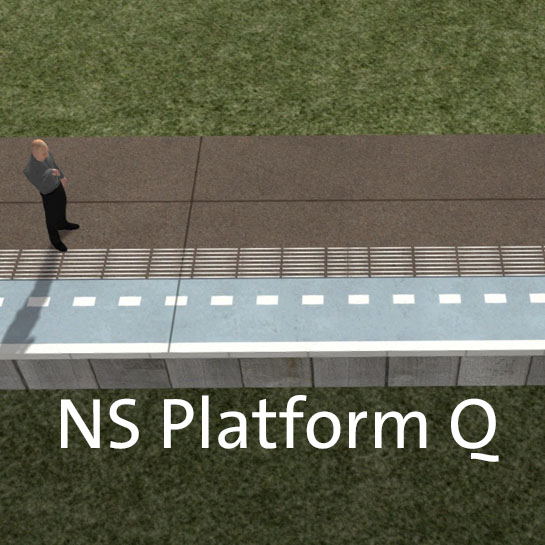
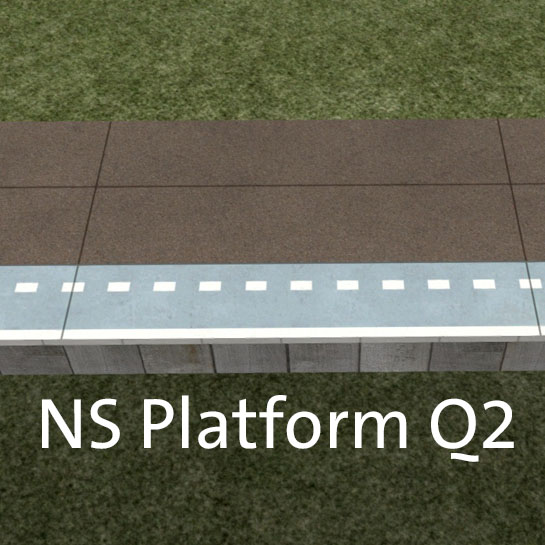
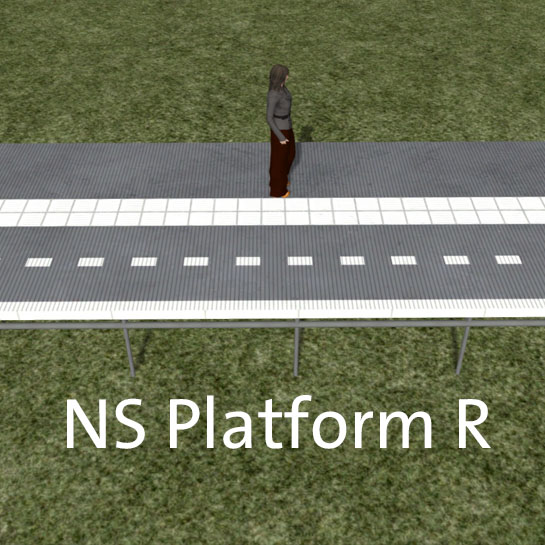
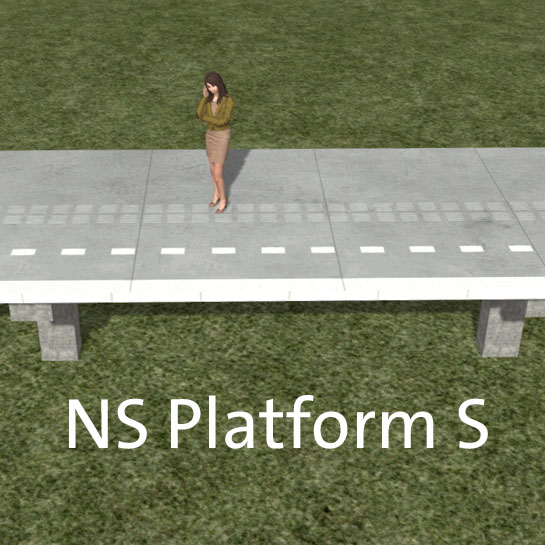
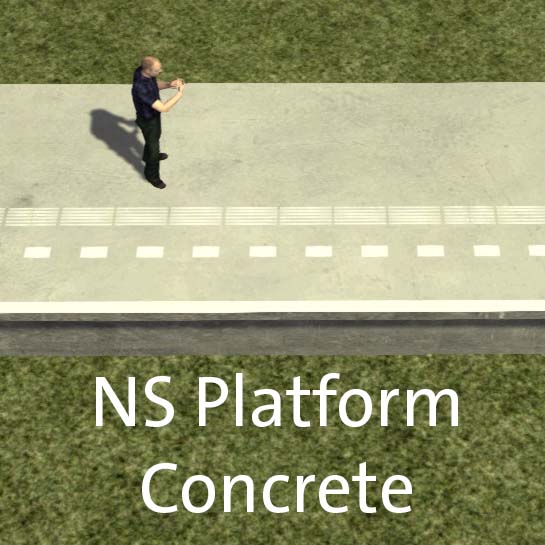
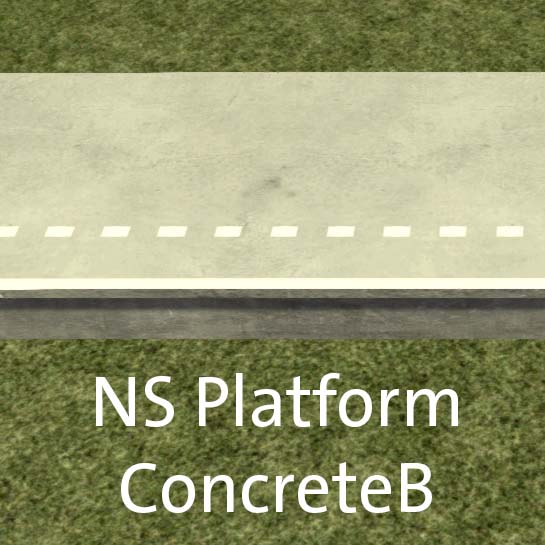
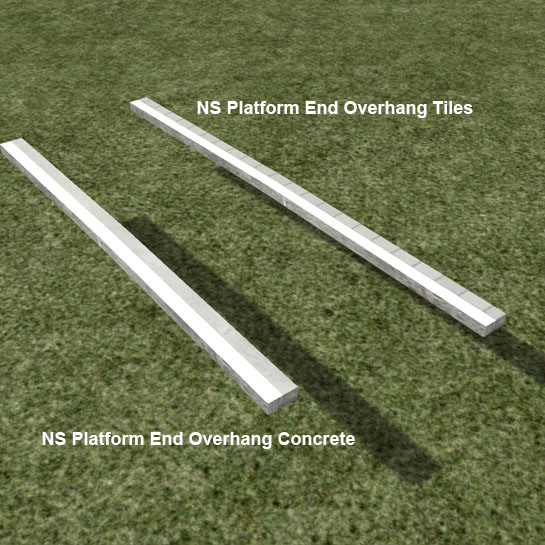
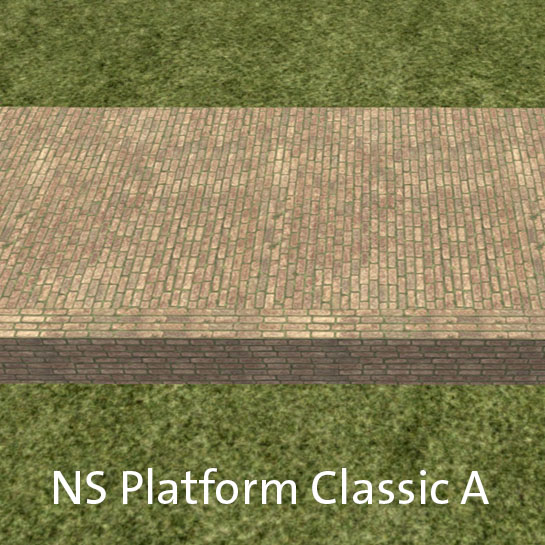
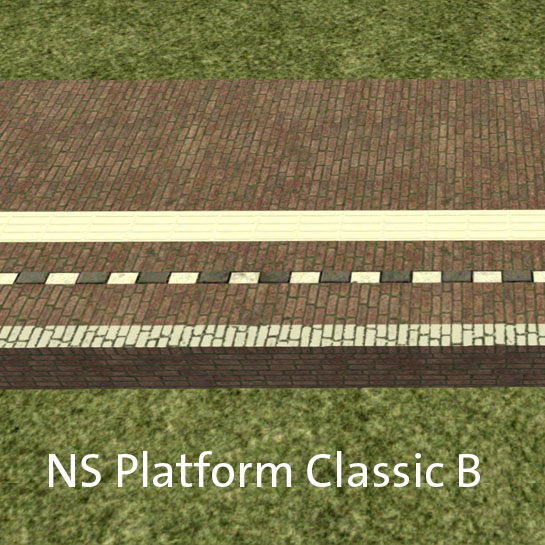
All Dutch platforms are prefixed with 'NS'. The different types are shown below. The one exception is the 'BE' platforms which are for Belgium.
For example the 'F2' platforms have names like 'NS Platform F2 Edge 4.75m'
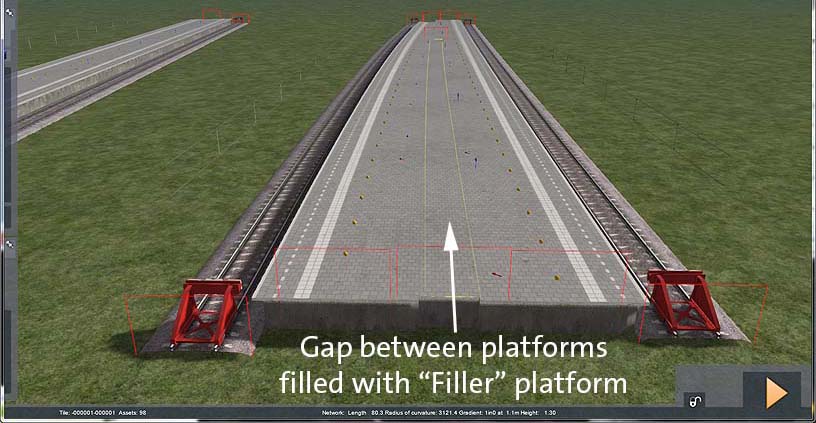
Filling gaps between 'edge' platforms
Gaps between two 'edge' platforms that are back-to-back can be filled with 'filler' platform lofts:
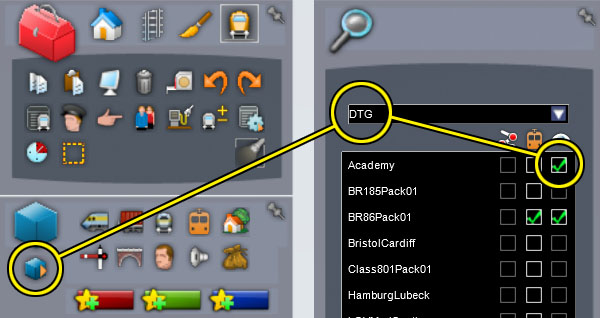
Platform passengers
In order for the passengers to be visible on the platforms you must enable the 'DTG Academy' assets in any route where you are using the platforms. In the route editor:
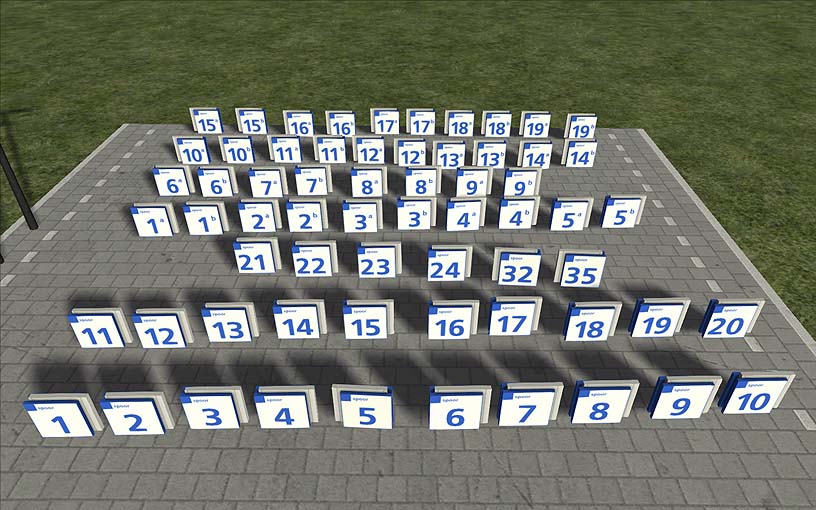
Platform Numbers (objects-stations)
The platform numbers are named 'NS Platform Nrxxx', for example 'NS Platform Nr14b'.
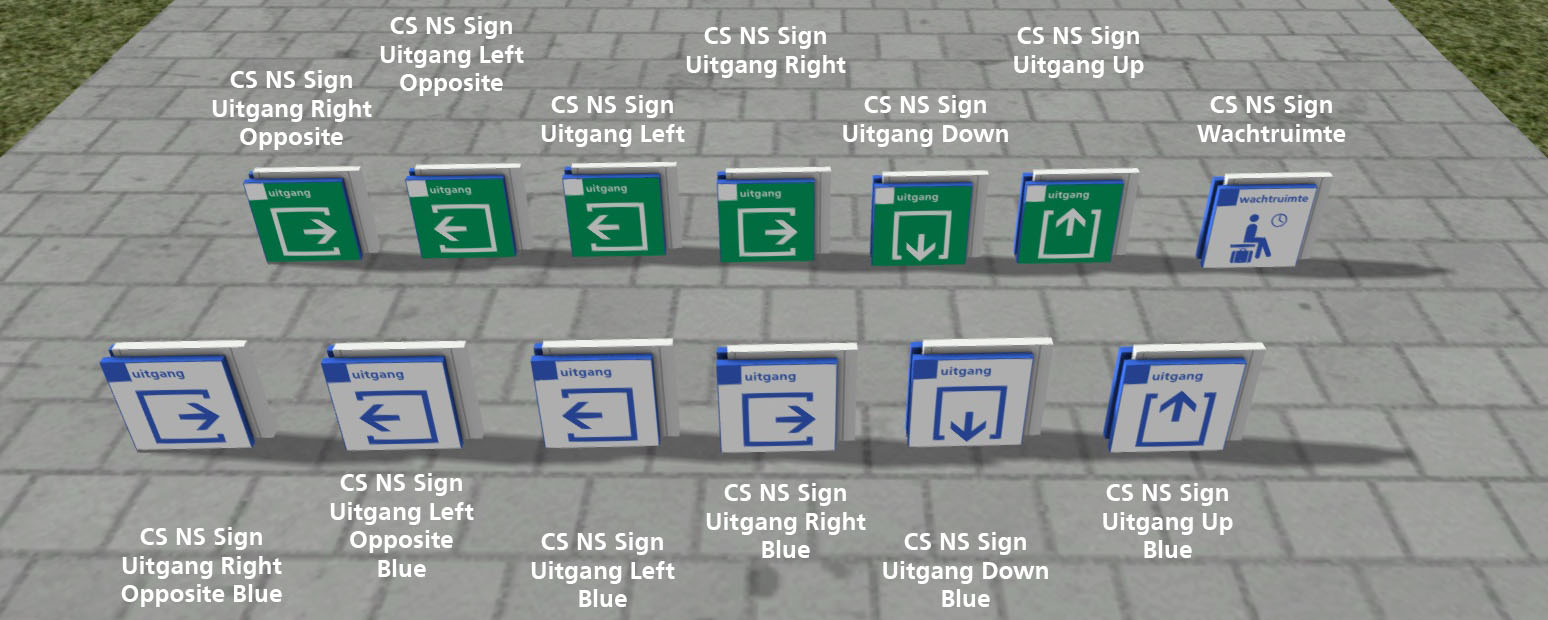
Miscellaneous Signs (objects-stations)
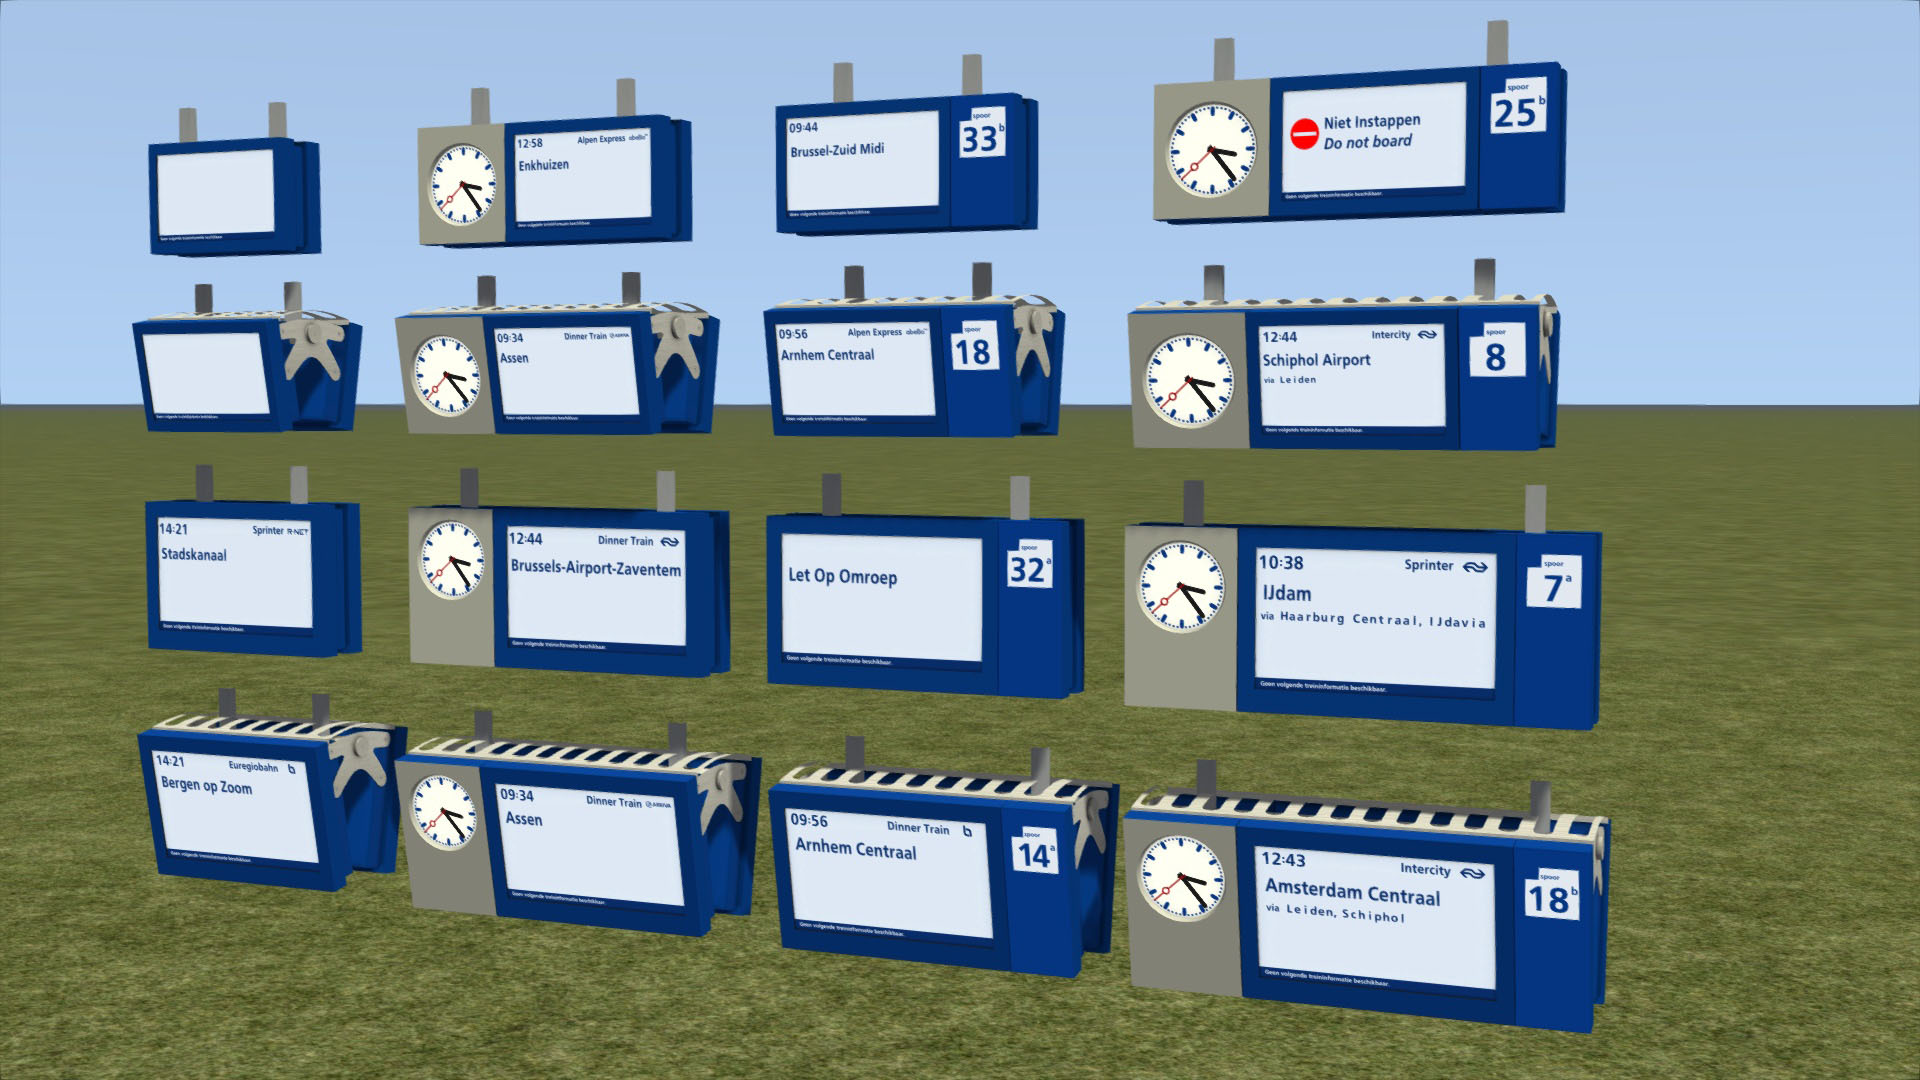
Programmable CTAs (objects-stations)
There is a full manual for the CTAs and how to use them here: NS CTAs
Platform Lamps (objects-stations)
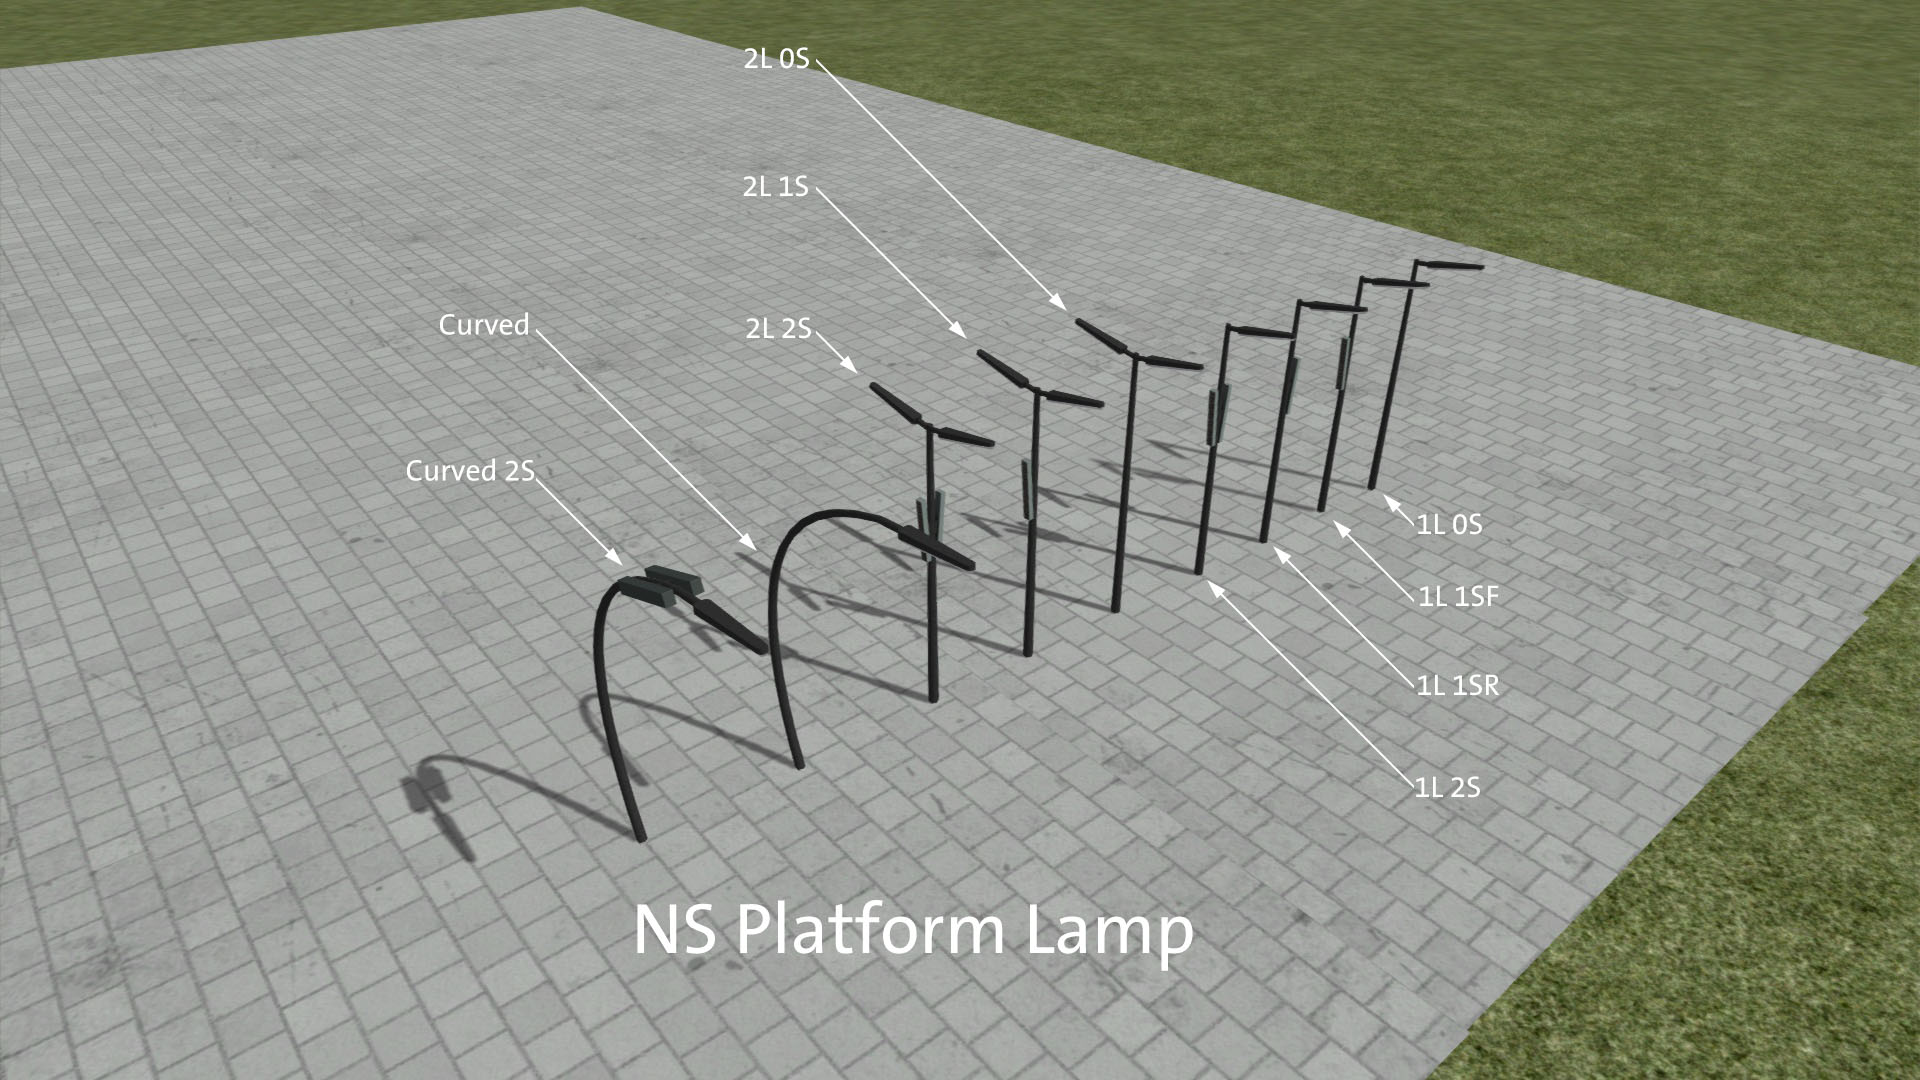
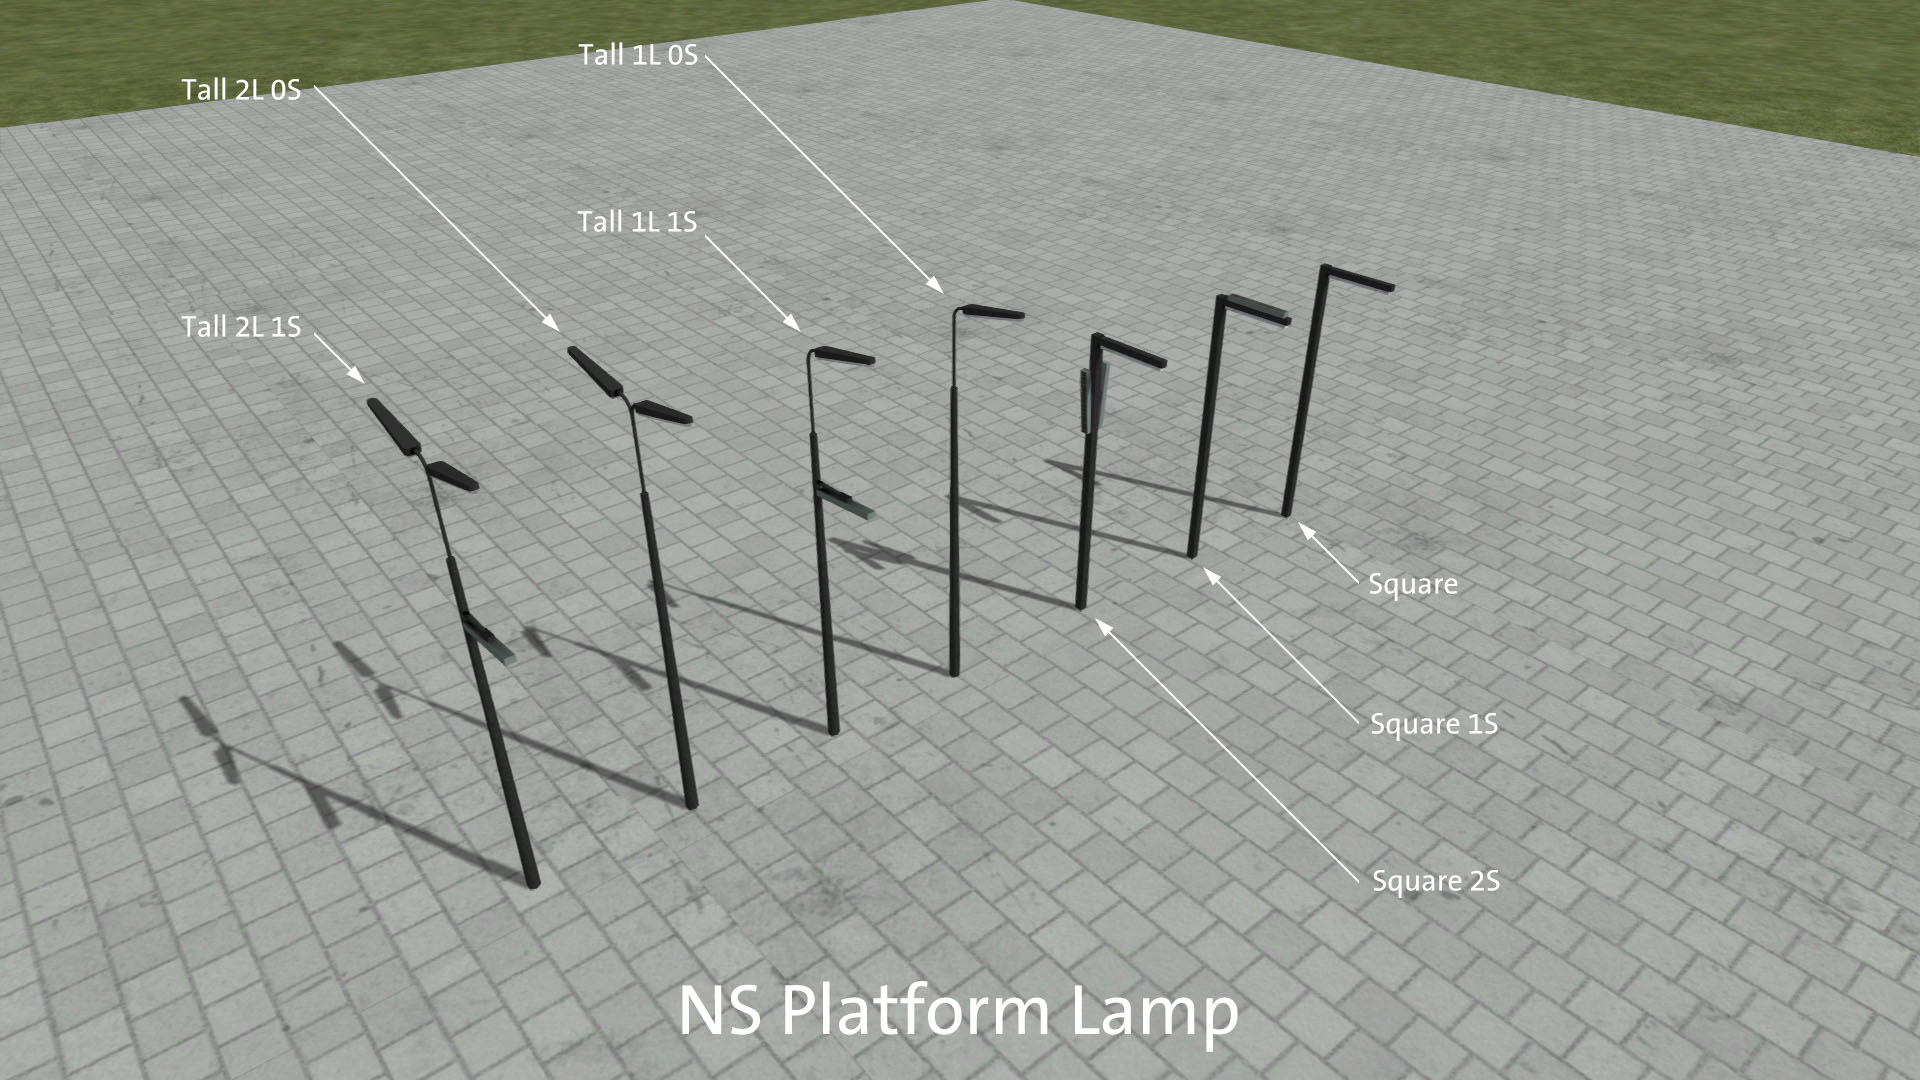
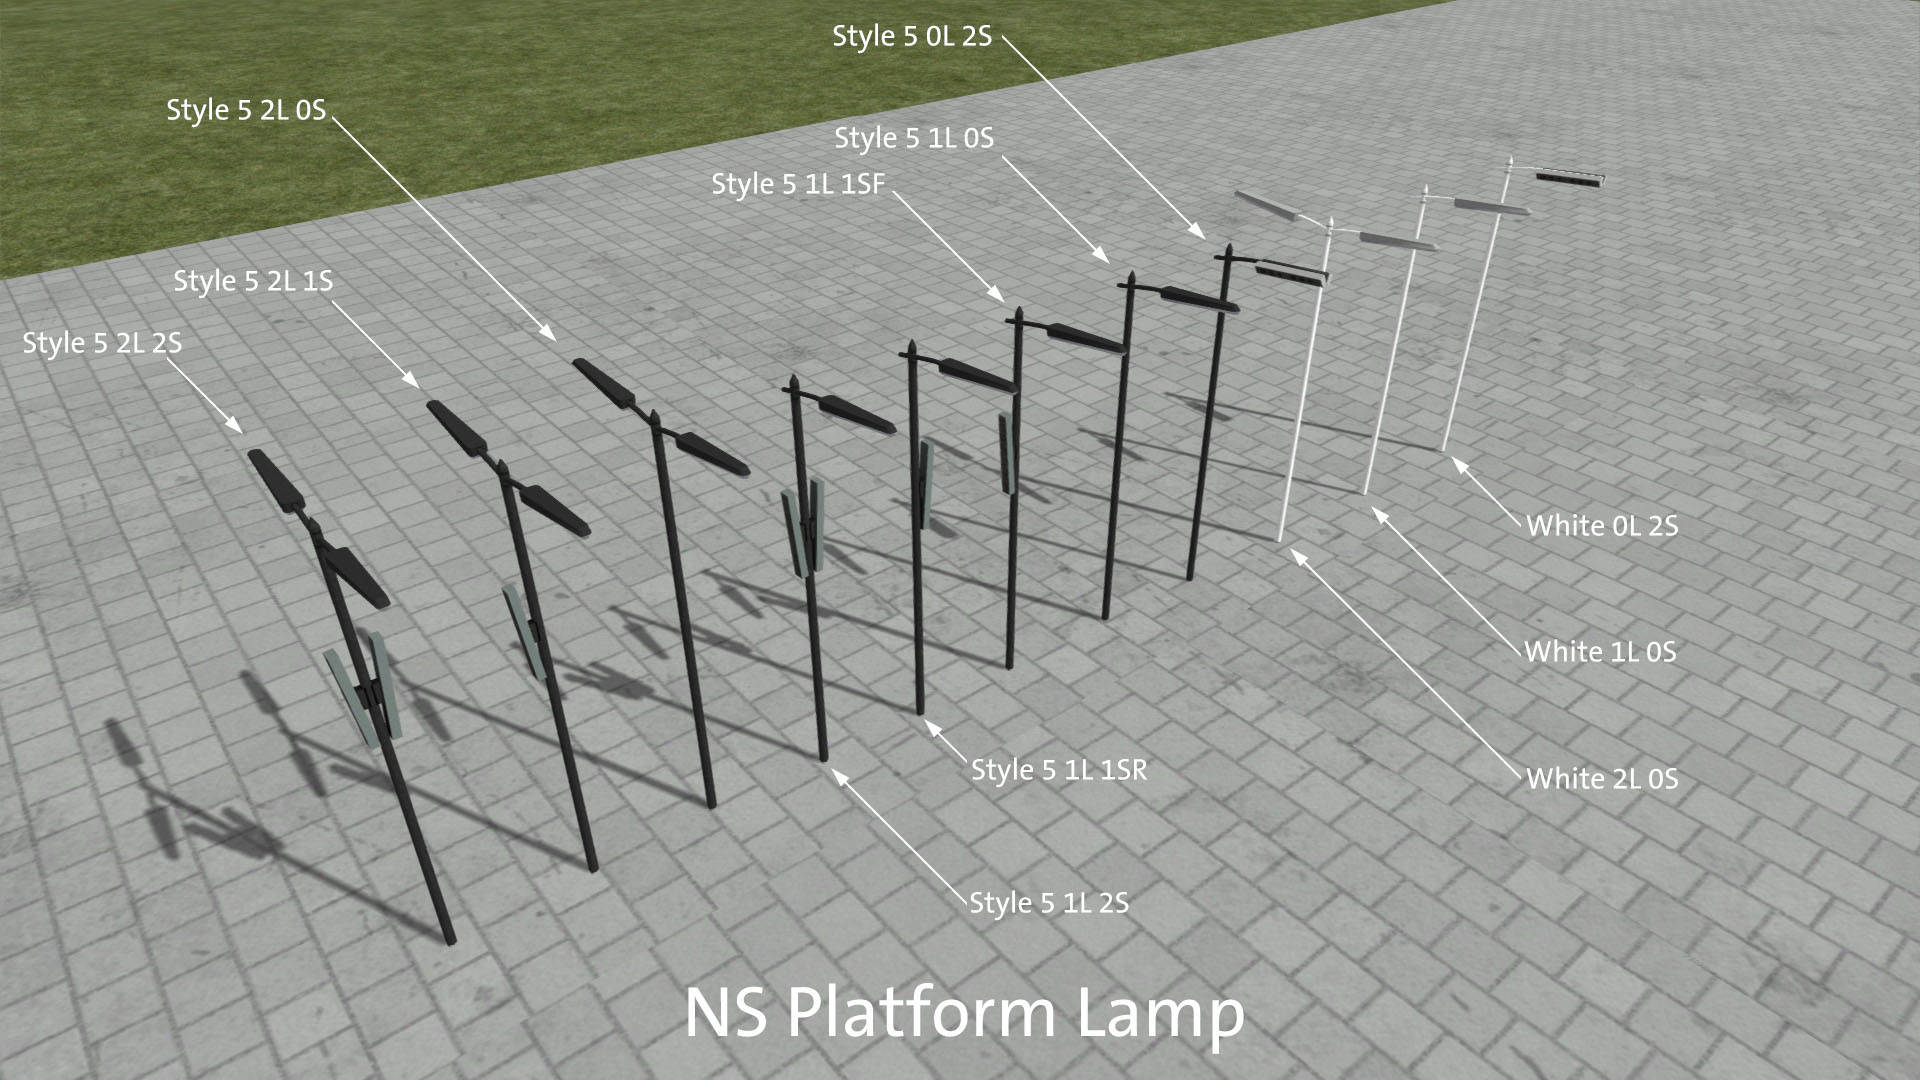
The pack also contains NS-style platform lamps as this is normally where the platform numbers are to be found. The naming convention for the lamp posts is based on the numbers of lights and speakers they have. For example:
NS Platform Lamp 1L 2S : 1L = 1 light 2S = 2 speakers
There are bright versions of all lamps. These have 'bright' at the end of the object name.
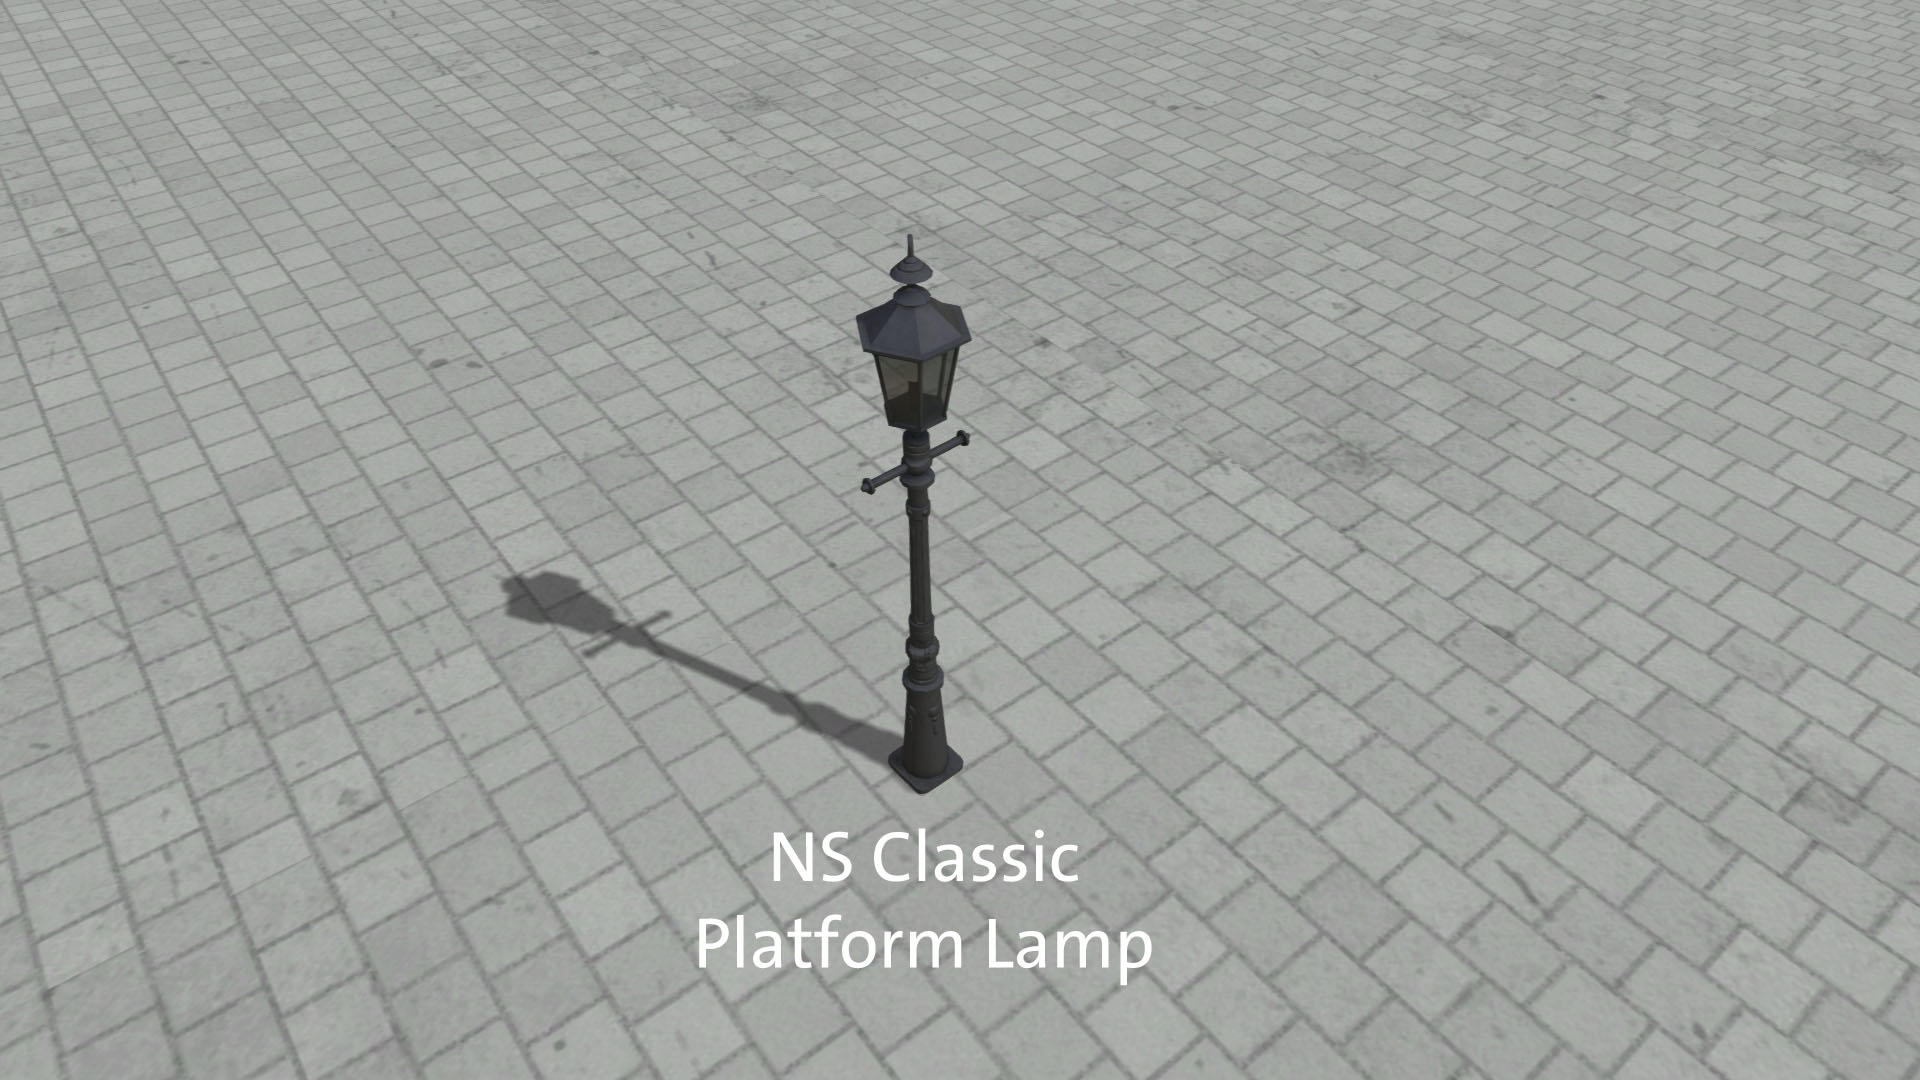
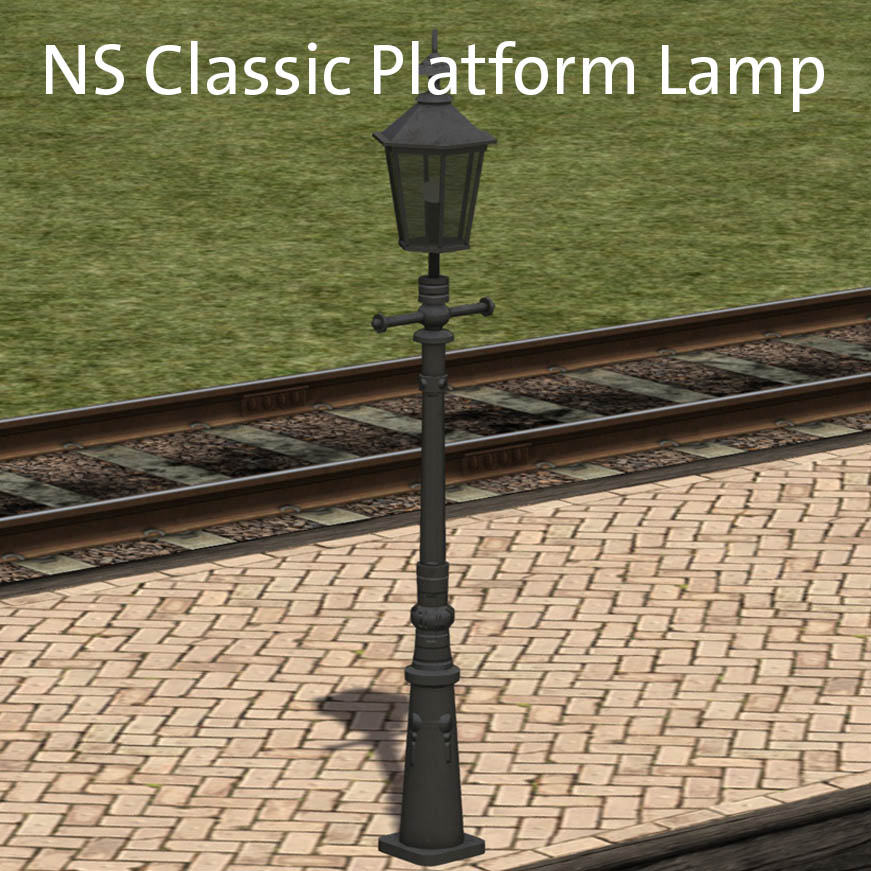
All the platform lamps are shown below:
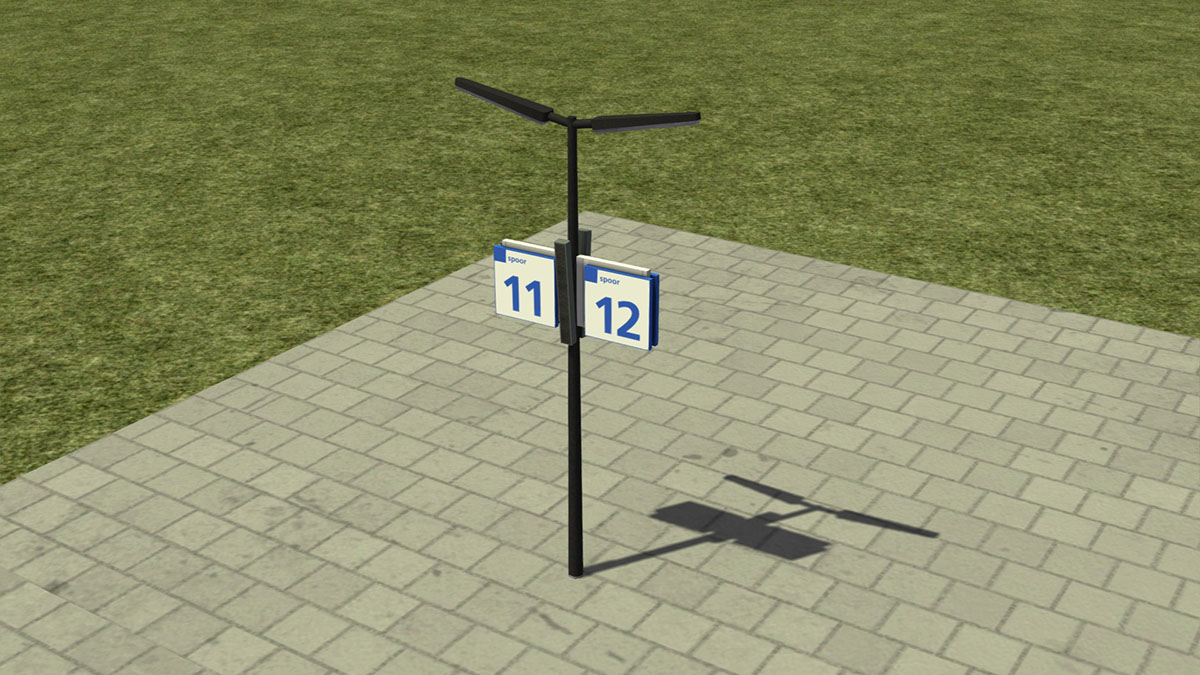
Example of a complete lamp post with platform numbers
This shows the proper positioning of the number boards compared to the lamp posts
NS Plain pole (objects-stations)
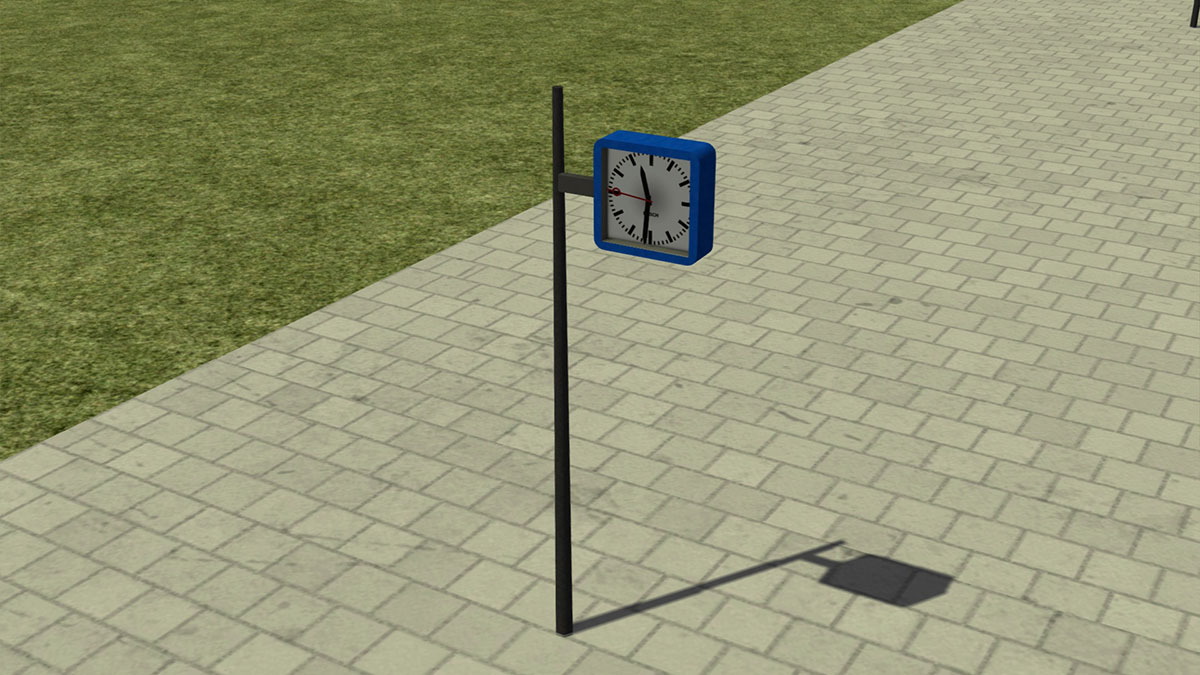
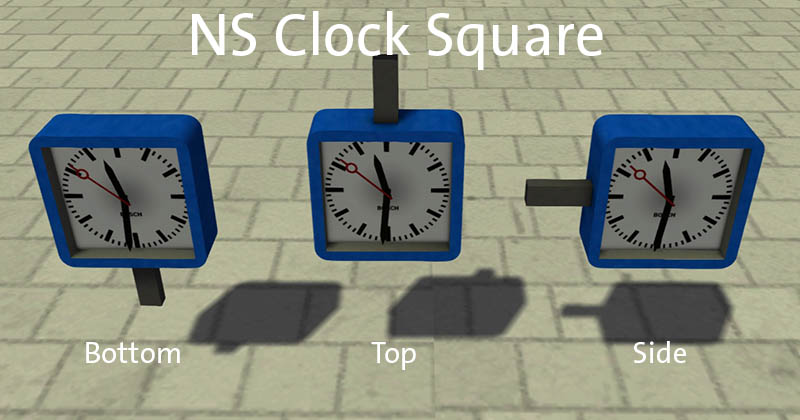
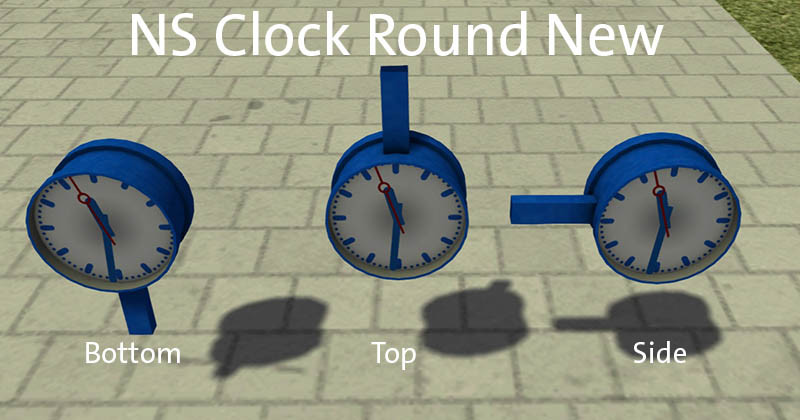
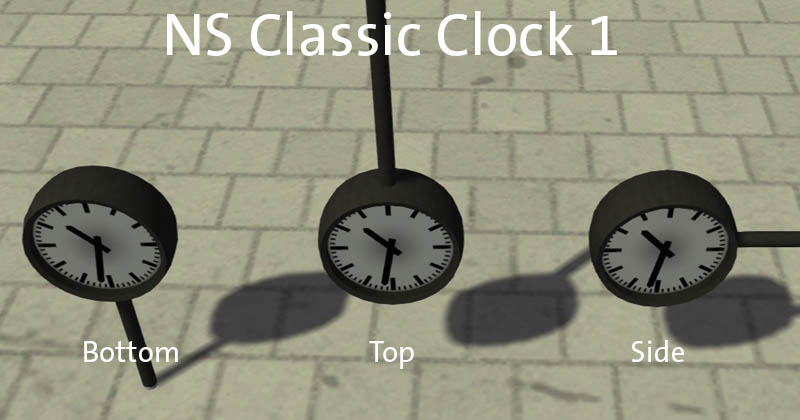
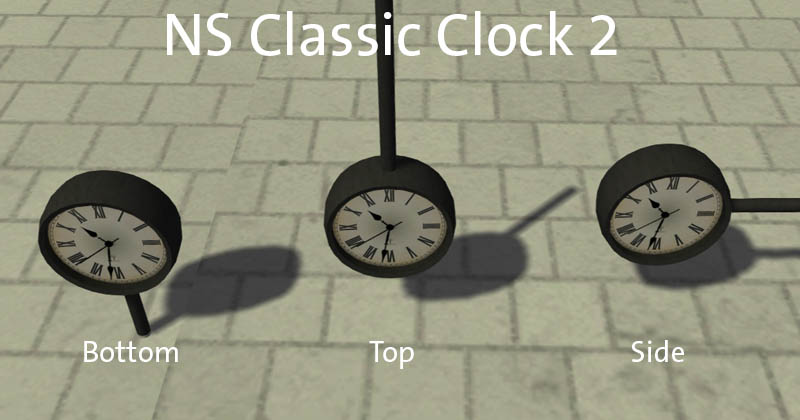
There is a plain station pole – the same type used for all the lights – but without any fixtures. It can be used to hang any other items, for example a station clock.
NS Clocks (objects-stations)
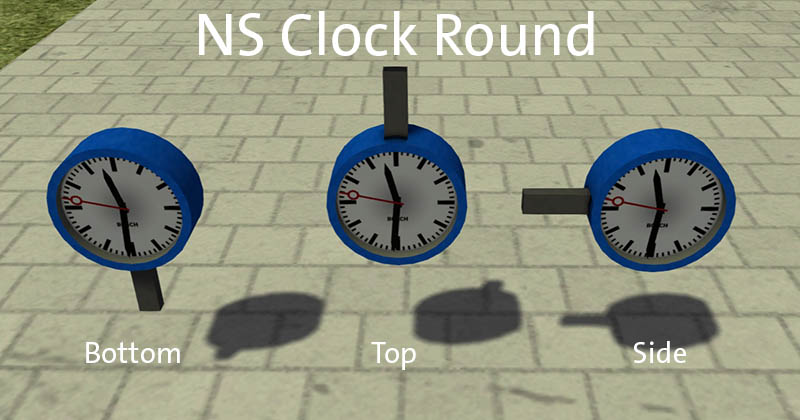
All clocks have hour, minute and second hands that read the correct time in the scenario.
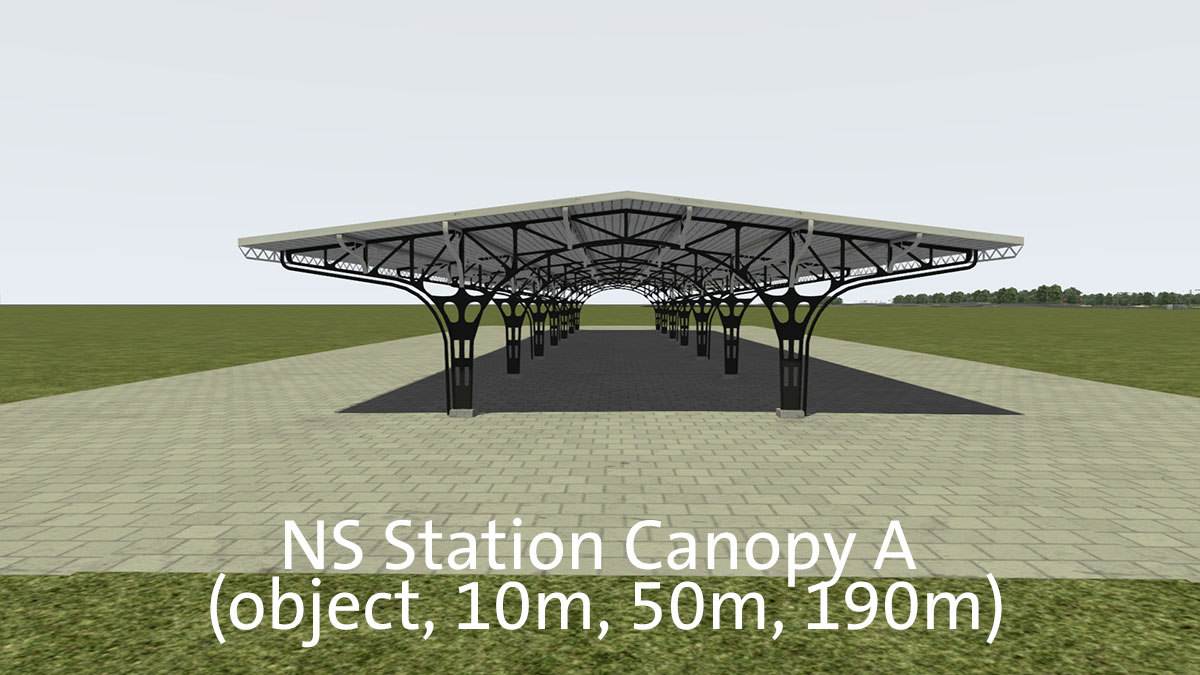
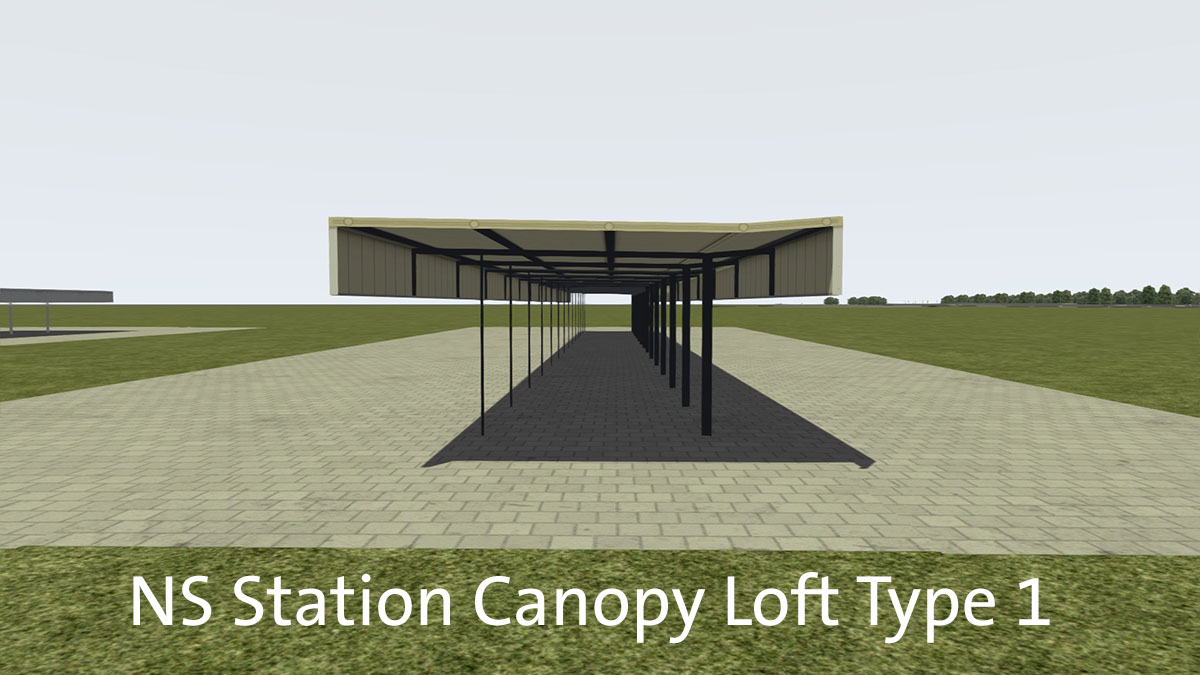
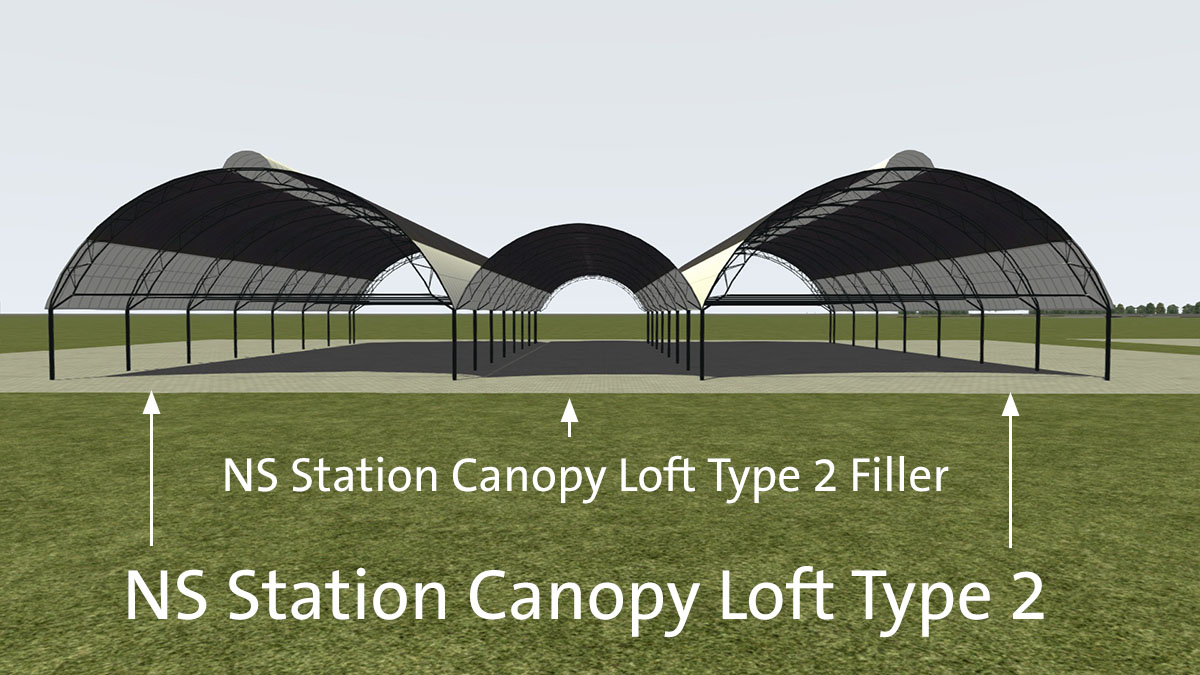
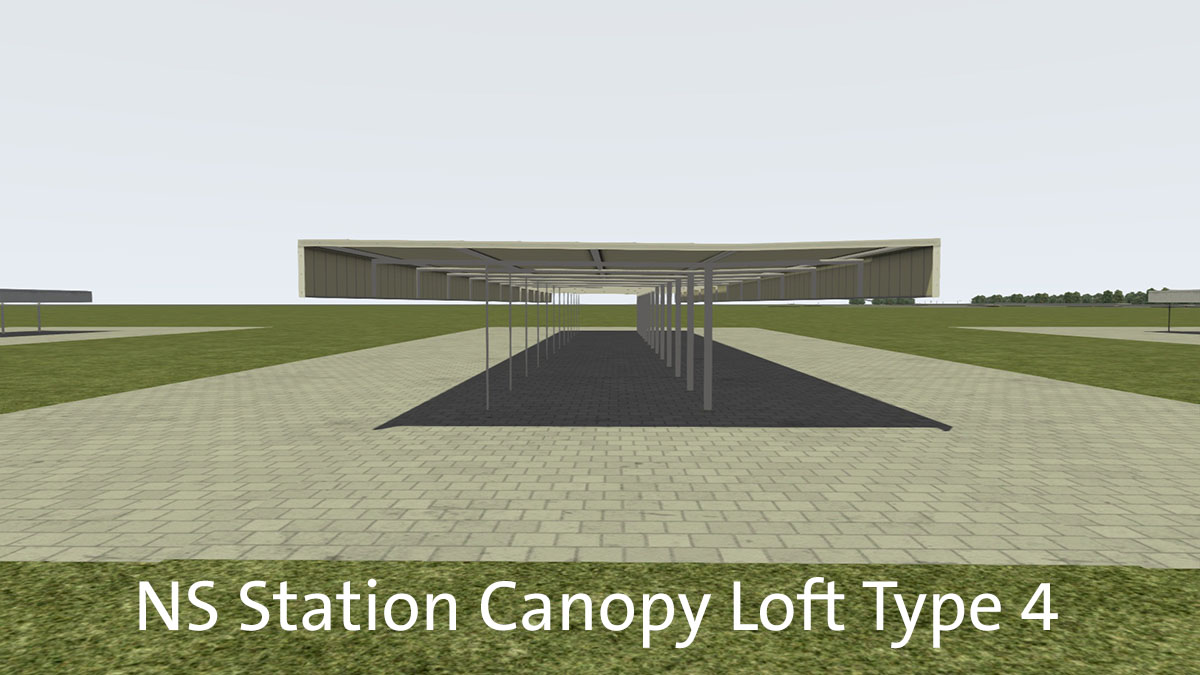
Station canopies (objects-misc)(lofts-stations)
Station Signs (objects-miscellaneous)
This pack comes with station signboards that route-builders and scenario-builders can use by typing in their own station names. 'Scripted scenery objects'' do not work in TS20xx, so to get around this, the station signs are actually signals that do nothing (so they will not interfere with the signaling system of the game). This allows a script to be attached to the object, and the script is what allows the name of the station to by typed in by the user.
To use the station signs, make sure ChrisTrains objects are visible in the scenario editor.
The signs are in the 'miscellaneous' section. They are available in both the Route Editor as well as the Scenario Editor.
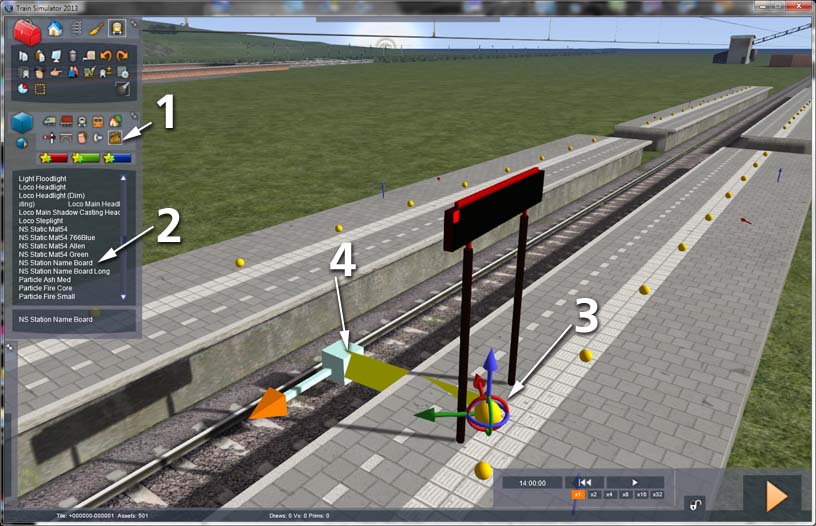
Click the 'miscellaneous' icon (1), then choose either (2) the 'NS Station Name Board' (which allows up to 17 characters) or 'NS Station Name Board Long' (which allows up to 25 characters):
Place the signboard (3) and then (because the game thinks this is a signal) place a single signal link on the track (4).
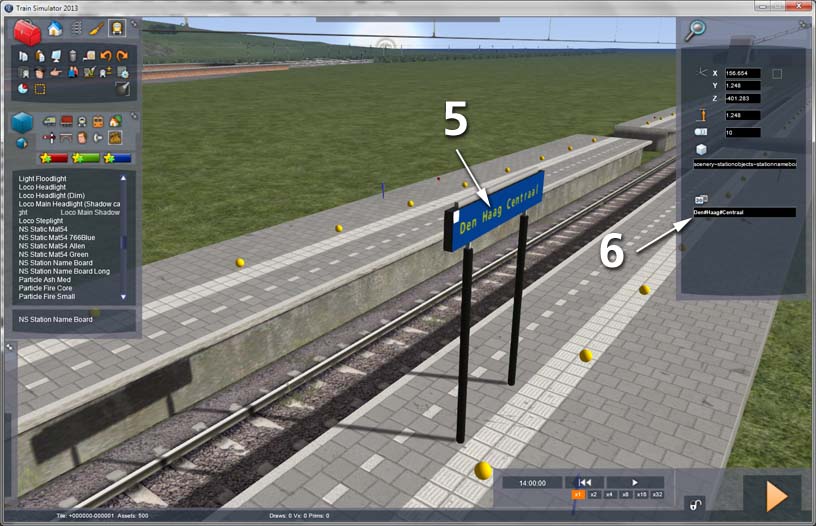
Once the sign is placed, you can name it. To do this, double click the sign (5) and in the properties on the right side of the screen, type in a name (6):
The name can use the characters A-Z, a-z, 0-9 and the hypen character ( - ). For a space, you must type '#'. In the example here, to get Den Haag Centraal on the sign, the name must be Den#Haag#Centraal.
Important note: in the Scenario Editor, the text on the sign will appear immediately. In the Route Editor, the sign will stay blank until you save the changes to the route and either go into the Scenario Editor, or play the game.
Hanging signs
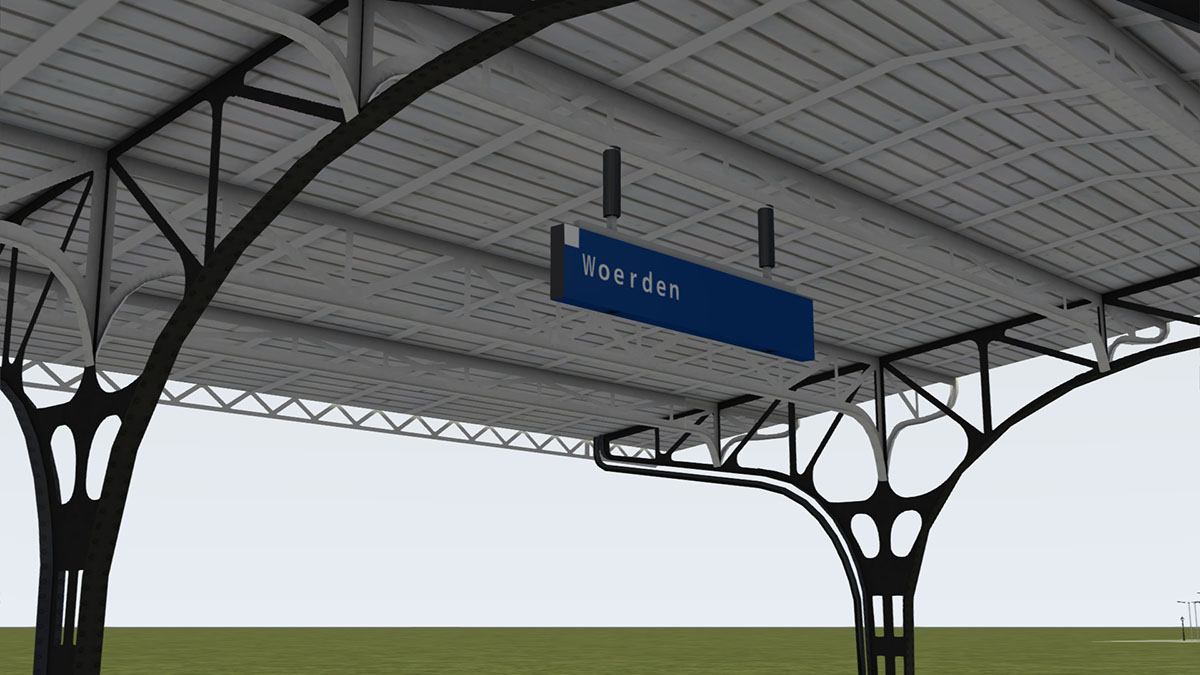
Two other objects are available for hanging signs – they are 'NS Station Name Board H' (which allows up to 17 characters) or 'NS Station Name Board H Long' (which allows up to 25 characters)
About the letters and spacing
For variable-width characters, in real life the distance between each character varies depending on the character. 'i' is very narrow and 'w' is very wide. (In typography, this is known as 'kerning'.) In TS20xx we do not have this luxury so every character is a fixed width. This means that some signs are going to look a little strange, especially where narrow and wide characters exist. This is a compromise of this object – to allow users to be able to type in their own sign names instead of having hundreds of objects (one for each station name). There is no workaround for this.
The picture below shows the difference. Variable width (kerned) font on the left, and the limitation of how it appears on these signs in the game (right):
2016 Versions
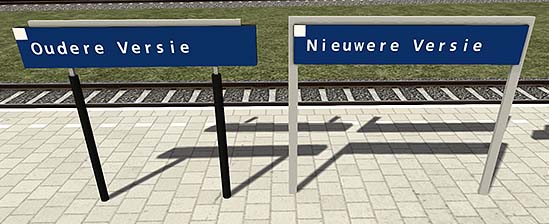
The newer 2016-style NS signs (on the right) are available with '2016' after their name in the blueprint editor. For example 'NS Station Name Board 2016':
Wall Versions
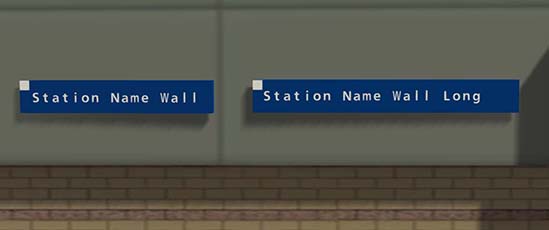
Versions with 'Wall' in the name are designed to be placed on building walls as they have no legs: For example 'NS Station Name Board Wall':
1970's Versions
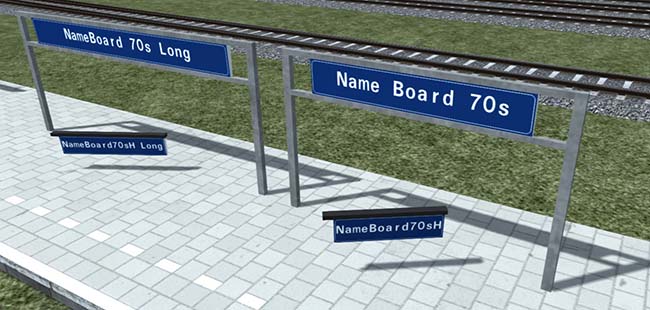
1970's name boards (and hanging boards) are available with '70s' in their name. For example 'NS Station Name Board 70s' and 'NS Station Name Board 70s H Long'.
1980's Versions
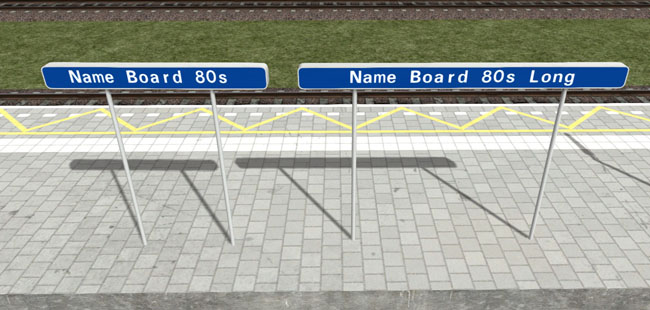
1980's name boards are available with '80s' in their name. For example 'NS Station Name Board 80s' and 'NS Station Name Board 80s Long'.
Classic Versions
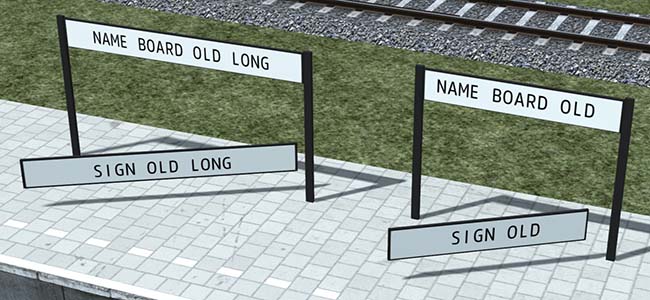
'Classic' name boards and signs for buildings are available with 'old' in their name. For example 'NS Station Name Board Old' and 'NS Station Sign Old'.
THESE SIGNS WORK BEST WITH ALL-CAPS LETTERS.
Classic Blue Versions
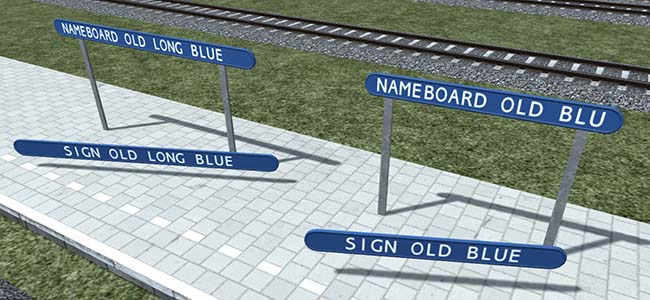
'Classic' blue name boards and signs for buildings are available with 'old blue' in their name. For example 'NS Station Name Board Old Blue' and 'NS Station Sign Old Blue Long'.
THESE SIGNS WORK BEST WITH ALL-CAPS LETTERS.
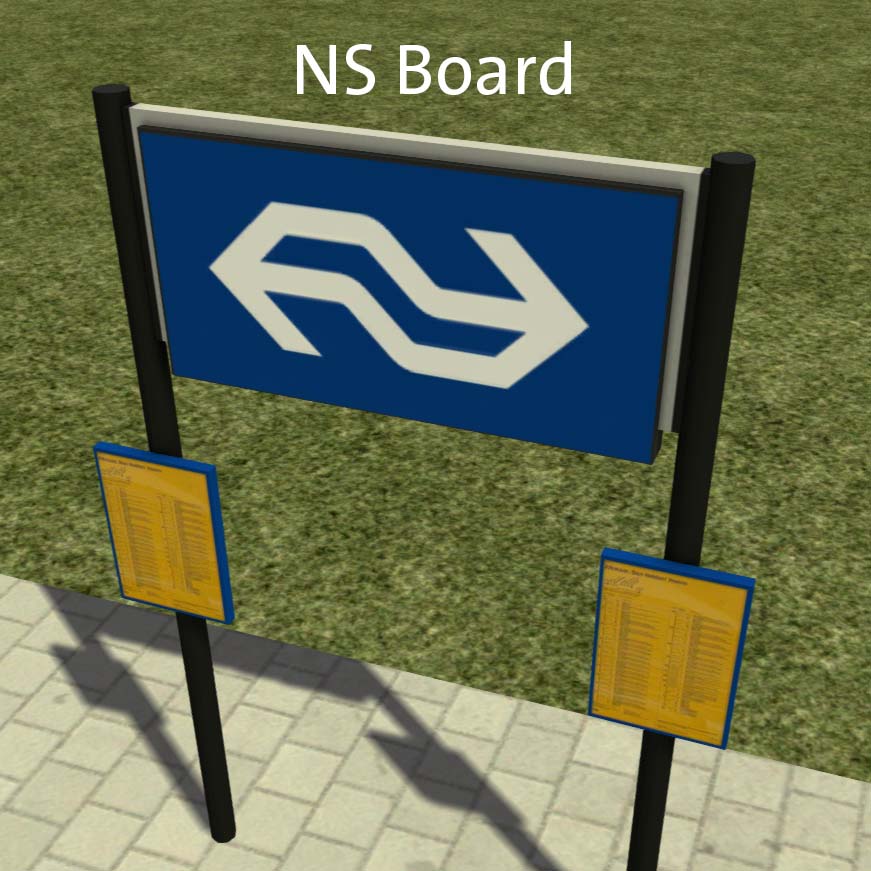
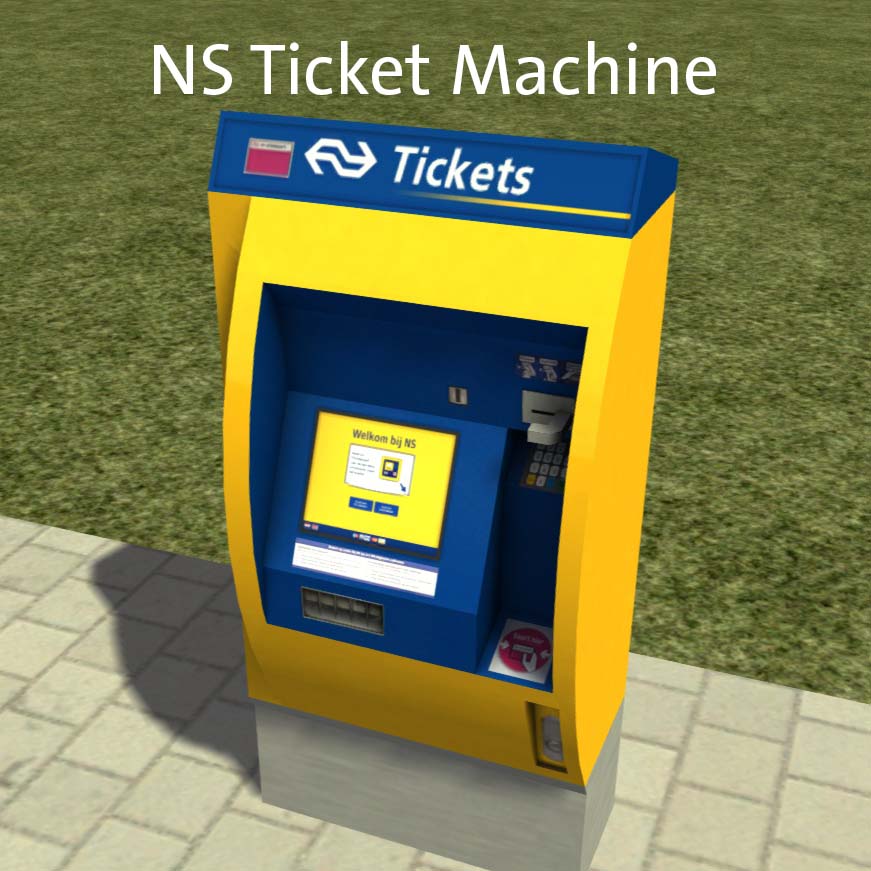
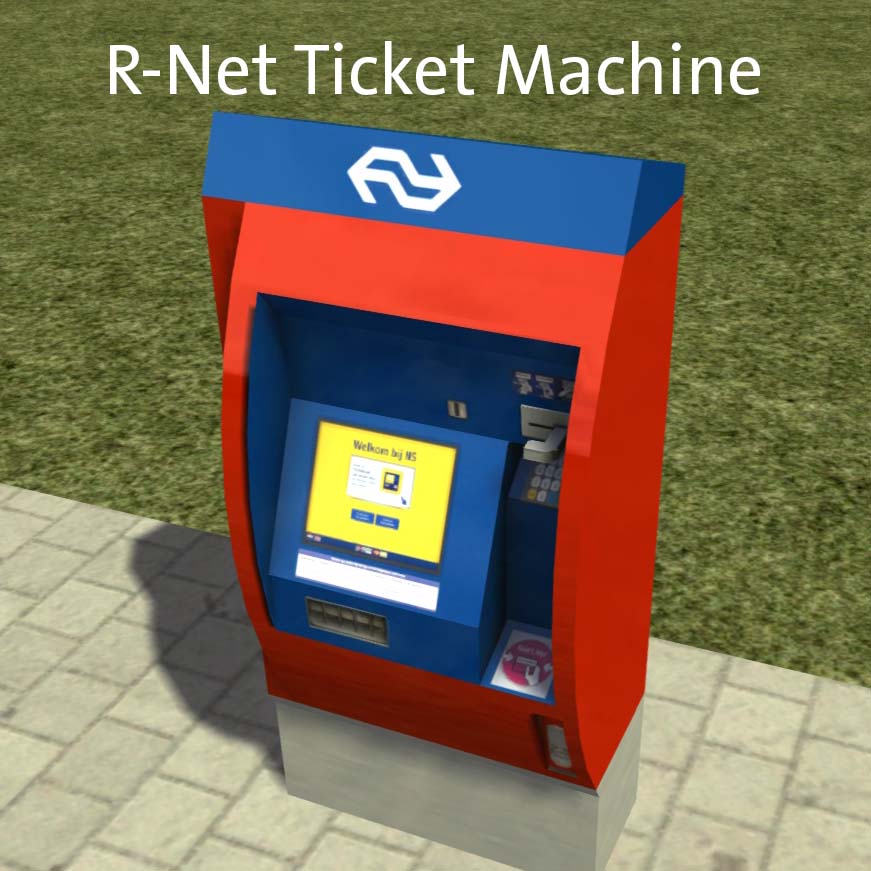
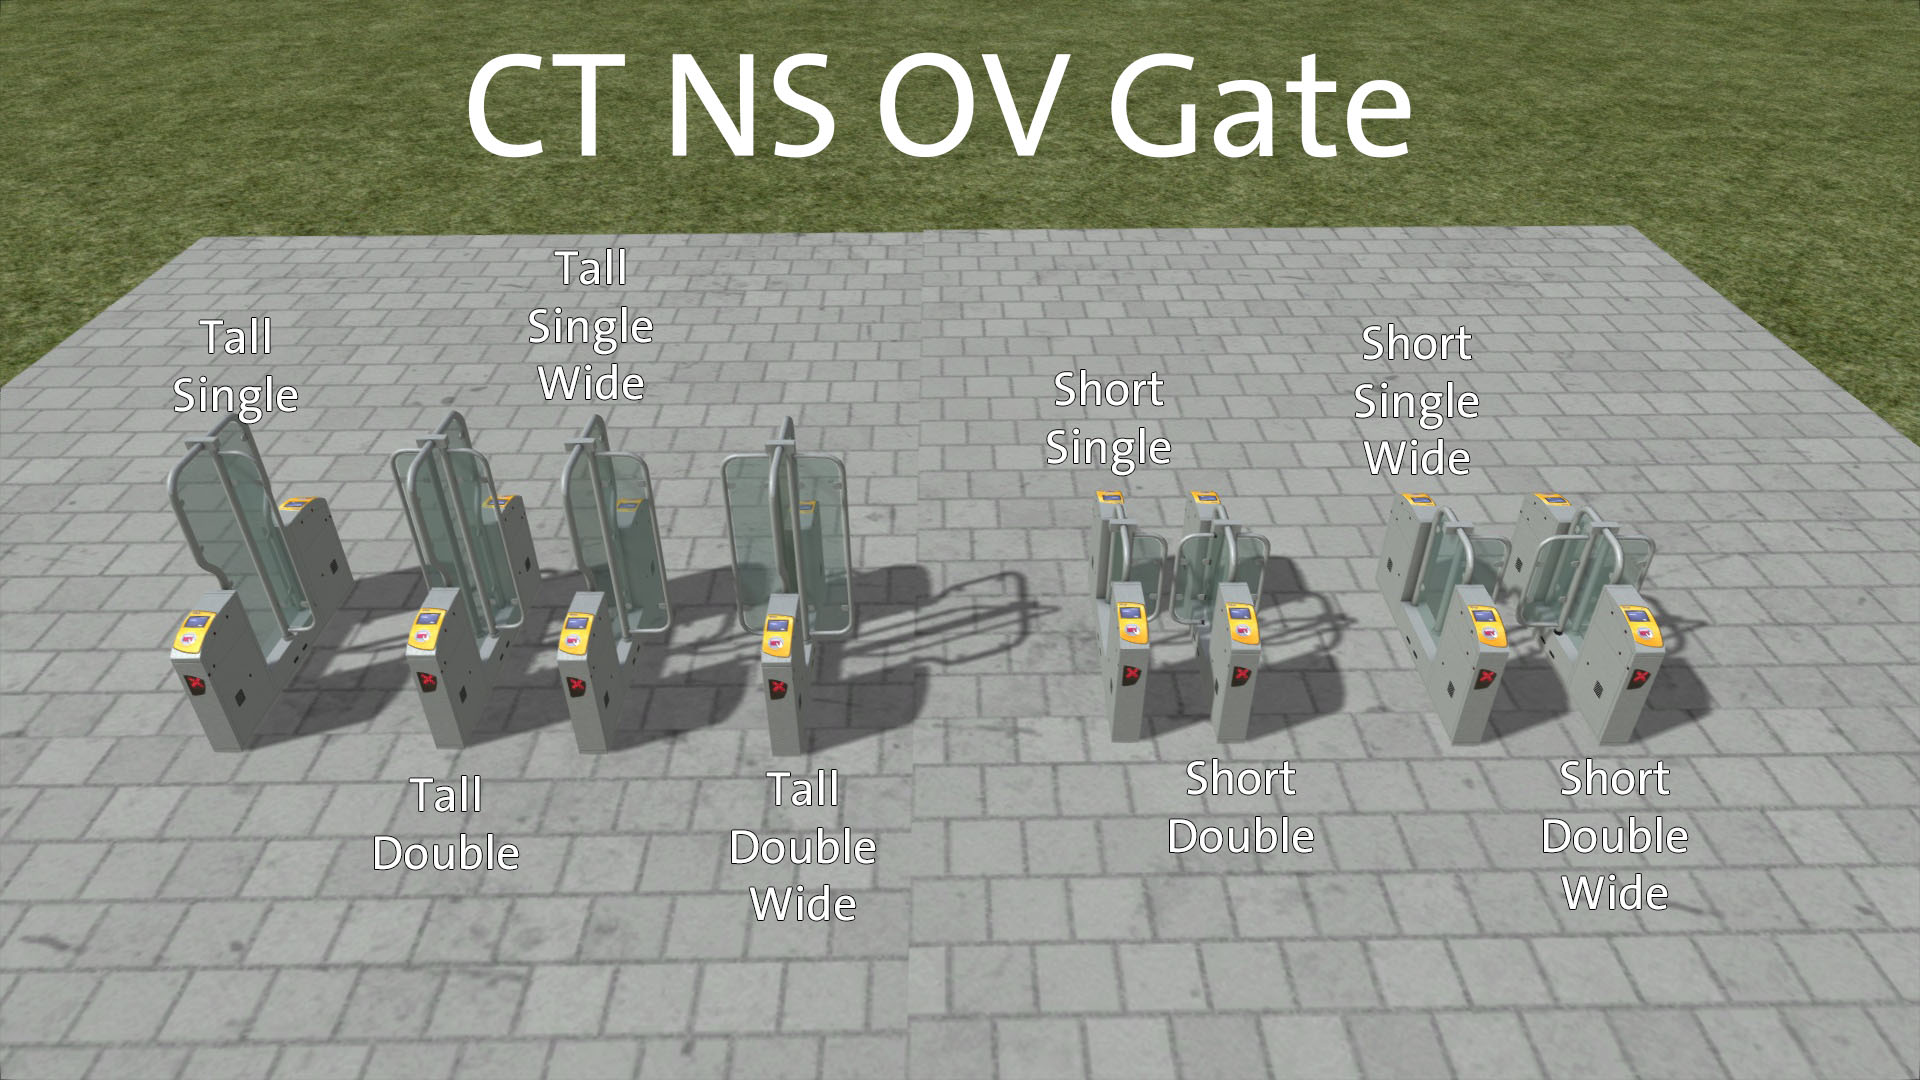
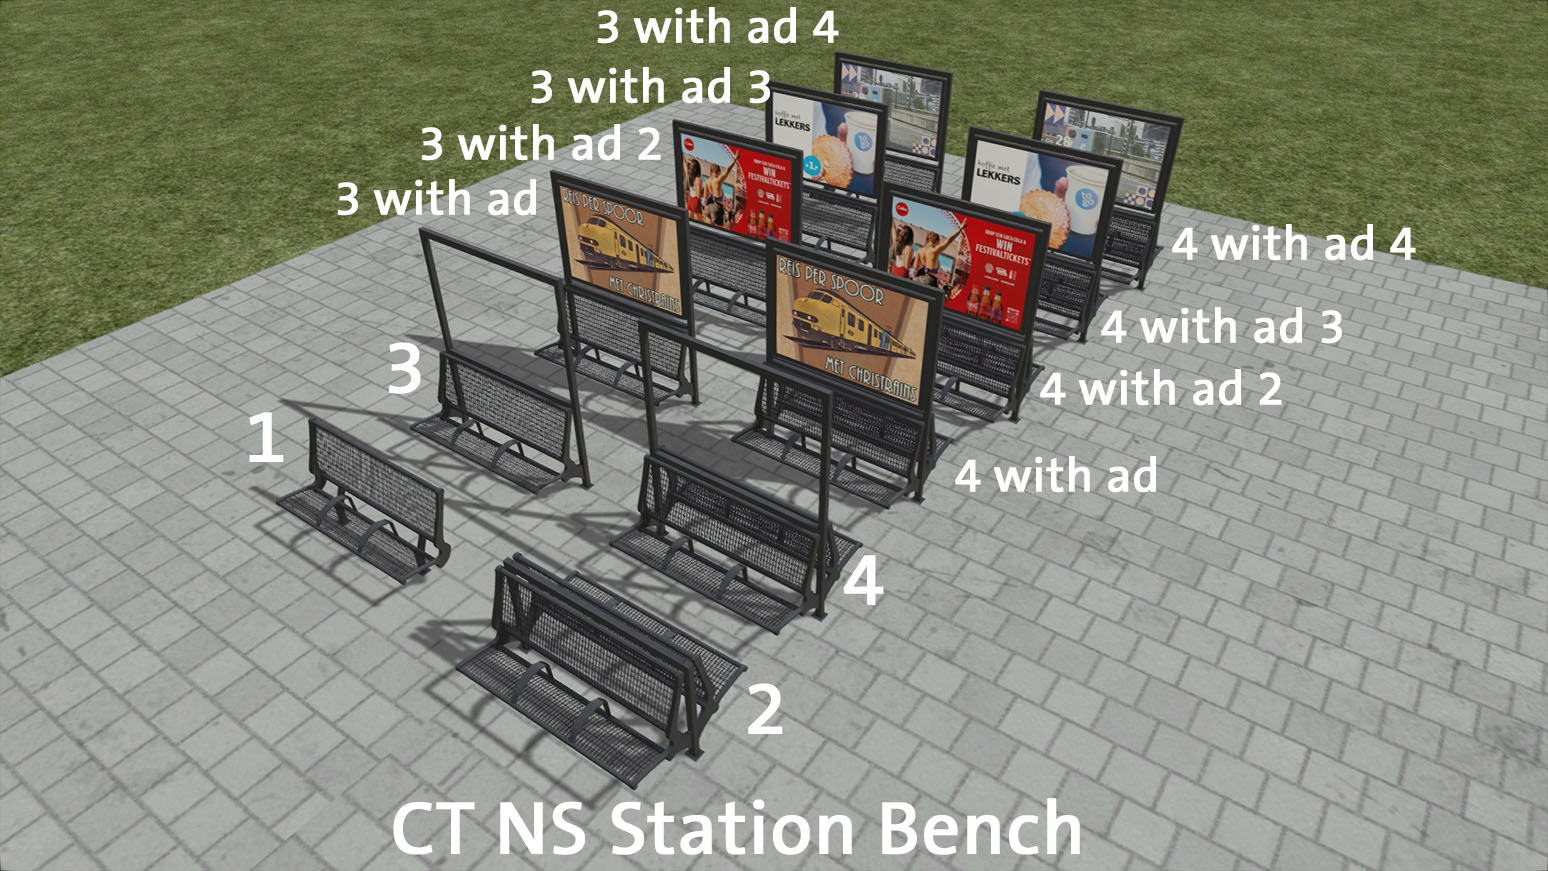
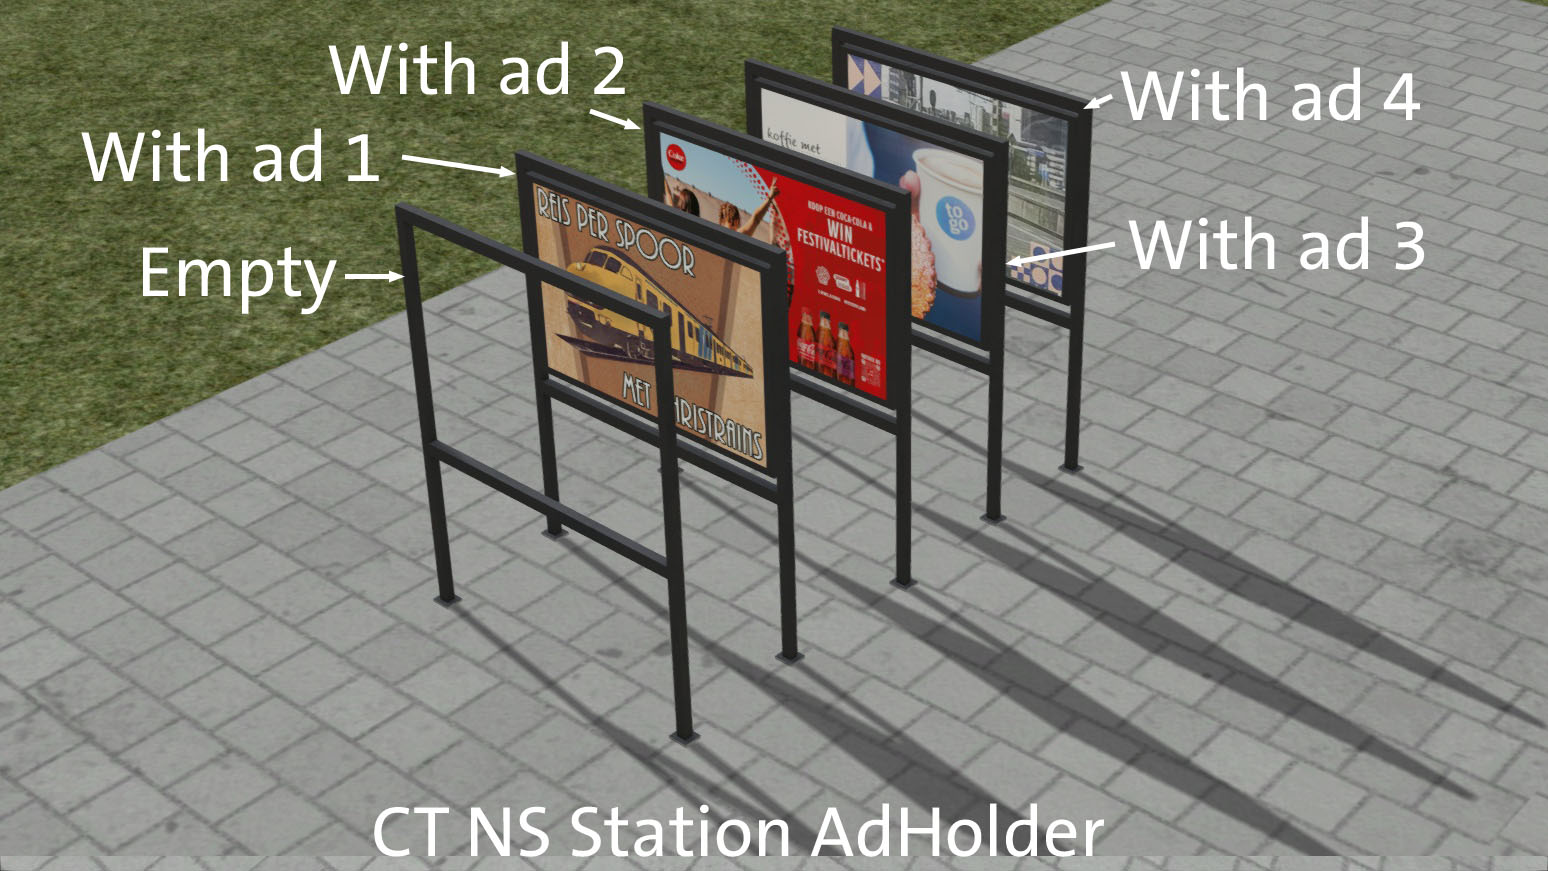
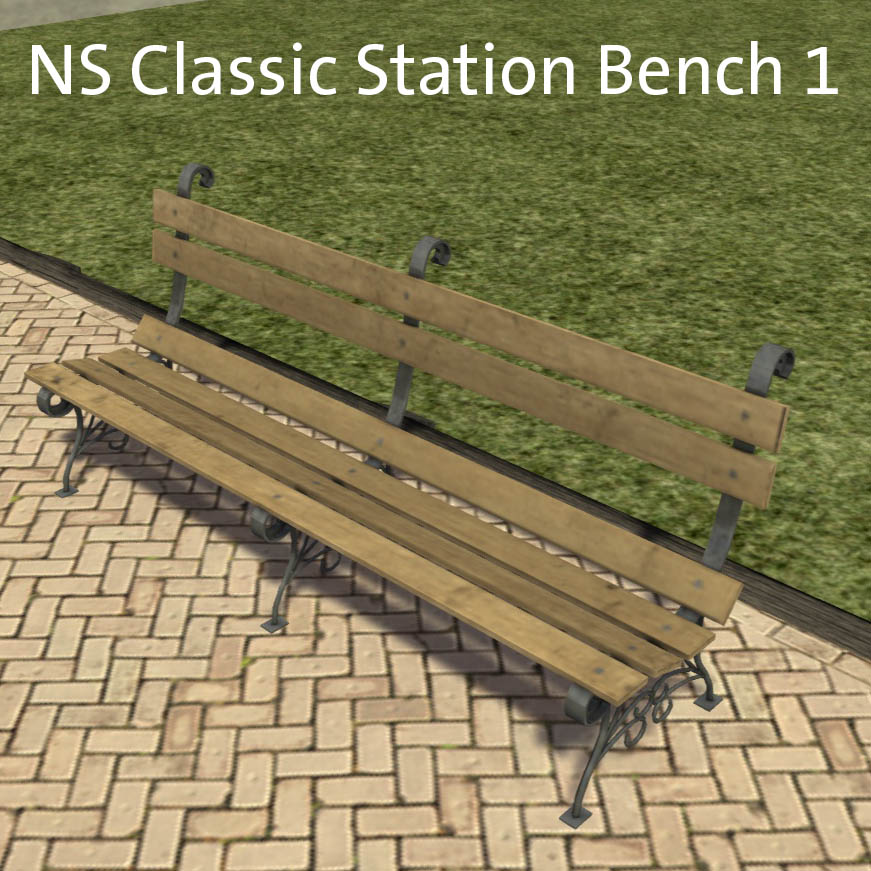
Various objects (objects-stations)
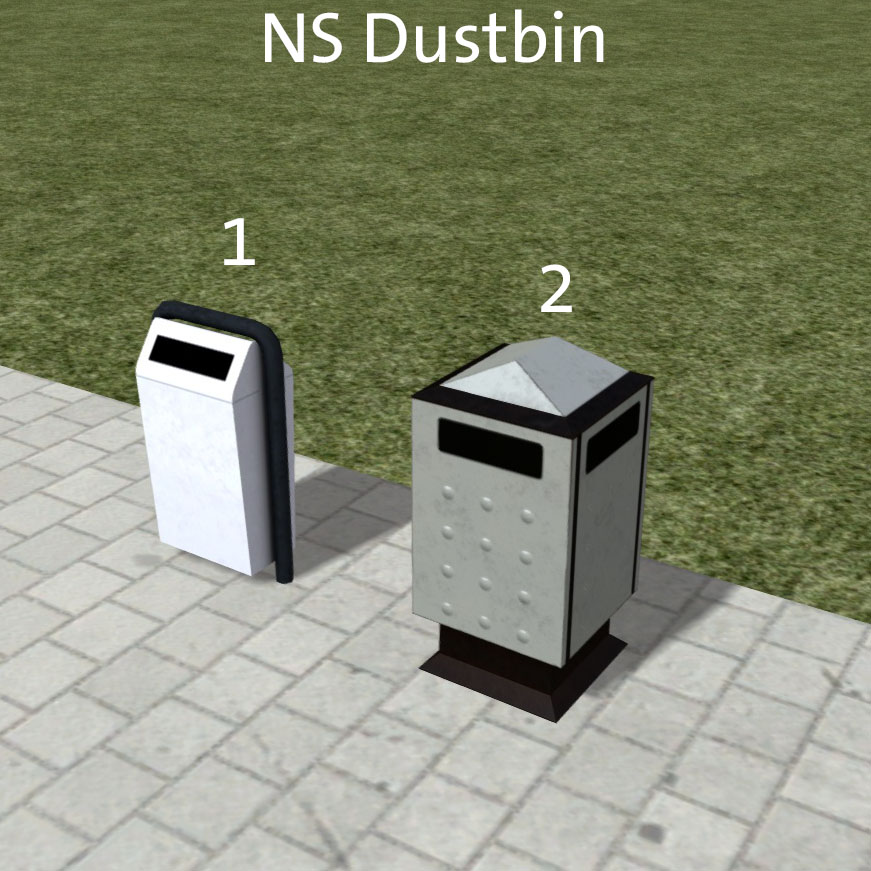
Various objects (objects-humans)
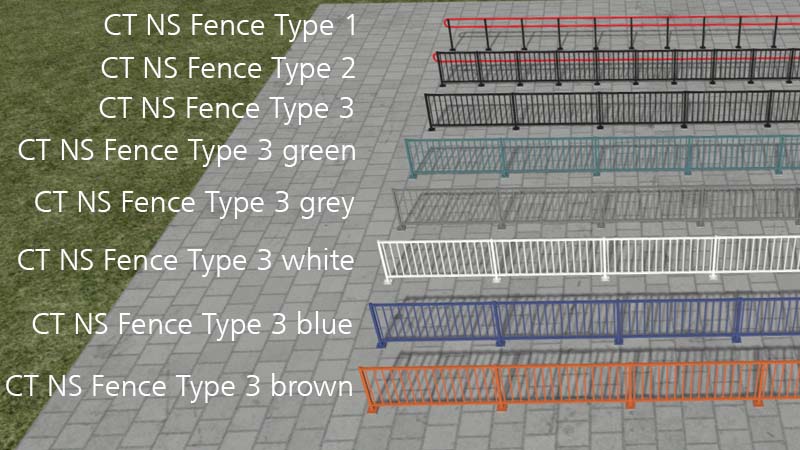
Various objects (objects-miscellaneous)
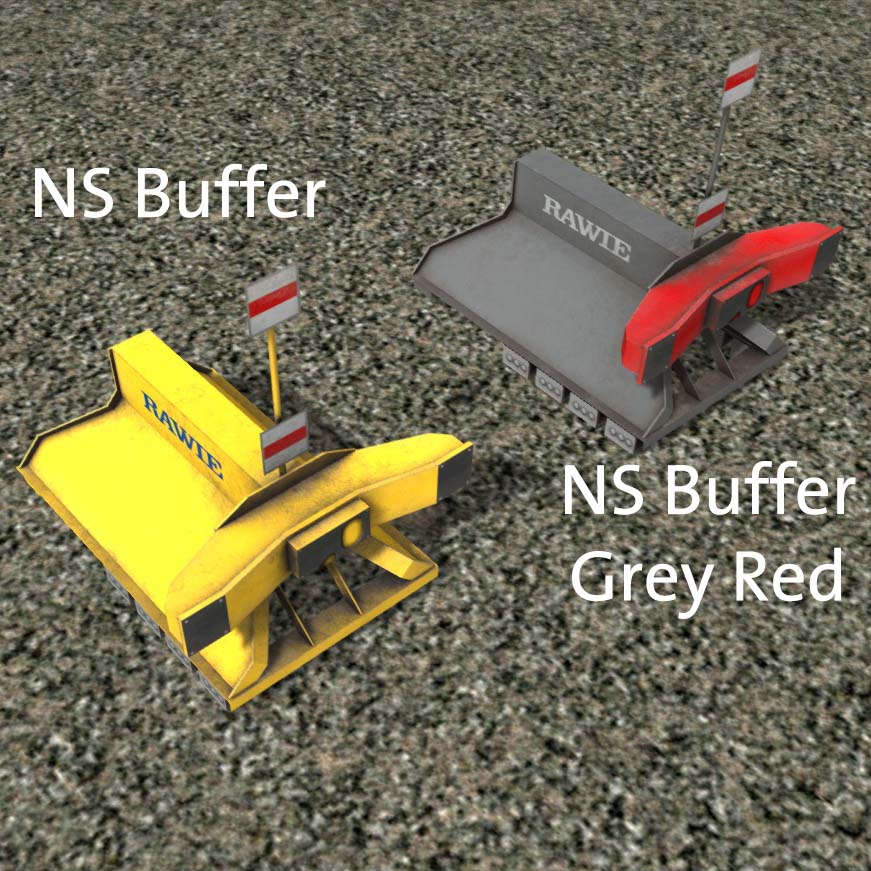
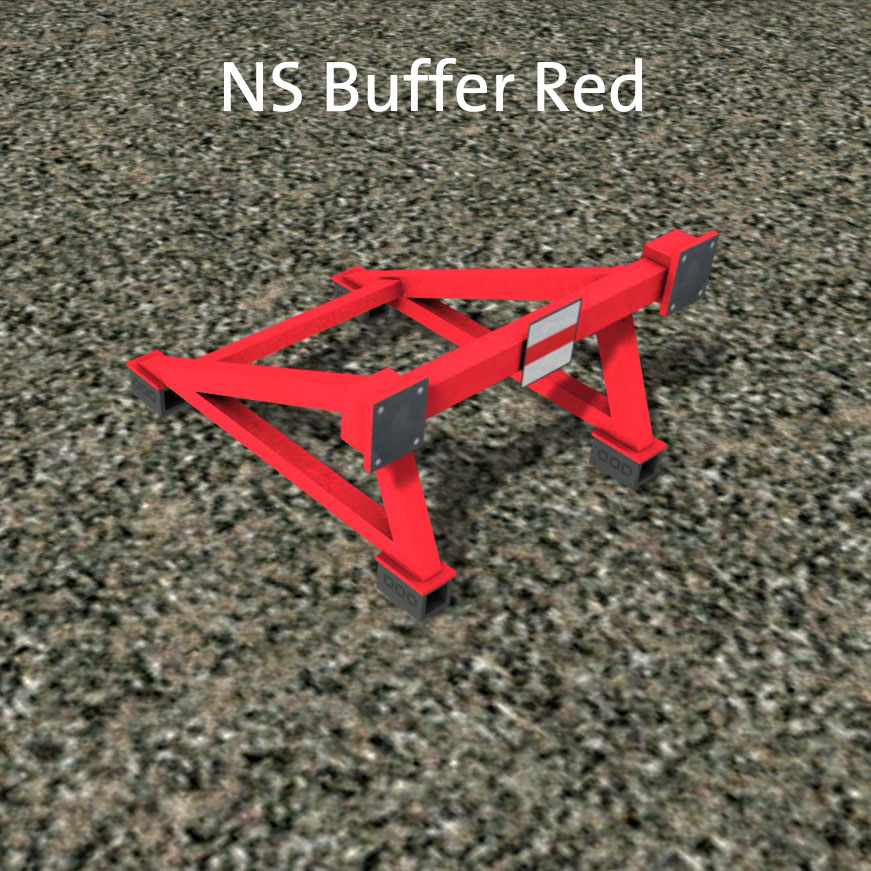
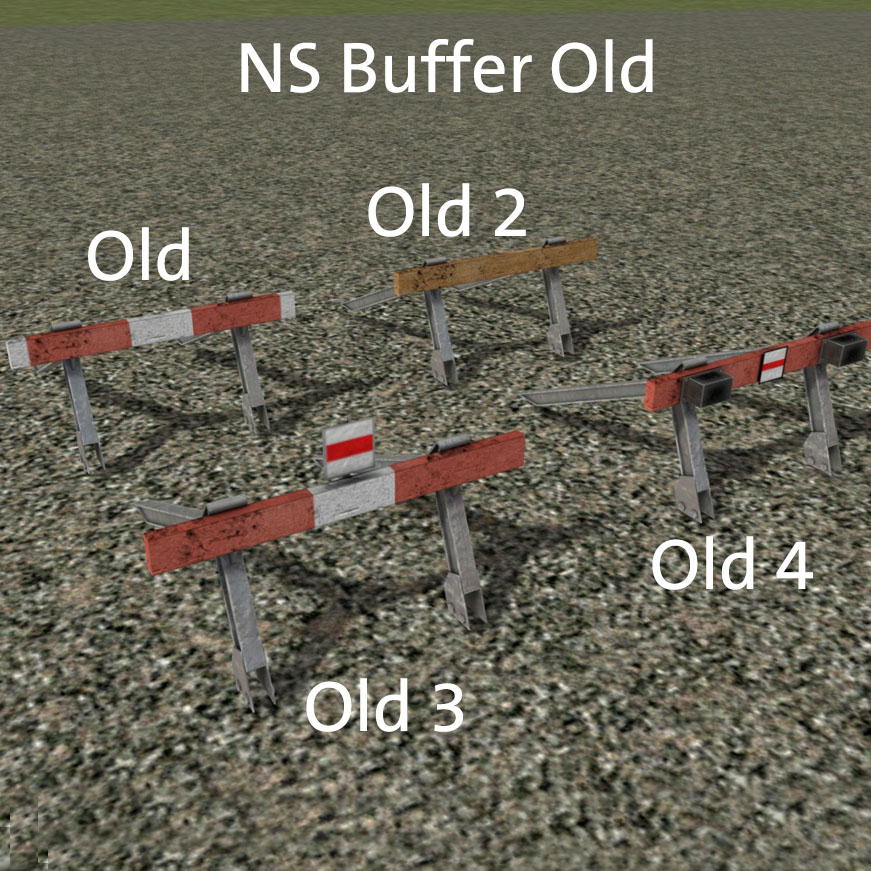
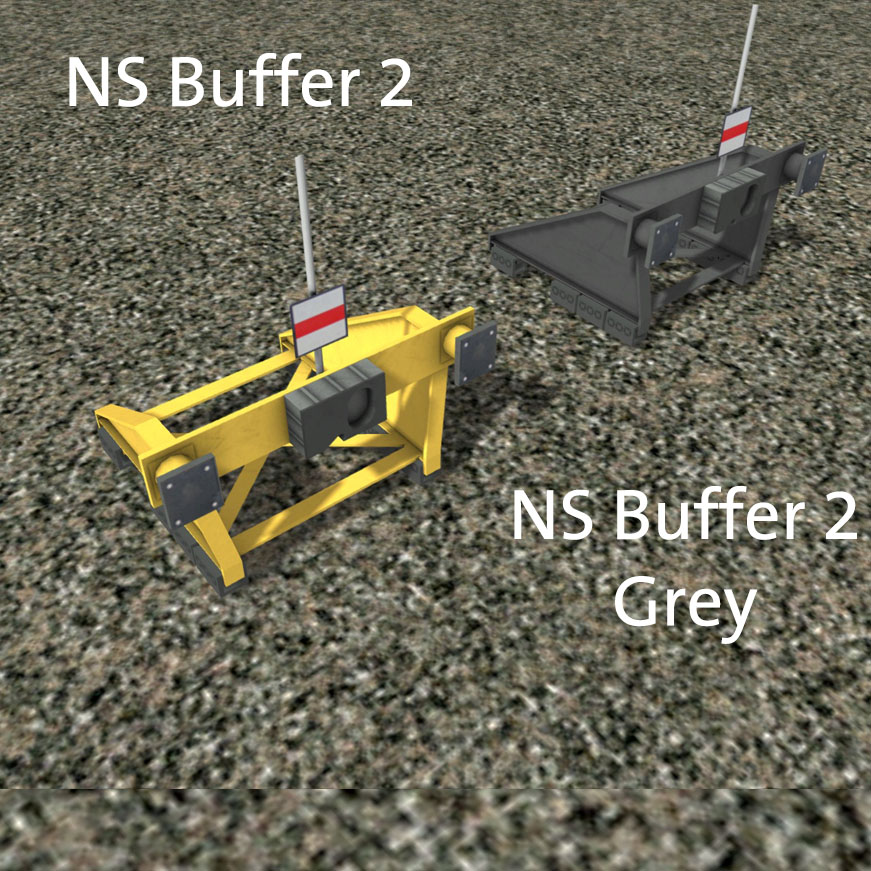
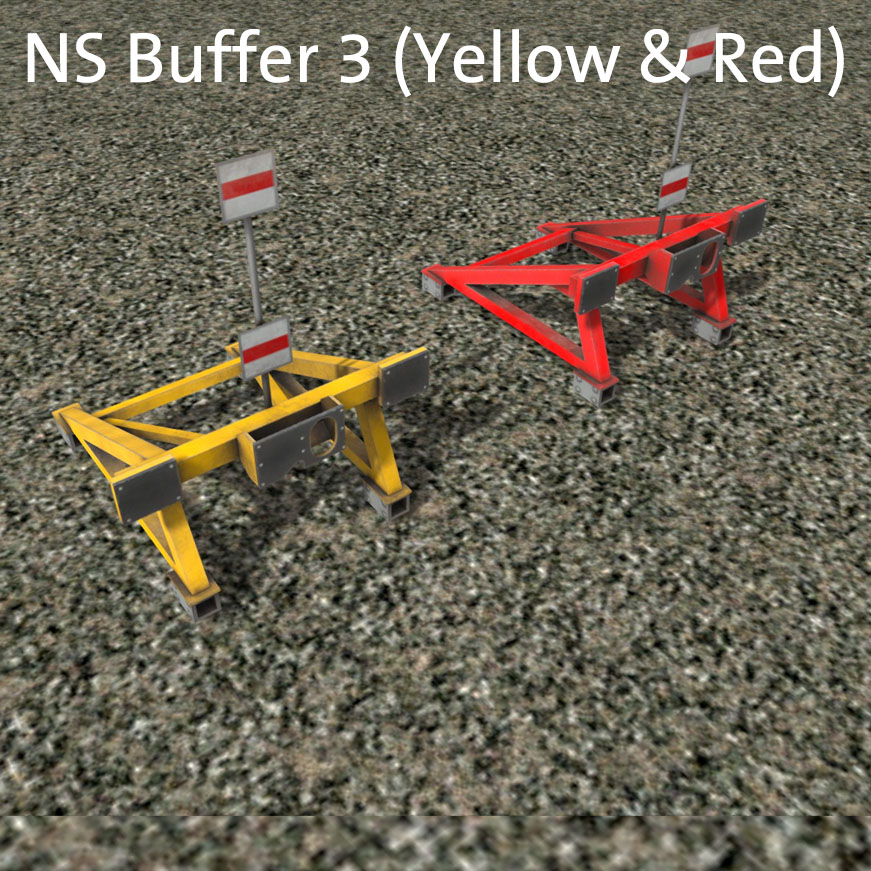
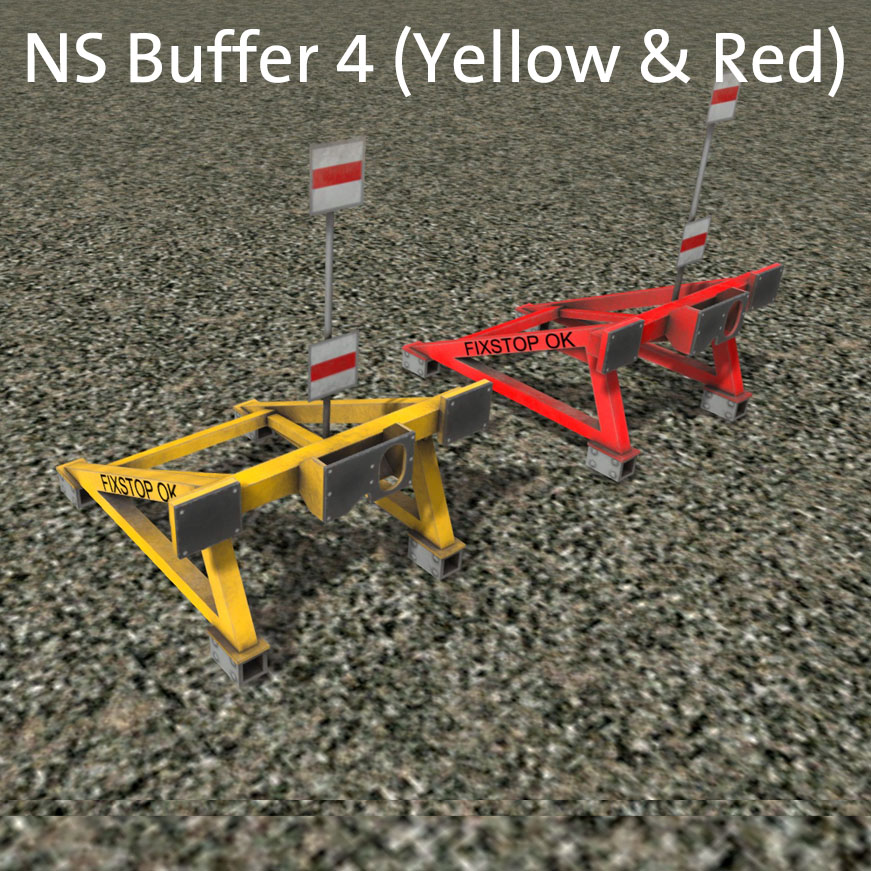
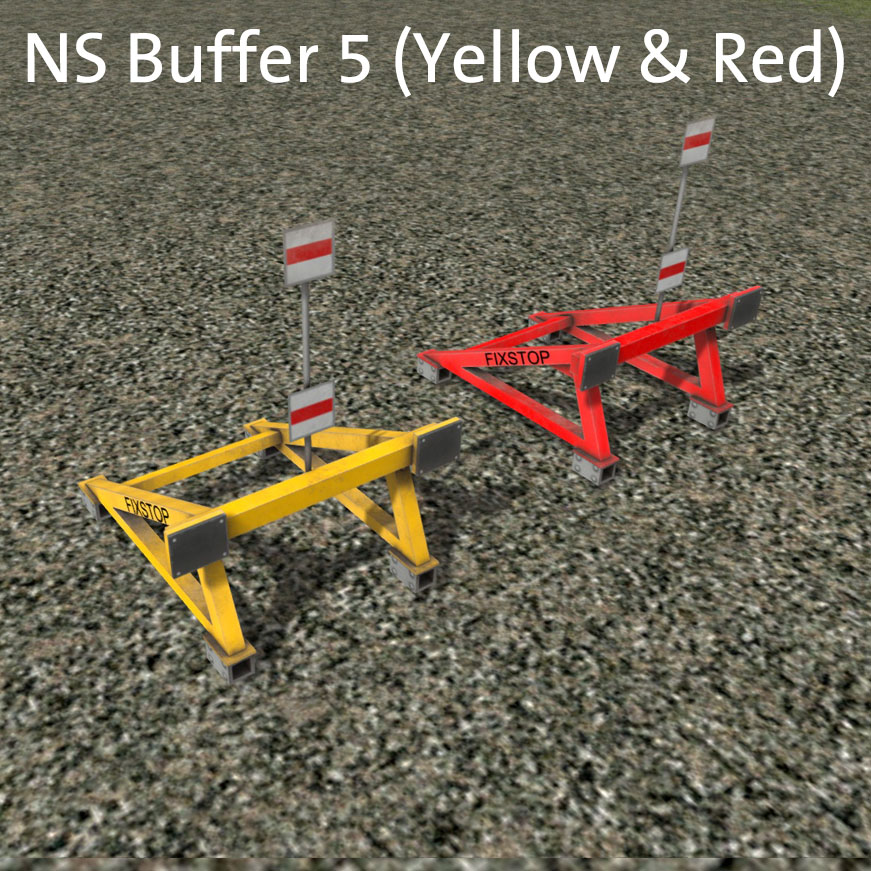
Buffers (objects-stations)
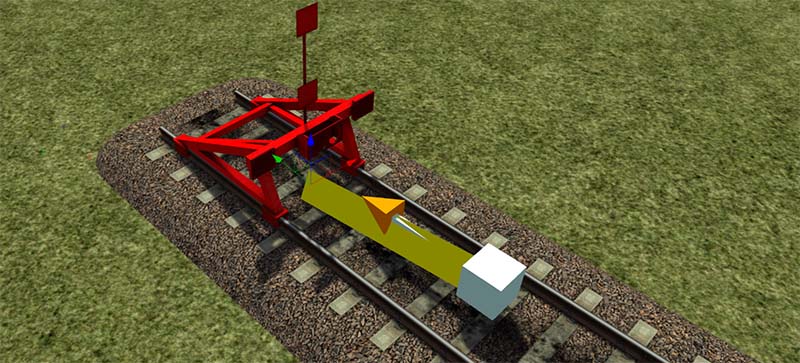
Placing buffers at the end of a line
Most of the buffers come with 'end of line' versions. When placing these buffer models, the track link arrow must always be facing the buffers. The arrow can be flipped by holding shift and clicking the arrow. If the track link arrow does not face the buffers, signals and train safety systems will not correctly see the buffer as an 'end of track' object.
Loft objects (lofts-miscellaneous)
Loft objects (lofts-roads)
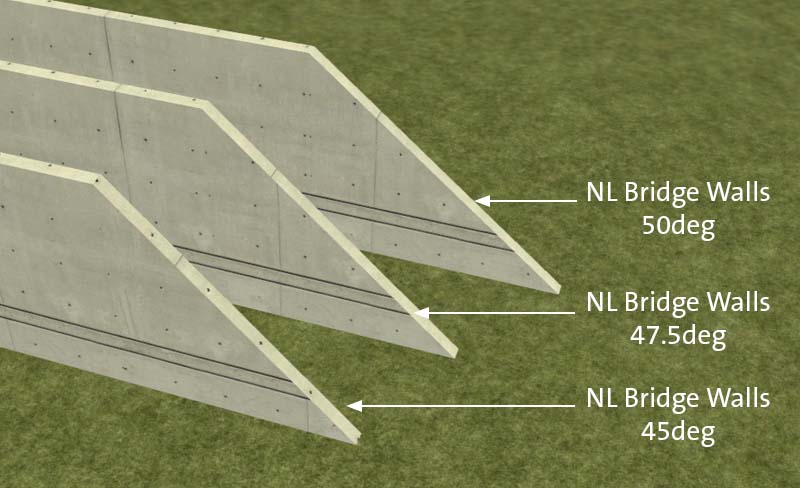
Loft objects (lofts-bridges)
Loft objects (lofts-scenery)
Buildings (objects-commercial/industrial buildings)
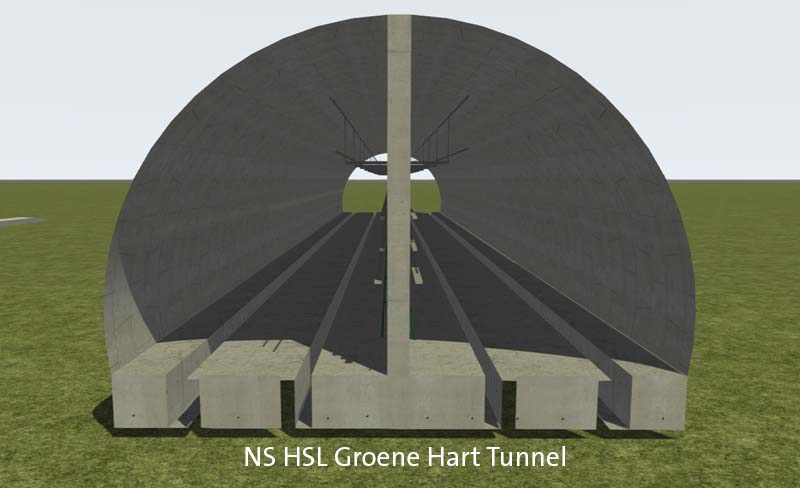
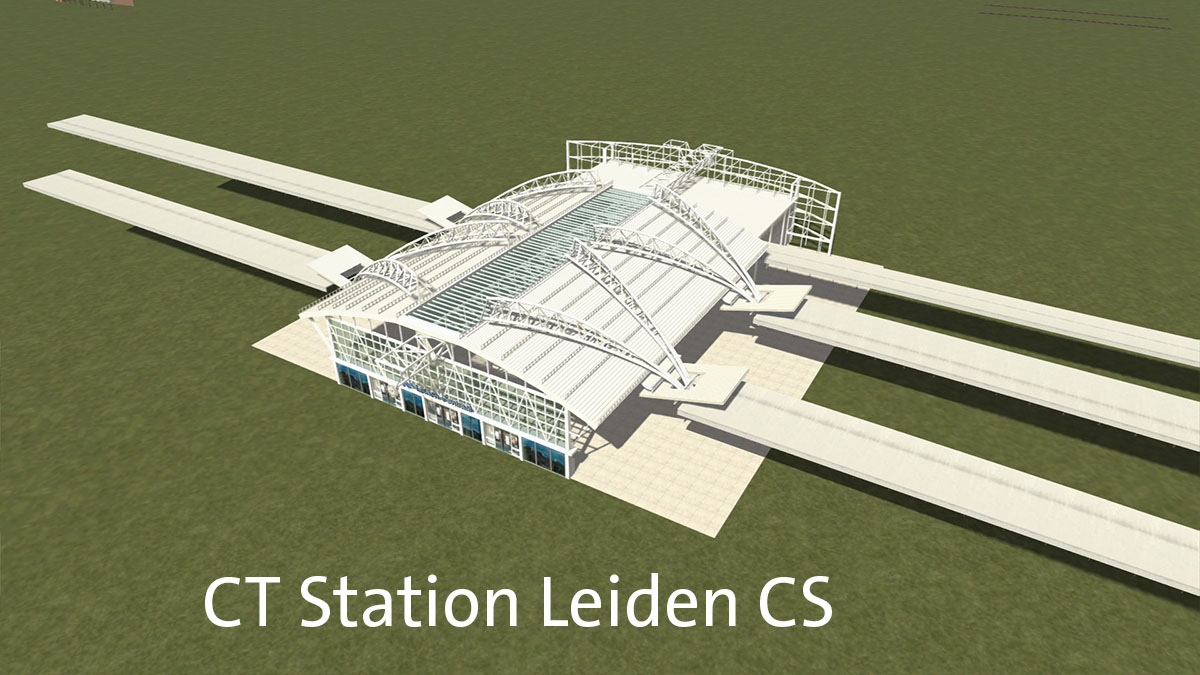
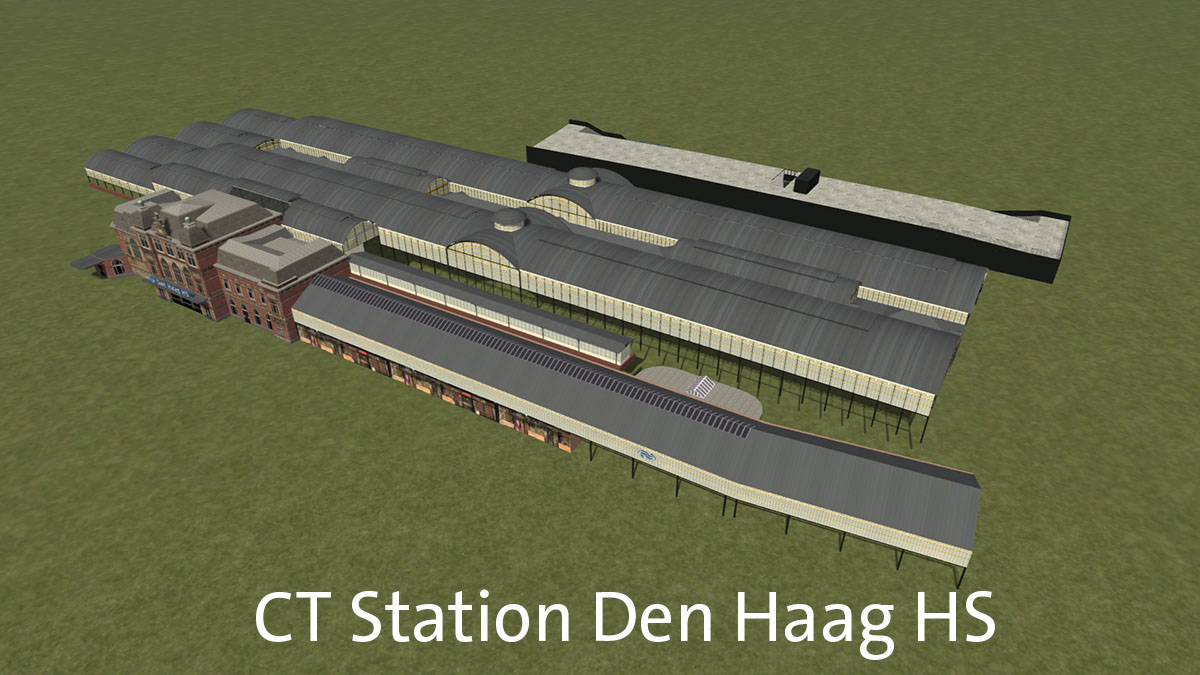
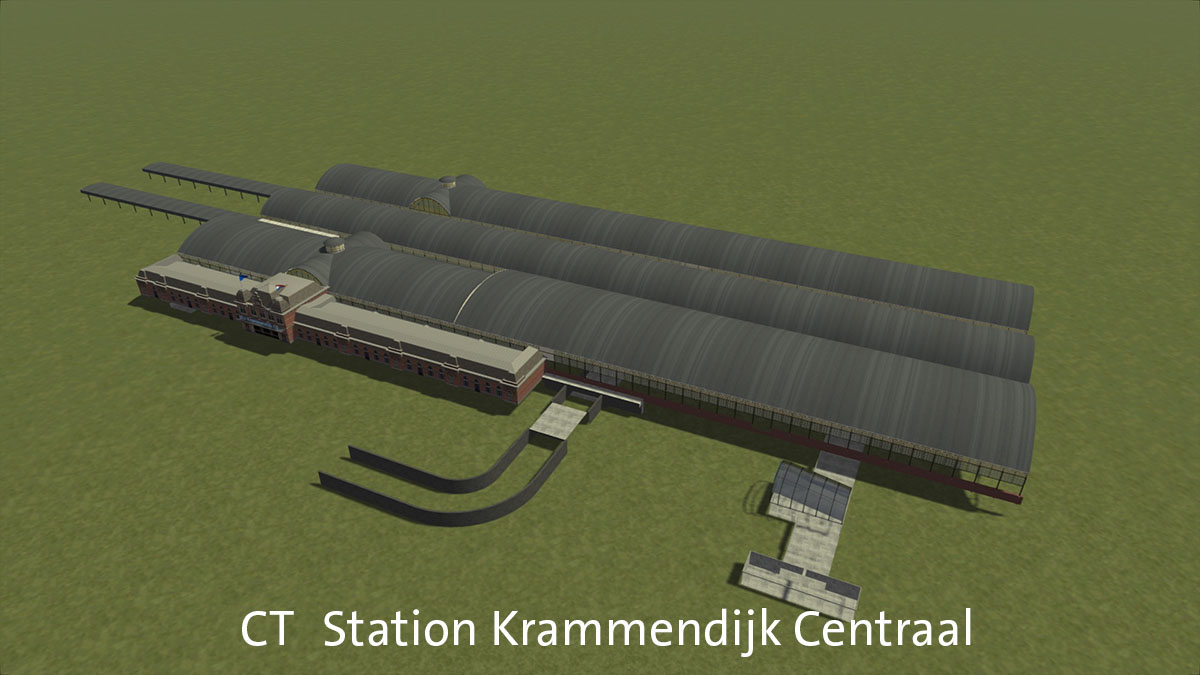
Stations (objects-stations)
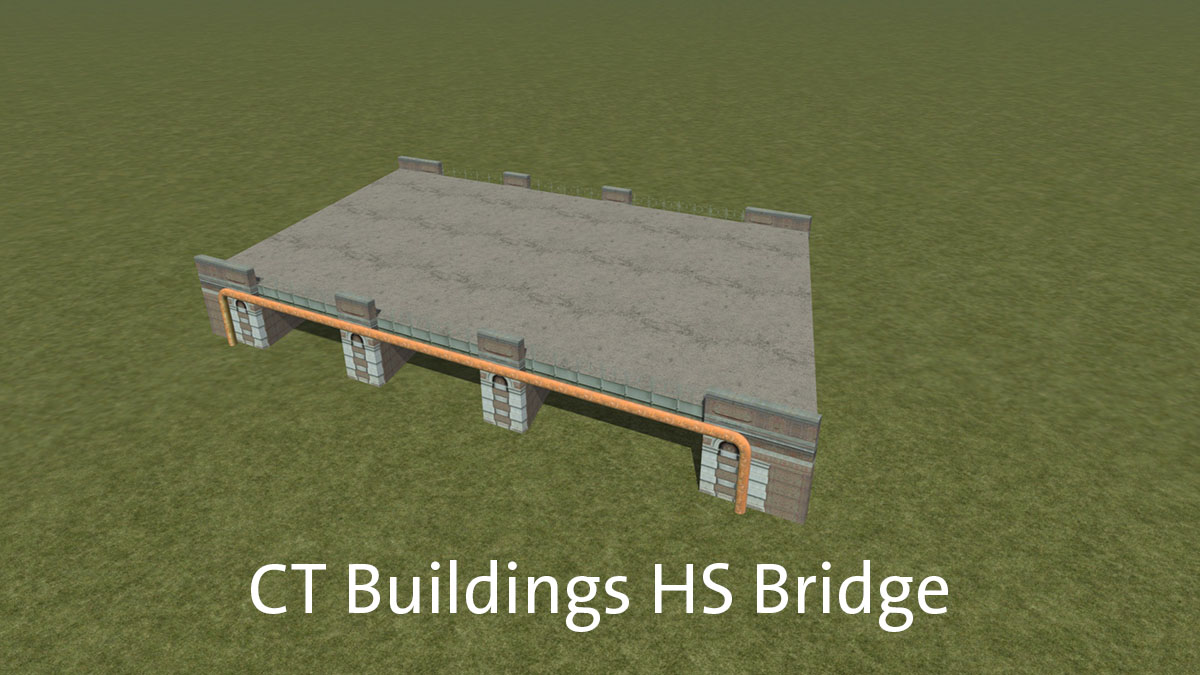
Bridges (objects-bridges)
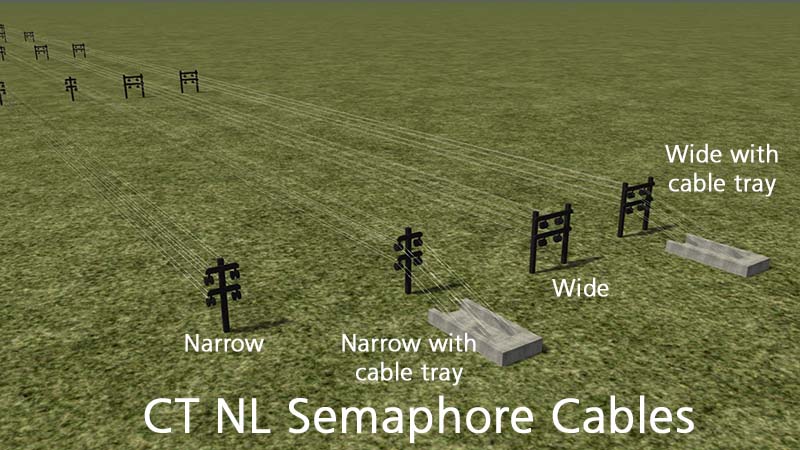
Classic telegraph poles (objects-clutter)
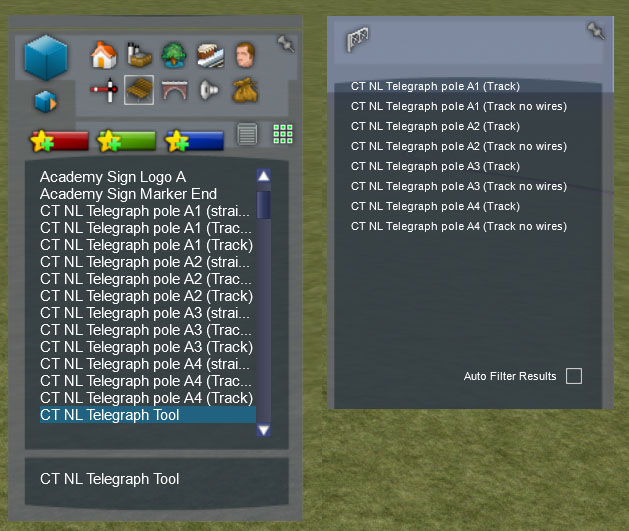
The classic telegraph poles are placed using a track tool, similar to placing overhead power cables. To use the tool, select 'CT NL Telegraph Tool' from the items list, then in the tool window, choose the type of telegraph pole required.
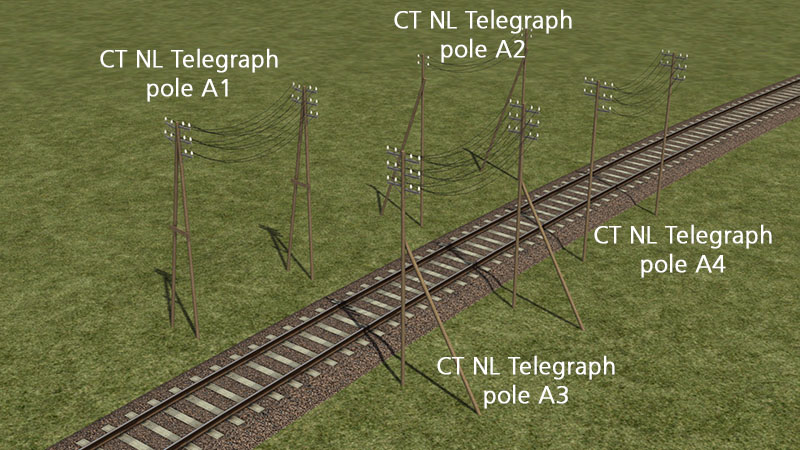
There are four types of pole (A1 - A4) that can be placed with, or without wires. Once the type is chosen, slide the pole along a section of track to place it. Subsequent poles will be joined with wires.
For manual placement, choose the individual type of pole from the items list. Each version comes as 'straight' which is for running lines across the landscape, 'track' which can be snapped to the track during placement using the TAB key, and 'track no lines' which is the same as 'track' but has no attachment points for the telegraph cables (for example for old, unused poles that no longer have any wires).
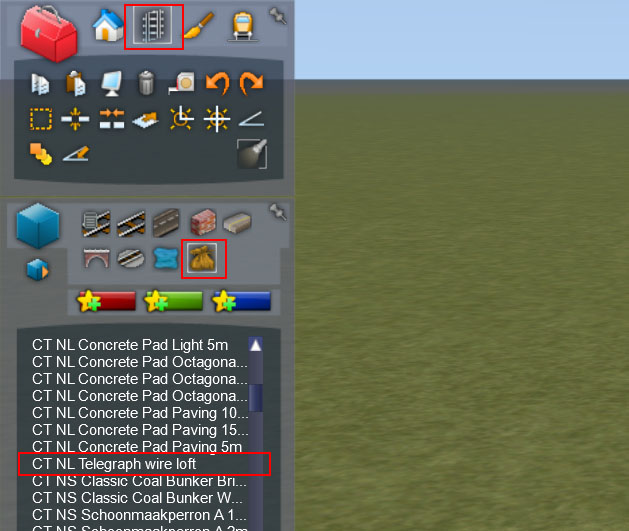
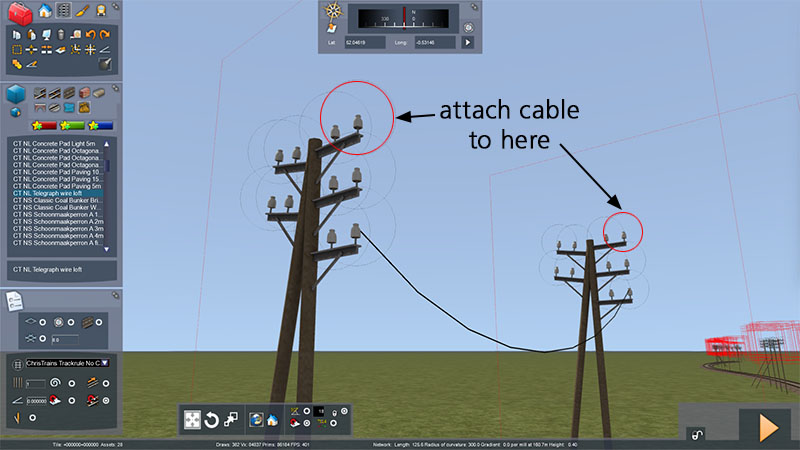
To manually add wires to the 'wires' types after they have been manually placed, use the 'CT NL Telegraph Wire loft' in the loft objects->misc list. Snap the wire ends to the exposed connector circles on the poles.
NS Assembly hall / assembly hall doors (objects-commercial/industrial buildings + objects-misc)
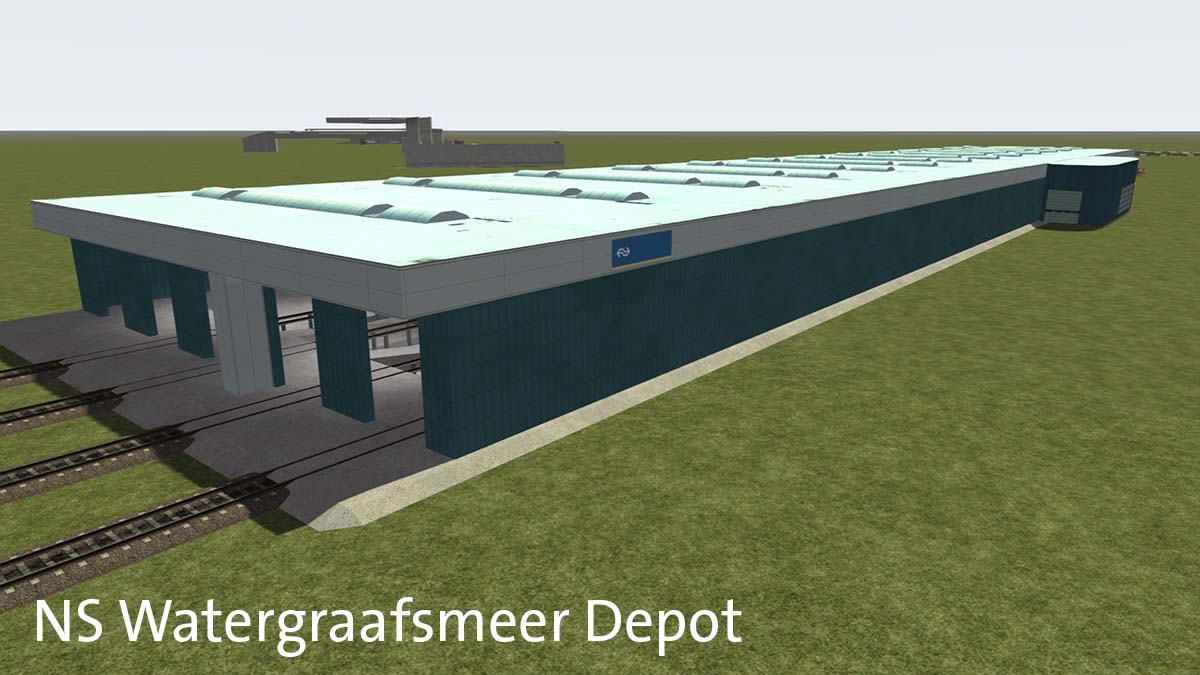
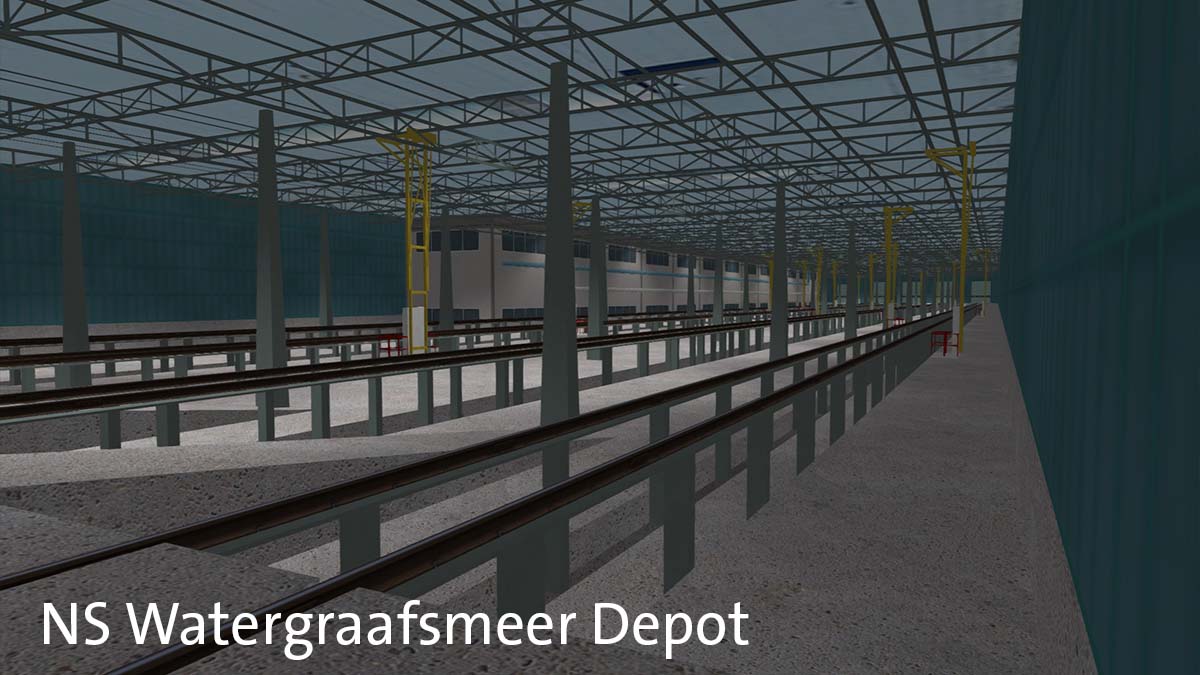
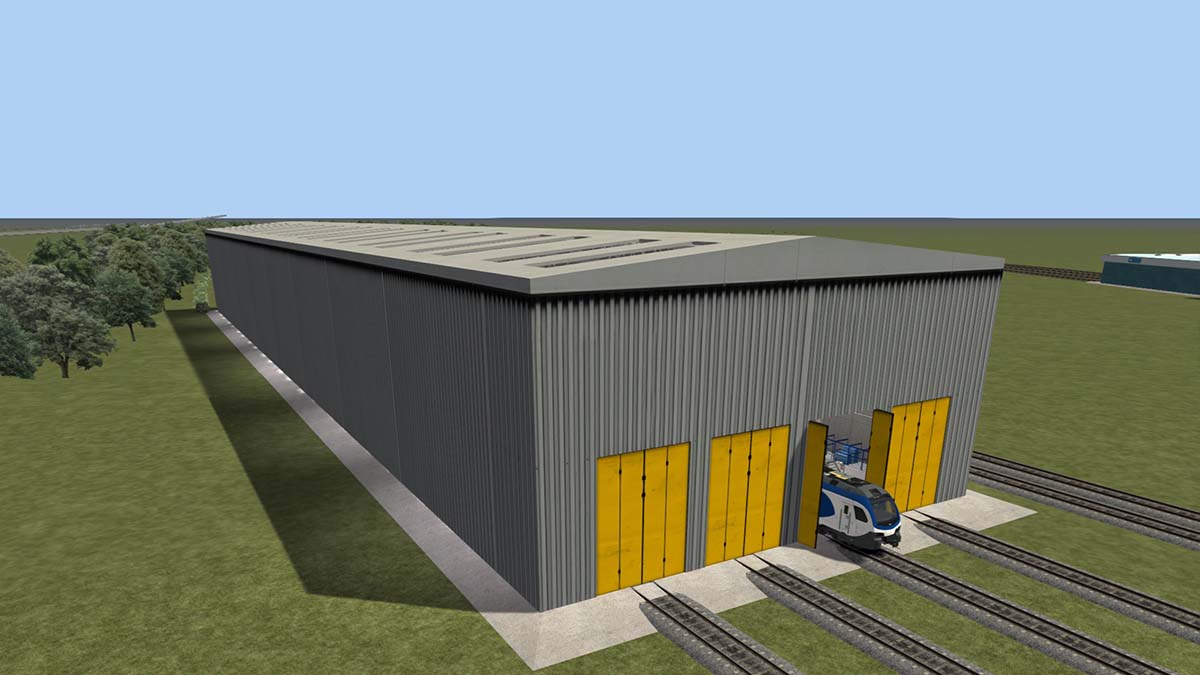
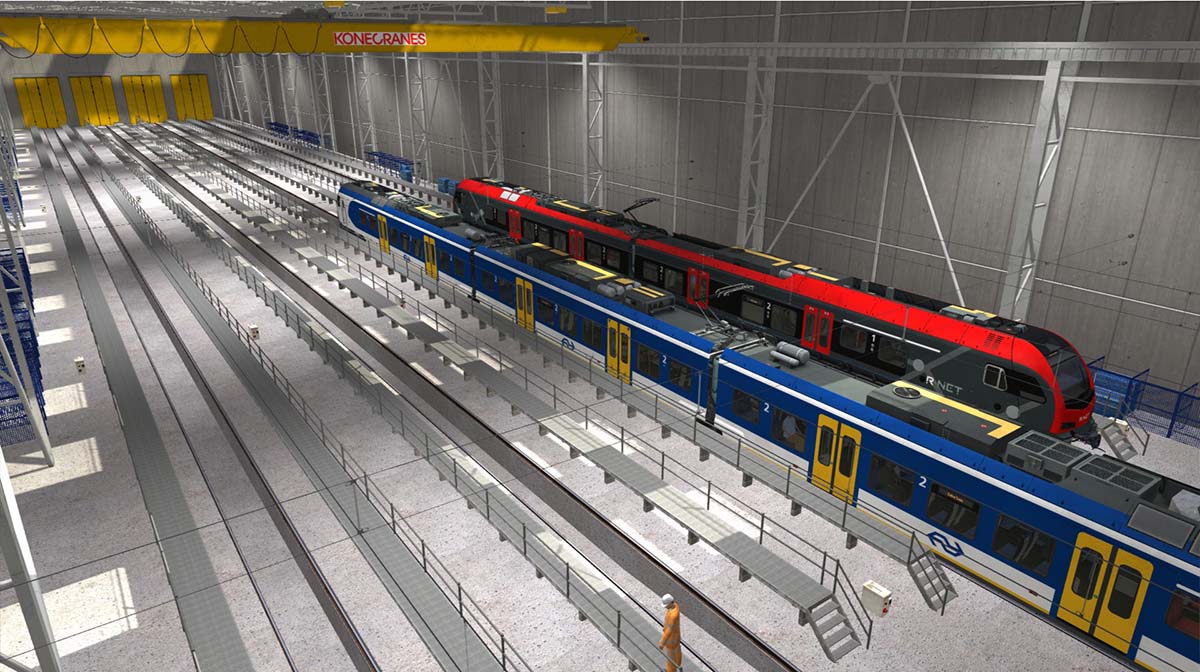
There is a fictional assembly hall called 'CT NS Assembly Hall' and some matching doors that can be used to create a service / assembly facility.
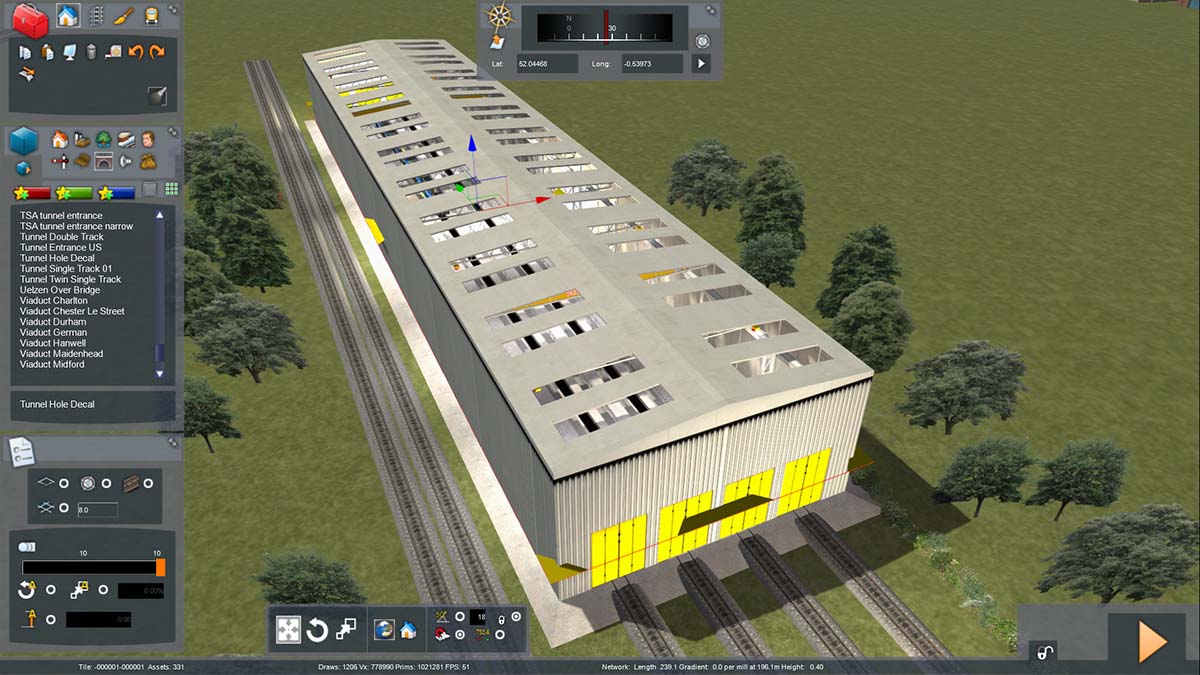
To use this object, first place the main assembly hall, then lay some sleeperless tracks through the hall.
Next, place the door objects.
The doors are in the 'misc' items list. The doors are separate scripted objects that will open and close automatically as a train approaches them. The doors MUST be placed with both the door and the track links facing the OUTSIDE of the building. The primary track link (0) must be outside the building. The second track link (1) must be inside the building.
There is a marker underneath the ground that shows the correct orientation for the doors and track links.
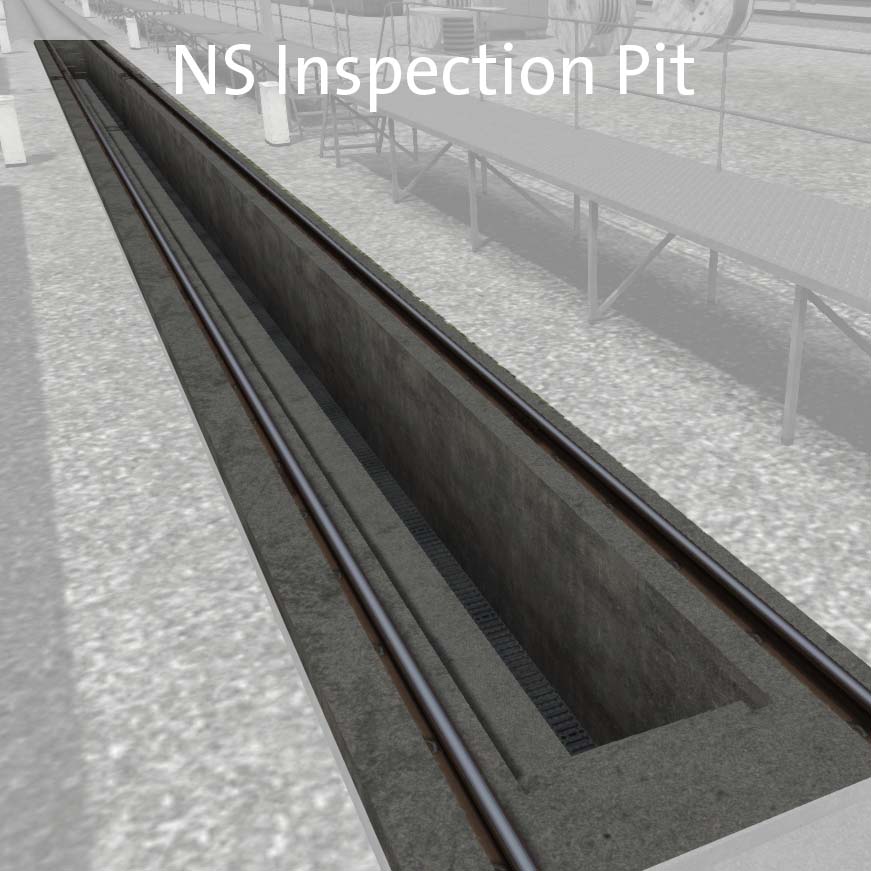
Finally a 'Tunnel Hole Decal' should be used to cut a hole in the ground so that the service pits inside the hall show up correctly. This decal can be found in the standard 'tunnels' list. Place it around the outside of the assembly hall to correctly cut the hole in the ground.
All these steps are shown in the images below.
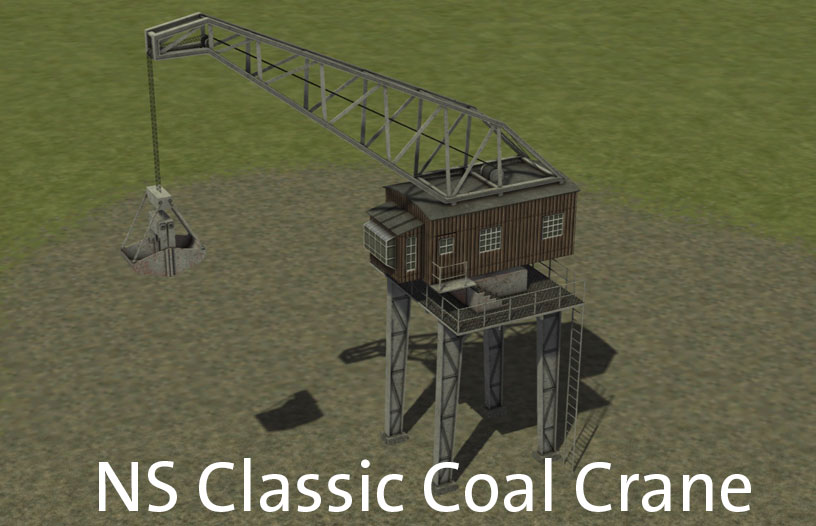
Coal loaders / unloaders (objects-track infrastructure)
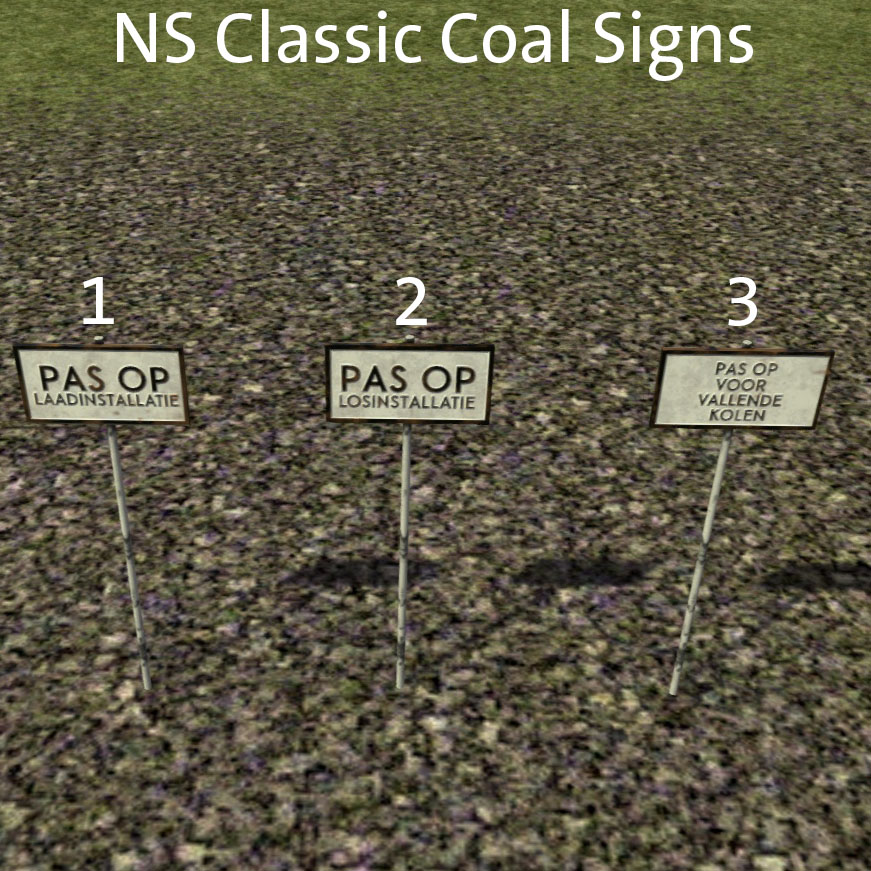
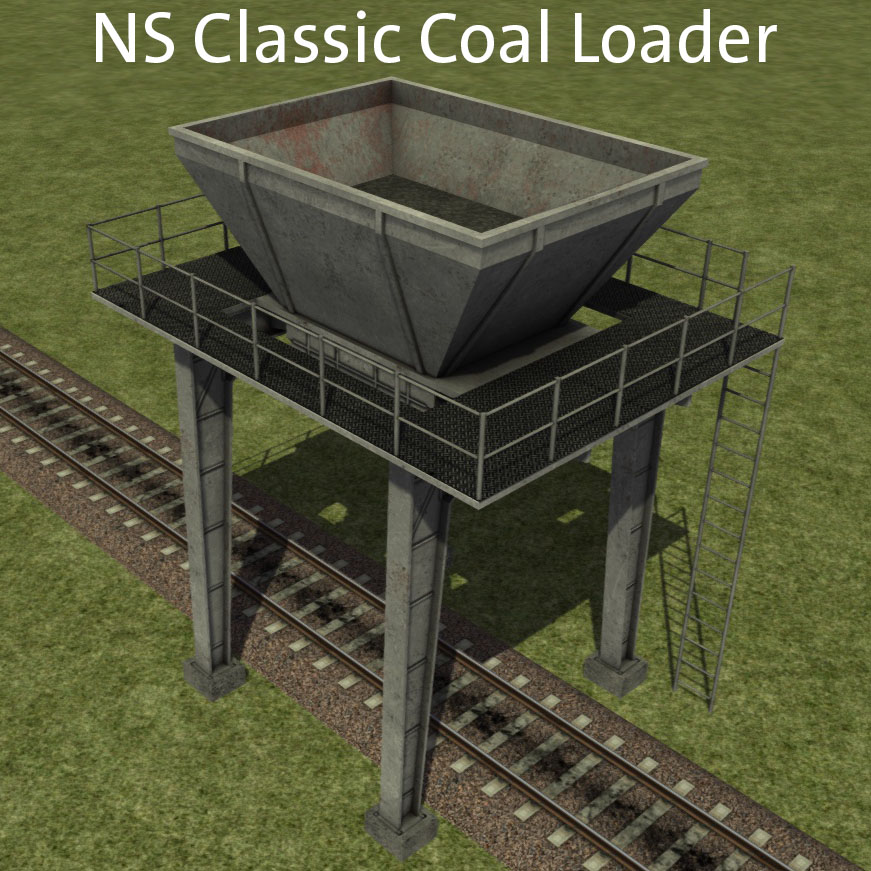
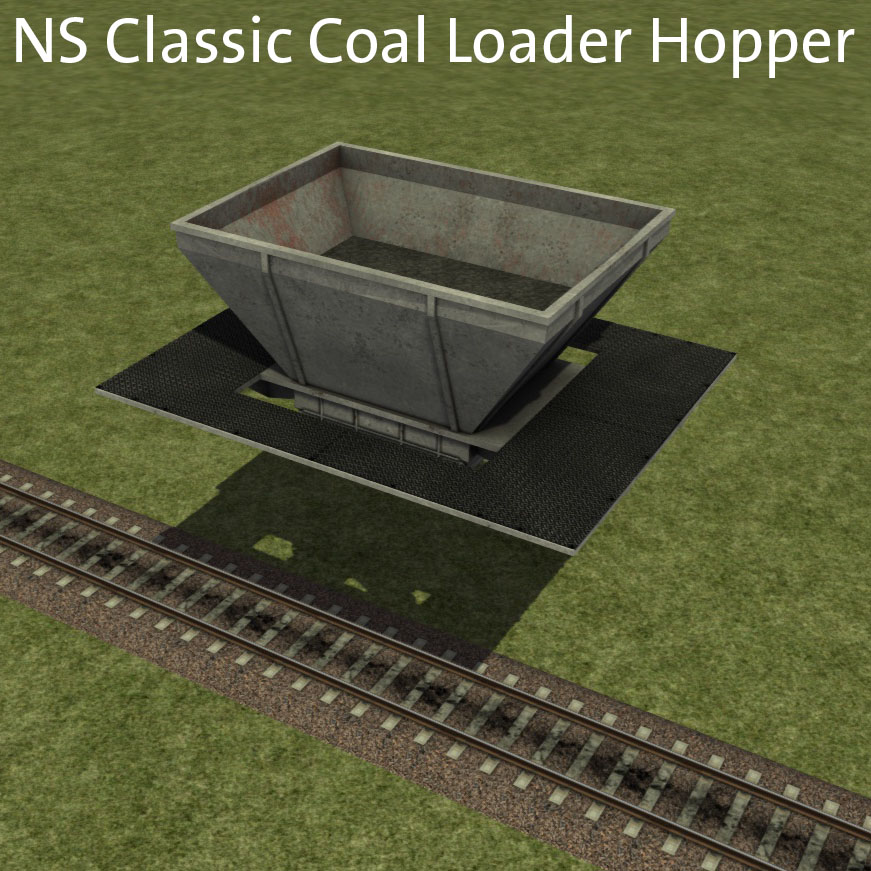
The coal loader is a working transfer point that can be used to load coal. There are two versions - one for wagons and one for locomotives. The names in the editor show which is which. The 'hopper' version is 'floating' so that it can be built into another structure or building.
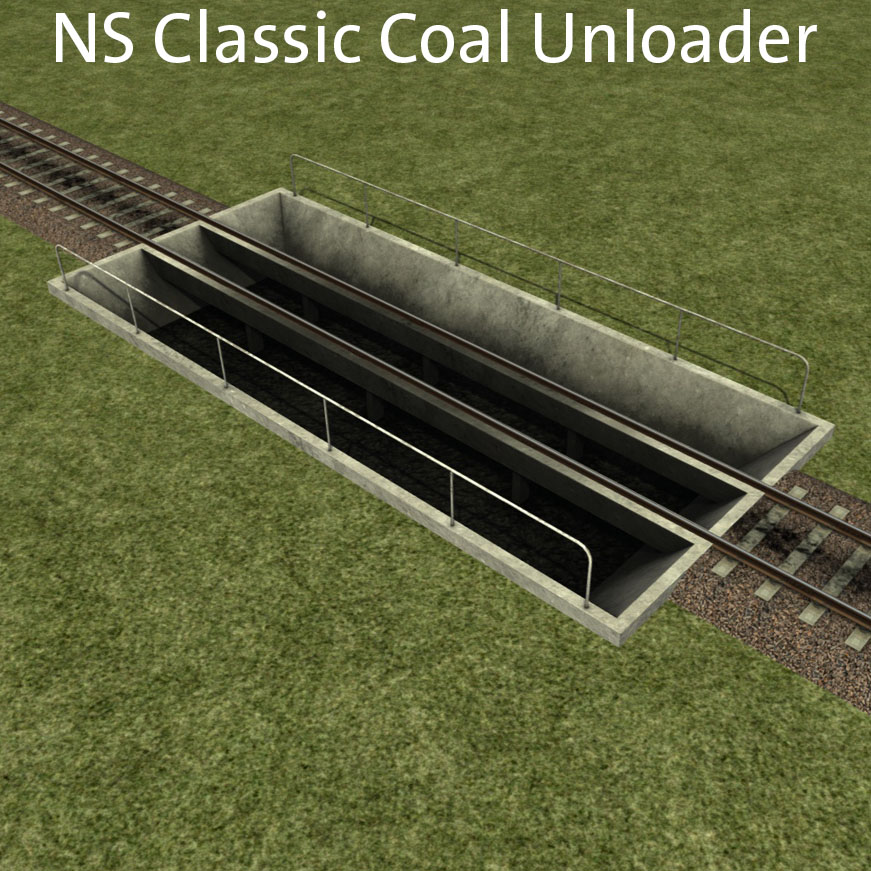
The coal unloader is a working transfer point that can be used to unload coal wagons. In the editor, 'sleeperless' tracks must be laid across the top of the unloader, and finally a 'Tunnel Hole Decal' should be used to cut a hole in the ground so that the unloader shows up correctly. This decal can be found in the standard 'tunnels' list.
ETCS balises (objects-track infrastructure)
ETCS balises are in-track devices that can force a change in the ETCS system in a properly-equipped train.
For route-builders and scenario-builders, 7 eurobalise objects have been provided as scenery items.
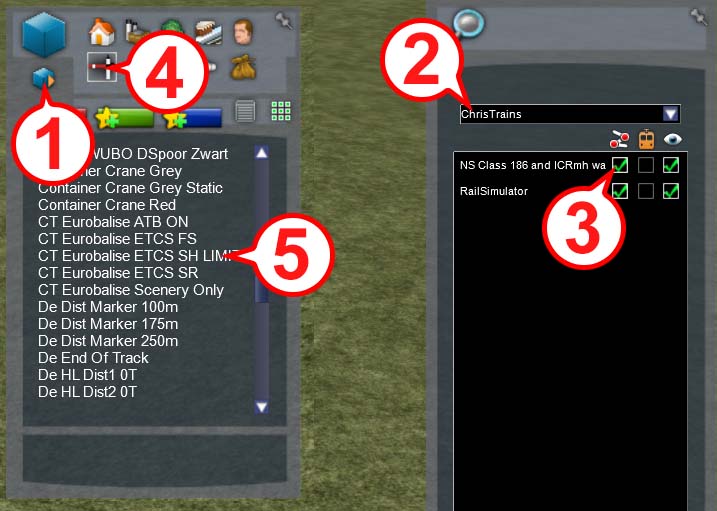
Be aware that these objects were originally part of the Traxx 186 train so they can be found in the ChrisTrains->NS Class 186 object list:
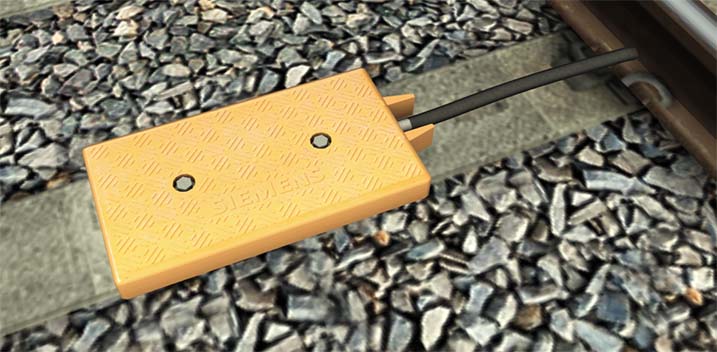
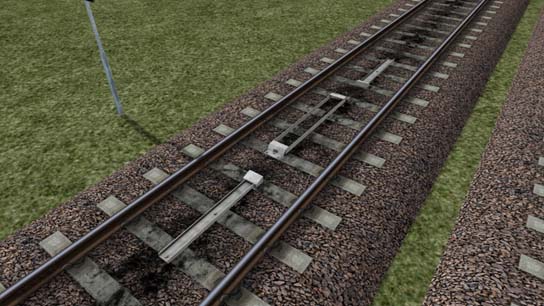
The eurobalises all look the same but each has a different function. Above the surface, they all look like this:
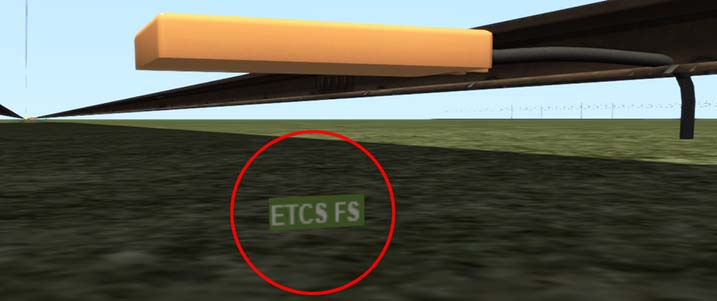
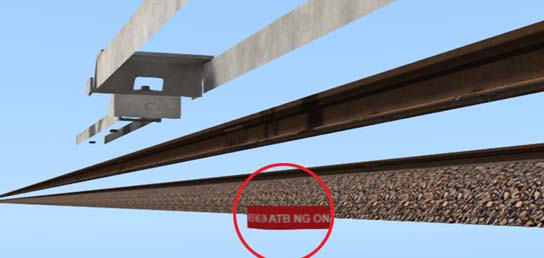
In the scenario or route editor modes, an underground ‘tag’ is visible, which looks like this:
| Balise object | Underground tag | Description |
|---|---|---|
| CT Eurobalise Scenery Only | NULL | This is purely a scenery object. It has no communication function and is provided simply as a decorative item |
| CT Eurobalise ATB ON | ATB on | When passed, this balise forces the passing train to use the ATB-EG safety system (if available), irrespective of what system was previously being used |
| CT Eurobalise ATB NG ON | ATB NG on | When passed, this balise forces the passing train to use the ATB-NG safety system (if available), irrespective of what system was previously being used |
| CT Eurobalise ETCS FS | ETCS FS | When passed, this balise forces the passing train to turn on the ETCS safety system (if available) and set it to Full Supervision mode (FS), irrespective of what system was previously being used |
| CT Eurobalise ETCS SR | ETCS SR | When passed, this balise forces the passing train to turn on the ETCS safety system (if available) and set it to Staff Responsible (SR) mode, irrespective of what system was previously being used |
| CT Eurobalise SH LIMIT | ETCS SH LIMIT | This is a special-use balise that should only be used at the exit points of rail yards. If the passing train is in Shunting (SH) mode and it passes this balise, an emergency brake will be applied. The driver should change the ETCS mode to Staff Responsible (SR) BEFORE crossing this balise |
| CT Eurobalise TPS OFF | TPS OFF | When passed, this balise forces all train protection systems off, irrespective of what system might have previously been engaged |
| CT Eurobalise 1.5kV NL |  1.5kV 1.5kV | When passed, this balise initiates the ICNG to begin the automatic changeover of systems and pantograph to 1.5kV (Netherlands) |
| CT Eurobalise 25kV NL |  25kV 25kV | When passed, this balise initiates the ICNG to begin the automatic changeover of systems and pantograph to 25kV (Netherlands) |
| CT Eurobalise 3kV BE |  3kV 3kV | When passed, this balise initiates the ICNG to begin the automatic changeover of systems and pantograph to 3kV (Belgium) |
| CT Eurobalise 25kV BE |  25kV 25kV | When passed, this balise initiates the ICNG to begin the automatic changeover of systems and pantograph to 25kV (Belgium) |
| CT Eurobalise Stroomafnemer Neer | STRA NEER | When passed, this balise forces the pantograph down on trains equipped with this function (mostly MarkA community items) |
| CT Eurobalise Snelschakelaar Uit | SNELSCHK UIT | When passed, this balise forces the snelschakelaar to be disconnected on trains equipped with this function (mostly MarkA community items) |
It is important to understand that these balises send 'force-override' signals to the passing train. This means that no matter what mode a player might have been using previously the train will be forced into the new mode by crossing these balise objects.
ATB 'bakens' (objects-track infrastructure)
ATB 'bakens' are in-track devices that can force an ATB system on or off in a properly-equipped train.
For route-builders and scenario-builders, 4 ATB ‘baken’ objects have been provided as scenery items.
The CT ATB 'bakens' will appear in the 'track infrastructure' area of the objects menu.
The 'bakens' all look the same but each has a different function. Above the surface, they all look like this:
In the scenario or route editor modes, an underground ‘tag’ is visible, which looks like this:
| Baken object | Underground tag | Description |
|---|---|---|
| CT ATB Baken Scenery Only | NULL | This is purely a scenery object. It has no communication function and is provided simply as a decorative item |
| CT ATB Baken ATB EG ON | ATB EG on | When passed, this baken forces the passing train to use the ATB-EG safety system (if available), irrespective of what system was previously being used |
| CT ATB Baken ATB NG ON | ATB NG on | When passed, this baken forces the passing train to use the ATB-NG safety system (if available), irrespective of what system was previously being used |
| CT ATB Baken ATB PLUS ON | ATB PLUS on | When passed, this baken forces the passing train to switch to the ATB-PLUS safety system (if available - this is for community items built by MarkA), irrespective of what system was previously being used |
| CT ATB Baken ATB PLUS OFF | ATB PLUS off | When passed, this baken forces the passing train to switch out of ATB-PLUS safety system (if available - this is for community items built by MarkA), irrespective of what system was previously being used |
| CT ATB Baken ATB OFF | ATB OFF | When passed, this baken forces the passing train to disable all ATB safety systems. The ATB system switches to 'BD' (out of service) |
It is important to understand that these 'bakens' send 'force-override' signals to the passing train. This means that no matter what mode a player might have been using previously the train will be forced into the new mode by crossing these 'baken' objects.
![[menu logo]](../images/christrainslogodot.png)











![[email]](../images/email-blue.png)


 is the property and trademark of